Tenants
Definition
Soffid 3 is multi tenant. This means that one can configure many differente tenants to manage disjoints groups of identities and applications.
Each Soffid object, including applications, systems, roles, users, and accounts are bound to a single tenant.
Of course, there is a special tenant named master. Master tenant administrators can jump to any other tenant with administration privileges.
Soffid recommends connecting directly to the specific tenant to configure it correctly. You have more information about this topic in the Tenant access section.
Screen overview
Tenant properties
- Name: Set a short name for the tenant.
- Description: Enter a long description for the tenant
- Enabled: Usually set to yes. If it's set to NO, no user will be able to log in to that tenant, and no provisioning or automated task will be ran on that tenant.
- Disabled permissions: By default, tenant administrator permissions are restricted, so they are not able to bypass tenant borders and access to other tenant information. To achive this, the following permissions are disabled by default, but some others can be added:
- Open the tenants management page
- Use the tenant micro-service
- Manage sync servers
- Assigned sync servers: By default, the new tenant will not be able to use any sync server unless it is authorized to. So, one can create a sync server for a specific tenant that cannot be used by any other tenant.
Actions
The following actions can be performed on tenants:
|
Export a tenant |
The process will generate a compressed file with all the information contained in the Tenant. It includes even the connectors configurations, mappings and global settings. |
|
Import a tenant |
The user can upload the previously exported tenant. The process will restore all the information contained in the Tenant, including connectors configurations, mappings and global settings.If the Tenant already exists, the process will not replace it. A new tenant will be created with a new name. If you want to replace the existing tenant, remove it before uploading the tenant export file. |
|
Log into a tenant |
If you have permission to log into a different tenant, you can use this option to access to it. This option is not intended for normal usage, but for administrative purposes |
Tenant access
Option 1
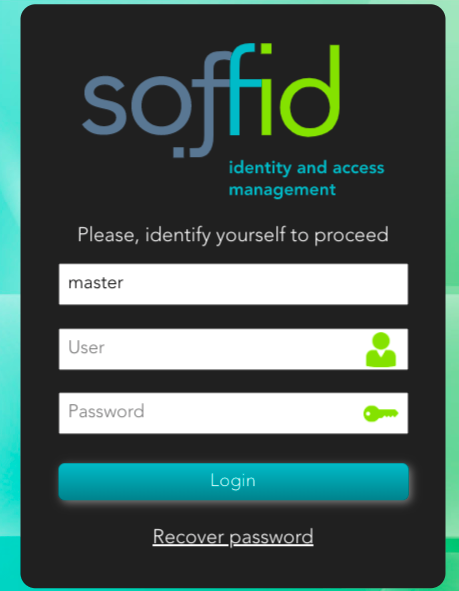
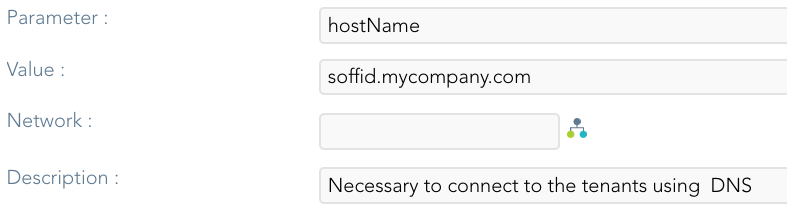
When users are connecting to Soffid console, the master tenant is displayed by default. In order to directly connect to any tenant, a DNS entry with the tenant name must be added to your DNS server.
For instance, if you have deployed a Soffid console with the DNS name soffid.mycompany.com, the DNS name test1.soffid.mycompany.com will be used to access to the test1 tenant.
Note that you must configure the hostName Soffid parameter in the master with your DNS name
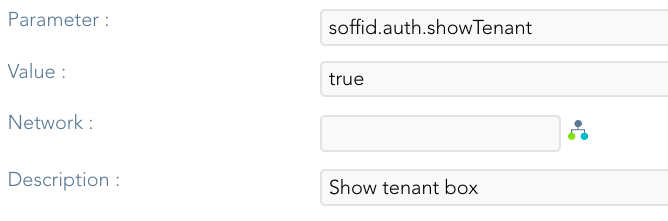
Option 2
You can also configure the login page using the soffid.auth.showTenant Soffid parameter. If the parameter value is true, Soffid will display a new box in the login page to write the tenant name to login.