Connecting Soffid console
Introduction
Soffid console has a built-in SAML client, so it can act as a service provider in the Soffid federation. It is interesting to use this configuration, as it allows you to enforce the use of two factors authentication to log into the Soffid console.
Register Soffid as a service provider
1. Enable the SAML protocol in the Soffid console:
1.1. Open the Authentication page:
1.2. You must enable the External XAML identity provider.
1.3. Then you must fill in the fields:
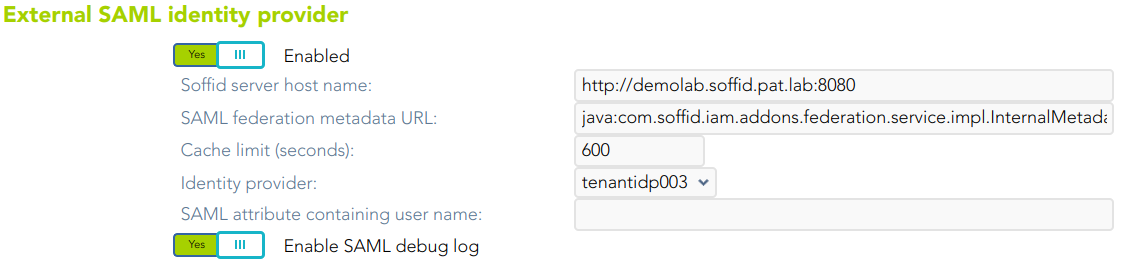
- Soffid server host name: URL of the Soffid console.
- SAML federation metadata URL: URL where the whole federation metadata can be obtained. It used to be https://your.primary.sync.server:760/SAML/metadata.xml Sometimes, an error as "unable to find valid certification path to requested target" could be displayed.
In that case, you must obtain the public certificate from the sync server and store in your Java trusted certs repository. To do that, use the keytool command. The trusted certs repository is located at <JAVA_HOME>/lib/security/cacerts
The command should look like the next one. When prompted for a password type in "changeit"
|
root@myserver:~$ /usr/lib/jvm/java-8-openjdk-amd64/jre/bin/keytool |
- Cache limit (seconds): the amount of time the metadata should be kept in memory before refreshing.
- Identity provider: after reading the federation metadata, this drop-down box lets you select any identity provider present at the federation. Usually, you will select the Soffid IdP.
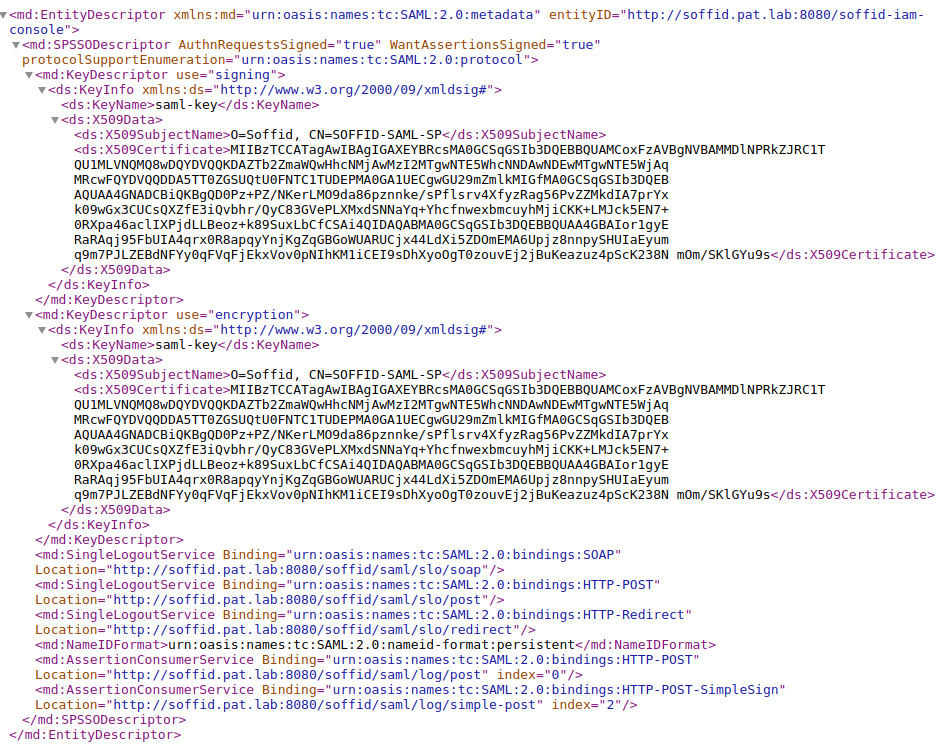
2. Download Soffid console metadata:
2.1. Open the Authentication page:
2.1. Click the Download metadata button and save the file.

This XML file is the metadata descriptor for the console, including a self-signed certificate generated to sign SAML requests.
The XML file will be like the next one:
3. Register Soffid Metadata in the third-party Identity Provider.
4. You can use the Wizard to Add Applications
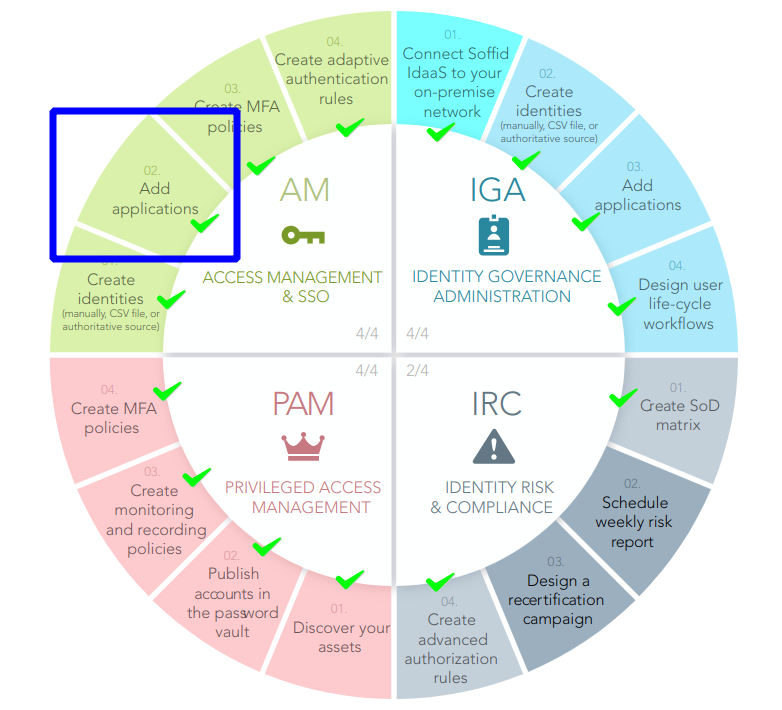
For more information, visit the Add Applications page.
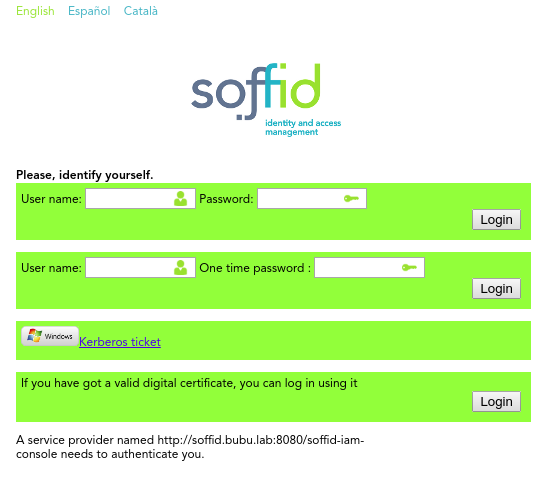
5. Test it
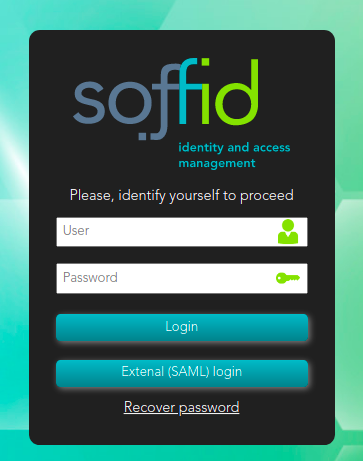
5.1. Next time you log into the Soffid console, a new button will appear for External (XAML) login
5.2. Click on the External (SAML) login button, and the user will be forwarded to the identity provider.