Active Directory back channel configuration
Introduction
Active Directory Back Channel refers to a mechanism that allows Soffid to synchronize user information with an external Active Directory (AD) server in real-time or near real-time (Password synchronizer). This synchronization ensures that both Soffid and AD maintain consistent and up-to-date data.
How it works?
The Password Synchronizer installs a service. This service is responsible for buffering passwords when they cannot be sent because the Sync Server is not available.
If the Sync Server is not available, the passwords are stored in an encrypted local file. When connectivity to the Sync Server is restored, the passwords are sent.
1. The AD sends the password to Soffid to verify that it complies with Soffid policy.
2. If it complies, the password is updated in the AD.
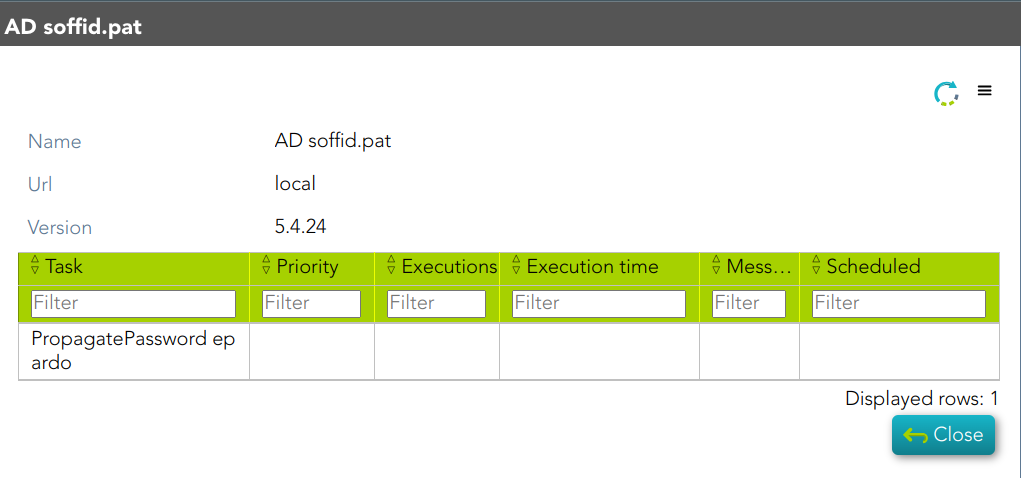
3. The password is sent to Soffid and the PropagatePassword task is created.
4. If the AD agent confirms that the new password has been saved, Soffid synchronizes it with the other systems.
How to install Active Directory back channel?
Download
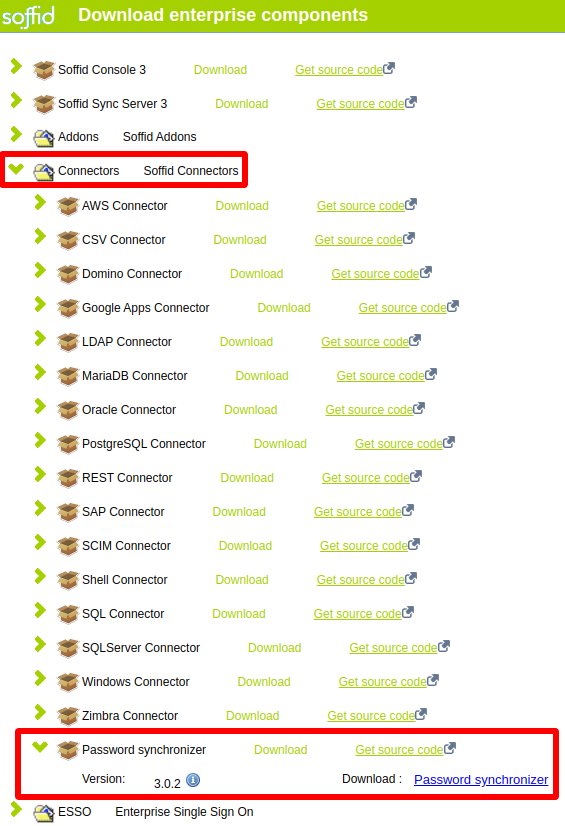
In order to configure the Active Directory back-channel, you must use the eris command line tool. To do this, please, download the Password Synchronizer from our download portal:
Installation
First of all, you must install the Windows package "Password synchronizer-3.0.x.msi"
Once installed Password Synchronizer on your system, please change to eris or eris64 directory (\ProgramFiles\Soffid\eris64) and execute:
eris-ad-service installConfiguration
Finally, you must configute the Password Synchronizer executing the following command:
eris-ad-service CONFIGURE url-syncserver agent-name- url-syncserver is the master sync server url (http://master.dom.dom:port)
- agent-name is the agent code name configured on Soffid console.
To see more information when configuring use | more.
Example
eris-ad-service CONFIGURE https://sync-server.netcompose:1760/ "AD soffid.pat" | moreMind that, completed this step, the domain controller must be restarted to end the configuration properly.
Configuration test
In order to test configuration, you must use the eris command line tool.
eris-ad-service TEST user passWhere user and pass can be dummy. If you use a real one it will be propagated to the system.
To see more information during test use | more.
Example
eris-ad-service TEST aretha password | more


