Step 4.2. Create an agent (Optional)
That step will be an optional step, and it will be mandatory only when the SQL Server agent or the Oracle agent was not created previously on Soffid Console and you need to add a database to manage its accounts.
Step-by-step
1. First of all, to create an agent you must access the agent page in the following path:
2. Once you have accessed the agent page, Soffid will display all the active agents created on Soffid. You must click the button with the add symbol (+) to add a new agent. Then Soffid will display a new empty page to fill in the agent data.
2.1. You must fill, at least the required fields (fields with an asterisk) to create an agent.
-
-
- The Name should be an identificative and unique agent name
- The Description should be a brief description of the agent.
- The Type allows you to select the connector type to use, the SQL Server connector or the Oracle connector. Be in mind that you need to load the connector on Soffid if you did not do it previously.
- The Server allows you to select the synchronization server that will perform the agent tasks. It is allowed to select two servers in cases high disponibility will be necessary. If you choose two servers, when one fails, the other will be used.
- If "-disabled-" is selected, the agent will be disabled-
- The User domain allows you to select how to generate account names. If the account name is the same as the user name (as it is normally the case), the “Default user domain” should be used. The user domain values are defined on the Account naming rules page.
- The Password domain allows you to select the password policies that will be used. If the "Default password domain" is selected, Soffid passwords will be shared with the managed systems. The user domain values are defined on the Password policies page.
-
You can visit the Plugins page for more information about how to load a connector on Soffid Console.
2.2. You must fill in the optional parameters that you need to config the agent.
2.3. You must fill in the "Connector parameters". Those parameters depend on the agent.
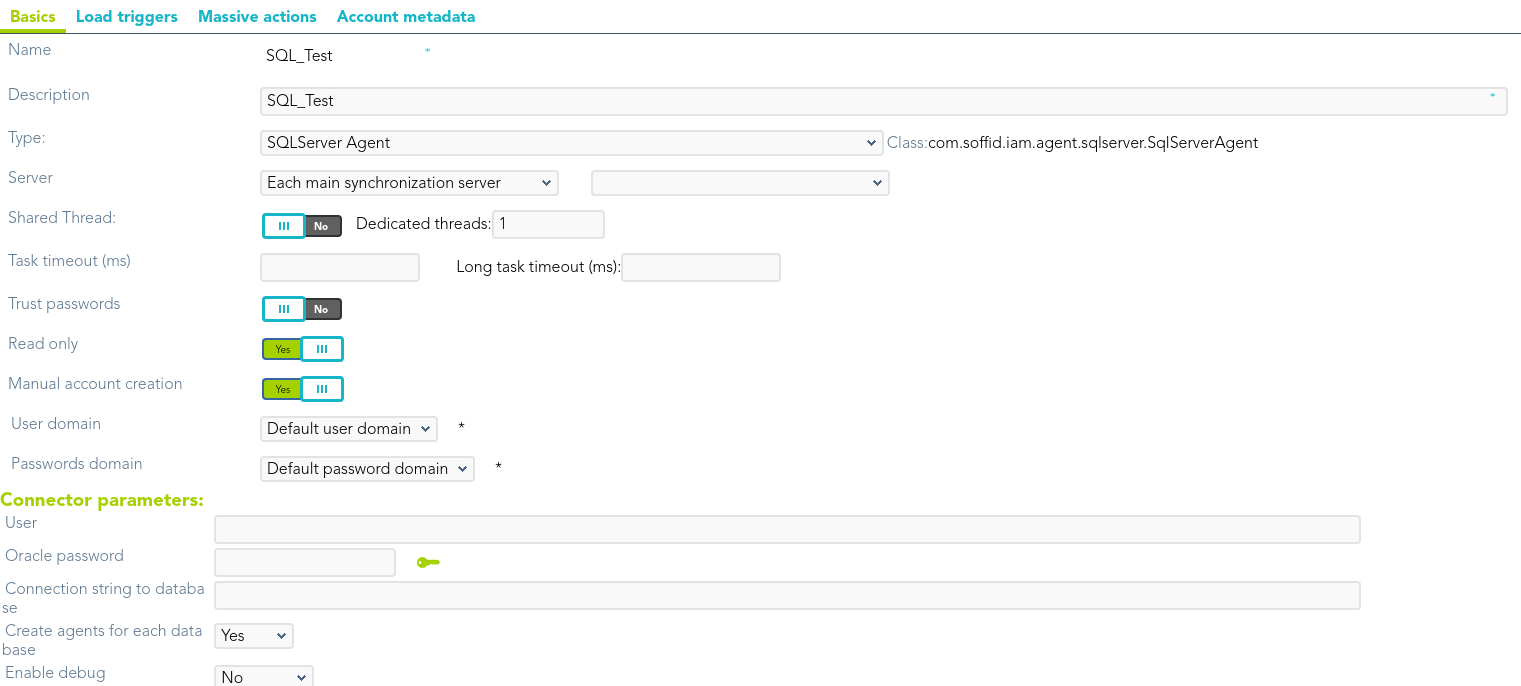
2.3.1. SQL Server connector:
Below there are the specific parameters for this agent implementation:
|
Parameter |
Description |
|---|---|
|
User name |
Database user name to authenticate |
|
Password |
The password of the database user |
|
Driver |
Identifies the driver of the relational database to use. Currently, these are the supported databases: MySQL (& MariaDB), PostgreSQL, Oracle, MS SQL Server, Informix, DB2/400, DB2 Universal, Sybase, ODBC |
|
DB URL |
URL that identifies the connection properties. Please refer to the specific database vendor documentation to build this URL. (*) More documentation about the DB URL |
|
SQL Sentence to execute at startup |
Each time the connection to the agent is established, this SQL statement will be executed. |
|
Password hash algorithm |
The algorithm is used to encrypt the password. For instance SHA1, SHA256, MD5, etc |
|
Password hash prefix |
Prefix to add it to the password. |
|
Enable debug |
Two options: Yes, and No. It enables or not more log traces in the Synchronization Server log |
|
Synchronization method |
(**) |
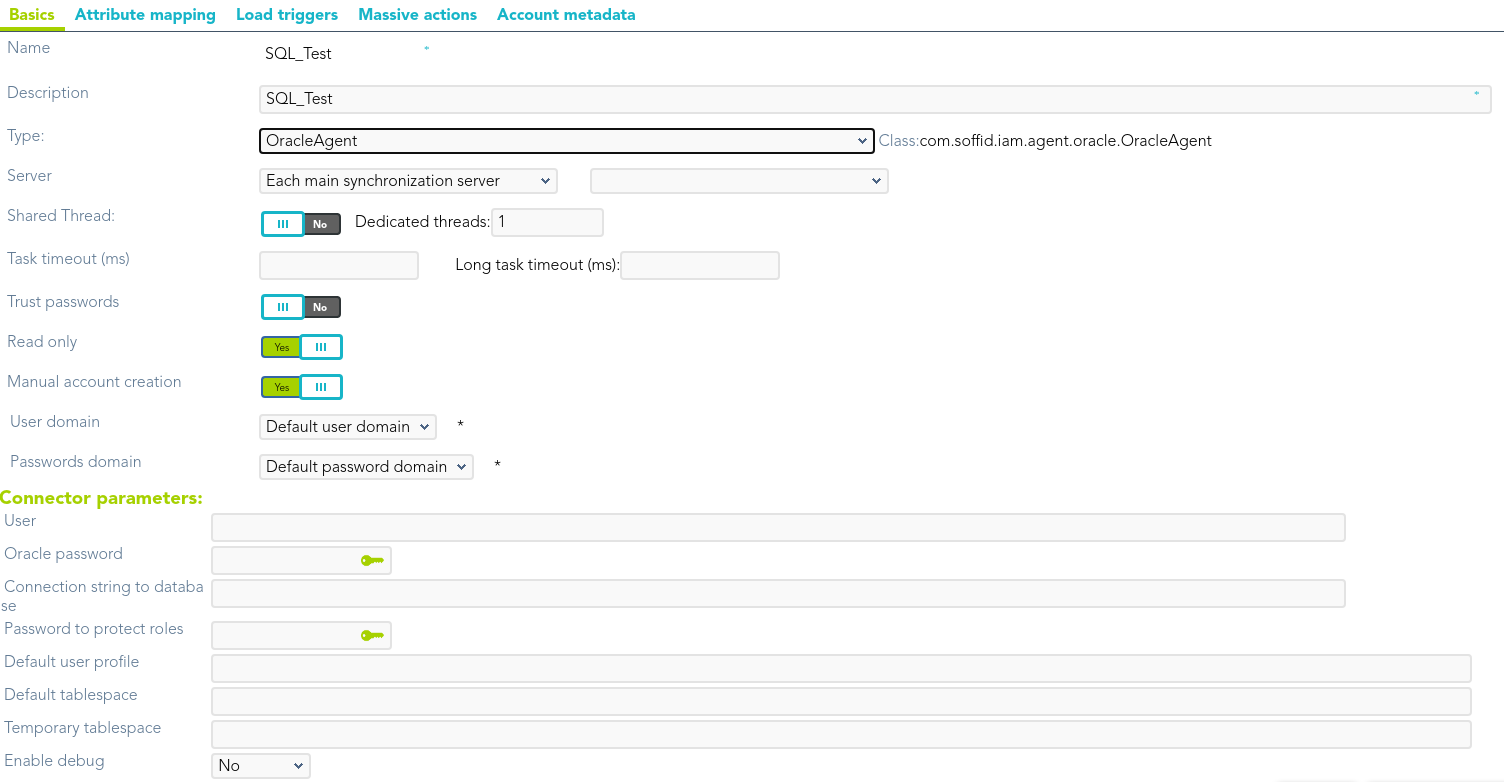
2.3.1. Oracle connector:
Below there are the specific parameters for this agent implementation:
|
Parameter |
Description |
|---|---|
|
User |
Sysdba user name to authenticate |
|
Oracle password |
Password of the user to authenticate |
|
Connection string to database |
Database URL. Use something like jdbc:oracle:thin:@host:port:sid |
|
Password to protect roles |
Optional password to use on password protected roles |
|
Default user profile |
Optional profile to set limits on the database resources and the user password |
|
Default tablespace |
Optional tablespace for user creation |
|
Temporary tablespace |
Optional temporary tablespace for user creation |
|
Enable debug |
Two options: [ Yes / No ]. When it is enabled more log traces are printed in the Synchronization Server log |
3. Then, you should click the "Apply changes" button to save the new agent. Then Soffid will close the form, and display the agent list including the new agent created.
If you click the "Undo" button, the form will be closed and updates will not be saved.
Once the agent is configured, it could be assigned to the host to continue with the PAM implementation process: Step 4. Add database
Screen overview
SQL Server agent
Oracle agent