Network discovery
Description
The Network discovery tool will be in charge to scan the networks to find the hosts and retrieve information about user accounts. Network discovery can detect system accounts as well.
First of all, you need to create the networks that you want to scan. Visit the Networks page for more information. Then, on the Network discovery page, you need to configure for each network, the accounts and passwords of potential administrators to connect to the host and retrieve the information. And finally, you need to start the process execution or you can schedule the execution of the network discovery task.
The operating system of machines can be Windows or Linux and it is not necessary to install any additional software on those machines.
When the Network discovery process is finished, it is recommended to launch the Reconciliation process of the agents created by the process to detect the Account protected services. To know how to run the Renconciliation process you can visit the Agents page.
Once the machines and accounts, both user and system, have been discovered, the critical accounts must be located in the password vault. You can visit the Password vault page for more information.
How Network discovery works?
The Network Discovery is the tool in charge to scan the network to discover the hosts of the network. For each host discovered, the Nmap utility gets the info about the ports and the protocols used. Also, that process gets the IP Address and the operating system. All the recover information will be saved on Soffid database. The discovery proxy server works as a proxy to connect to the target systems.
When the discovery manager discovers a host, it gets the host information and then, through discovery proxy server, it attempts to connect to the host using the accounts defined on the accounts to probe list.
- If it can not connect to the host, it will attempt with the next host discovered.
- If it gets to connect to the host, then it will create automatically a Soffid agent with the proper attributes and connector parameters, also with the necessary account metadata.
Then, the reconciliation process of the created agent, will be launched and it will try to recover the information about the accounts defined on the host. Also, it will try to recover the information about the account protected services. The recover information will be saved on Soffid database.
Screen overview
Standard attributes
Network attributes
Basic
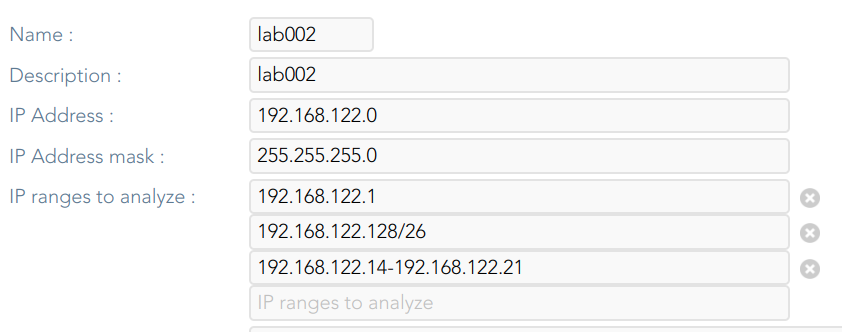
Those attributes are readOnly, you can update them on the Networks page.
- Name: network name.
- Description: a brief description.
- IP Address: IP range of this network.
- IP address mask: IP mask of this network.
- IP ranges to analyze: allows you to set the range of IPs to scan
💻 Image
Server
- Server: list of available sync servers.
Accounts to probe
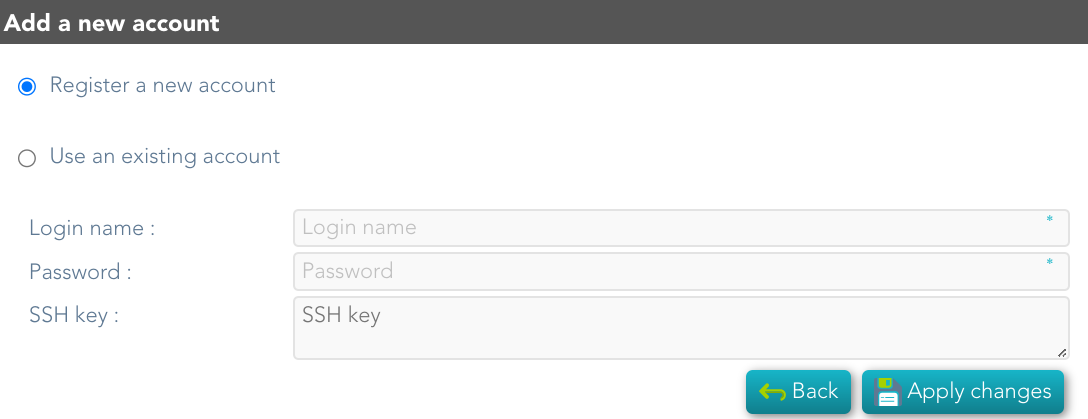
- Accounts to probe: list of potential administrators accounts to connect to the hosts. You can register a new account or use an existing account.
- Register new account: you need to define the login name and the password of the new account.
- Login name
- Password
- SSH key
- Register new account: you need to define the login name and the password of the new account.
💻 Image
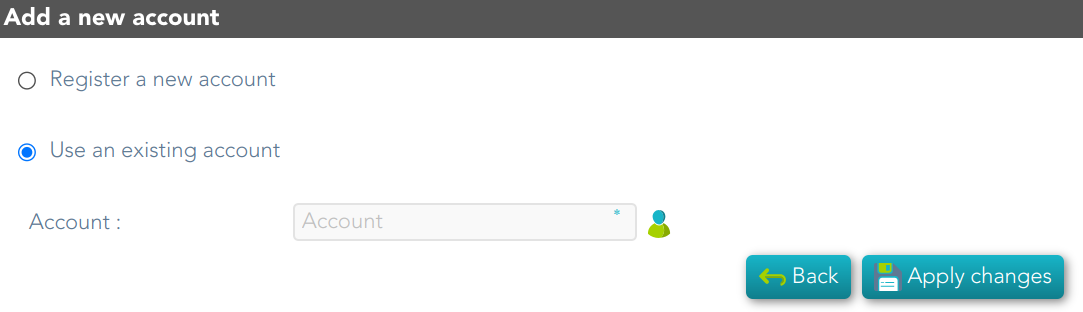
- Use an existing account: you need to select an existing account on the system.
💻 Image
When you register a new account, that will be created as an unmanaged account.
Schedule
- Enabled: if it is selected (value is Yes), a task will be created and performed on schedule defined.
- Task description: a brief description of the task
- Month: number of the month (1-12) when the task will be performed.
- Day: number of the day (1-31) when the task will be performed.
- Hour: hour (0-23) when the task will be performed.
- Minute: minute (0-59) when the task will be performed.
- Day of week: number of the day (0-7 where 0 means Sunday) of the week when the task will be performed.
- Server: you must select the sync server where the agent will be run.
For each value of month, day, hour, minute, or day of the week:
- * means any month, day, hour, minute, or day of the week. e.g. */5 to schedule every five minutes.
- A single number specifies that unit value: 3
- Some comma separated numbers: 1,3,5,7
- A range of values: 1-5
Current execution
- Start now: this allows you to launch the task execution.
Last execution
- Status: The available status for a task is:
- Done (green light): task finished.
- Pending (yellow light): the task has been started but it has not finished yet.
- Error (red light): task could not be executed.
- Start date: start date and time of the last execution.
- End date: end date and time of the last execution.
- Execution log: log trace. Allows you to download the log file.
Previous executions
List the information about the previous executions:
- Start date: start date and time of the execution.
- Status: status of the execution.
- Execution: log of the execution. Allows you to download the log file.
Machine attributes
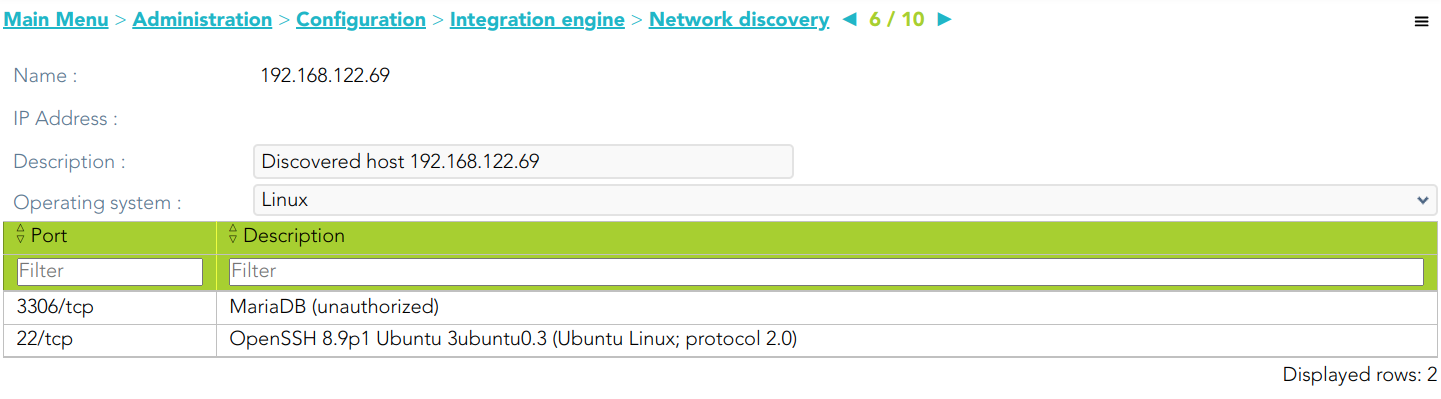
By clicking the machine record, you can check the following information:
- Name
- IP Address
- Description
- Operating system
- Port /Protocol List:
- Port
- Description
💻 Image
Machine details
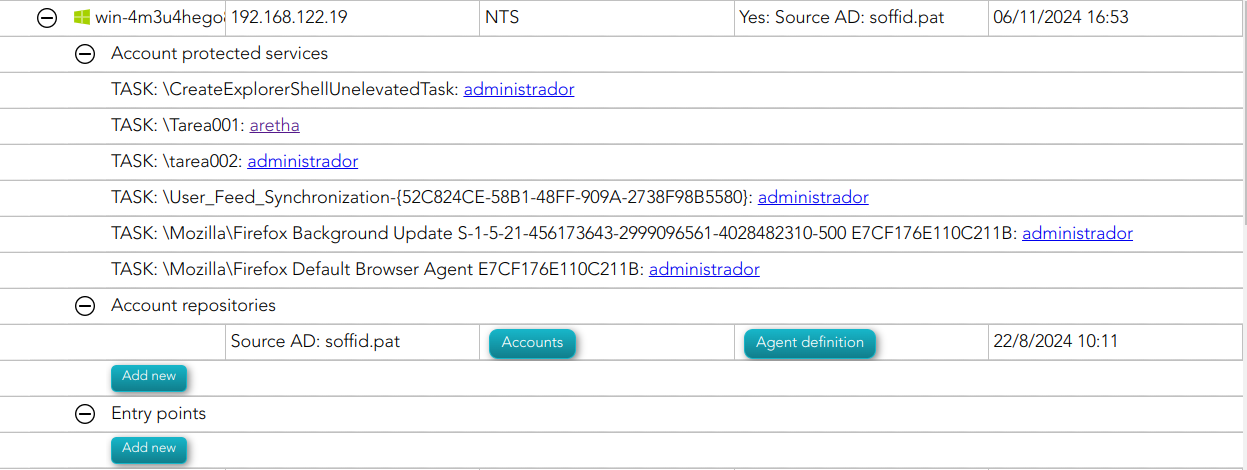
If you display the contents of a machine from which the information has been obtained, you could check and manage information about:
- Protected services per account
- Account repositories
- Entry points
It may be necessary to perform the Reconciliation process of the proper agent in order to obtain the information from the Account protected services
💻 Image
Actions
Network discovery query
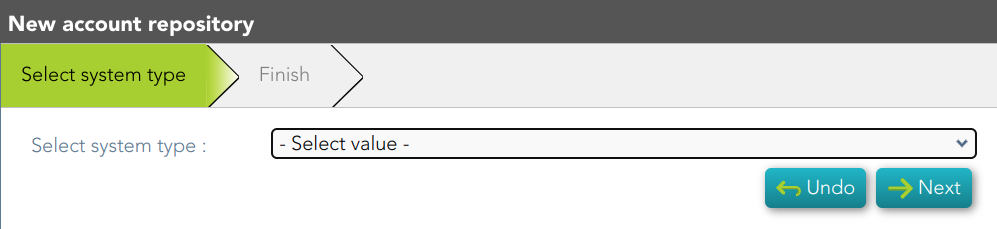
| Add new account repository |
Allows you to create a new agent. You must select the System type and the login name and password. When the agent is created, if the connection is successful, the reconciliation process will be executed. 💻 Image
|
|
Agent definition |
Allows you to browse to the agent definition. |
|
Accounts |
Allows you to browse the accounts page and the accounts, which belong to this system, will be displayed |
|
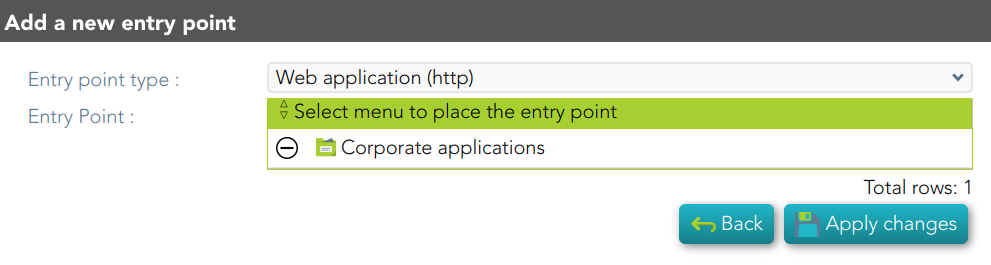
Add new entry point |
Allows you to create a new entry point. You must select the Entry point type and the pale to locate it. Once the entry point is created, you can connect to the target system. Bear in mind, that if you need to create an account to connect, when you set the password to this account, the system (agent) must be in No ReadOnly mode. 💻 Image
|
|
Entry point definition |
Allows you to browse to the entry point definition. |
Network discovery detail
|
Apply changes |
Allows you to save the data of network detail. To save the data it will be mandatory to fill in the required fields. |
|
Undo |
Allows you to undo any changes made. |
Accounts to probe
| Add |
Allows you to add a new administrator potential account to connect to the machines of the network. To add a new account, first of all, you need to click the add button (+) and close the accounts to probe list. Then you will need to choose if you want to add an existing account or register a new account. save the data of a new network or update the data of a specific network. To save the data it will be mandatory to fill in the required fields |
|
Delete |
Allows you to delete one or more accounts of the accounts to probe. You need to select one or more records and next click the button with the subtraction symbol (-). |
Schedule
|
Start now |
Allows you to launch the task execution. |
Previous execution
|
Logs |
Allows you to download the log files of previous executions. |
Machine
|
Delete |
Allows you to delete the machine and the PAM connectors for the device. Soffid will display a message to confirm the deletion process. |