How to enable WinRM?
Introduction
On this page we will describe the steps to follow to enable WinRM with the domain controller Group Policy for WMI monitoring.
Step by Step
Step 1: Create a Group Policy object
Fist of all, you need to create a Group Policy object for your domain.
1. From the start menu, open Control Panel.
2. Select Administrative Tools.
3. Select Group Policy Management.
4. From the menu tree, click Domains > [your domain’s name].
5. Right-click and select Create a GPO in this domain, and Link it here.
6. Input Enable WinRM.
7. Click OK.
Step 2: Enable WinRM services
Secondly, it is necessary to enable WinRm services to allow remote management of the server through WinRM. You must edit the Group Policy you just created.
1. Right-click on the new Enable WinRM Group Policy Object and select Edit.
3. Right-click on Allow remote server management through WinRM and click Edit.
4. Select Enabled to allow remote server management through WinRM.
5. Enter an asterisk (*) into each field.
6. Click OK.
Step 3: Enable the service that goes the policy
1. From the Group Policy Management Editor window, click Preferences > Control Panel Settings > Services.
2. Right-click on Services and select New > Service.
3. Select Automatic as the startup.
4. Enter WinRM as the service name.
5. Select Start service as the service action.
6. All remaining details can stay on the defaults. Click OK.
Step 4: Allow for inbound remote administration
You have to allow for inbound remote administration by updating the firewall rules
1. From the menu tree, click Computer Configuration > Policies > Windows Settings > Security Settings > Windows Firewall with Advanced Security > Windows Firewall with Advanced Security > Inbound Rules.
2. Right-click on Inbound Rules and click New Rule.
3. Select Predefined.
4. Select Windows Remote Management from the list of services.
5. Click Next.
6. Uncheck the Public rule. Leave the Domain, Private rule checked.
7. Click Next.
8. Leaving the defaults, click Finish.
9. Right-click on the new rule and click Properties.
10. Click the Scope tab.
11. Add the remote IP address

12. Click OK.
13. From the menu tree, click Computer Configuration > Policies > Windows Settings > Security Settings > Network List Manager Policies.
14. Right-click Unidentified Networks and click Properties.
15. Change the location type from Not configured to Private.
16. Click OK.
17. Close the Local Group Policy Editor window.
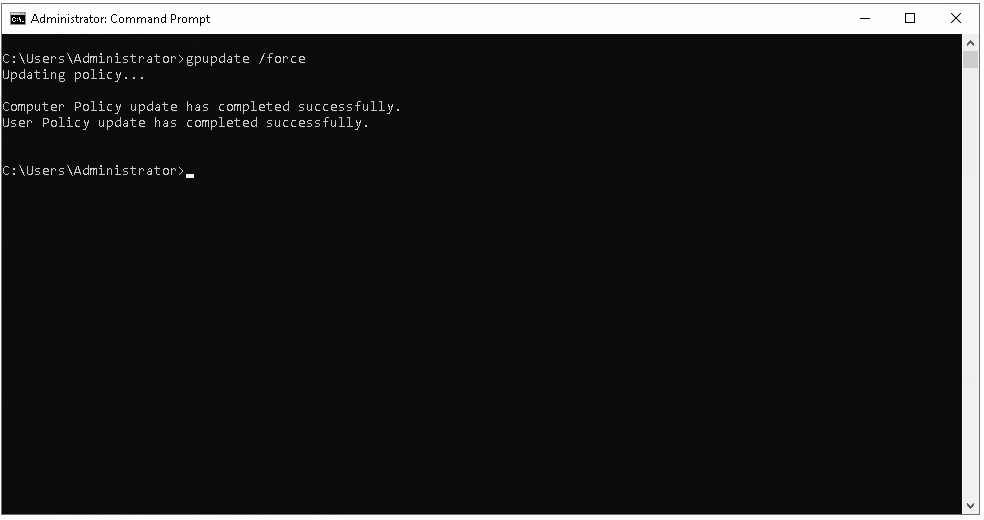
18. Run the gpupdate /force command to update the policy