Step 4. Add database
Step-by-step
The network discovery process can discover and connect to the hosts. Then Soffid allows you to add databases as account repositories in the proper host.
1. First of all, the agent must be created on Soffid. That agent could be a SQL Server agent, or an Oracle agent. To create an agent you can visit the next page Step 4.1. Create an agent (Optional)
2. Then, you must access the network discovery page in he following path:
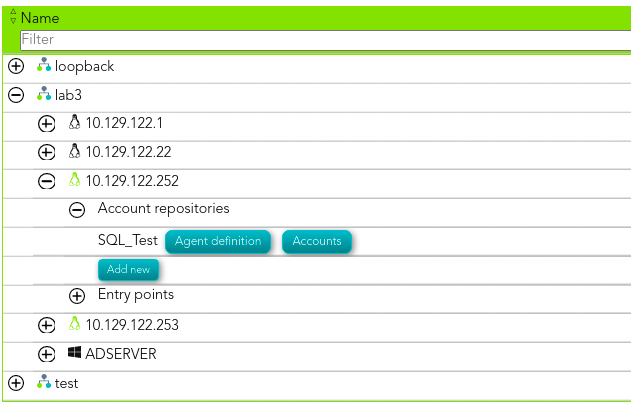
3. Once you have accessed the network discovery page, Soffid will display all the networks.
3.1. First, you must identify the network and click on the plus icon (+) to display all the hosts discovered.
3.2. Then, you must identify the host and click the plus icon (+) to display the options.
3.3. Finally, on the "Account repositories" you must click the "Add new" button.
4. When you click "Add new" Soffid will display a wizard to add the database.
5. You must select the option "Other" on the "Select system type", and click "Next" button.
5.1. If you click the "Next" button, the wizard will allow you to search the system using Quick, Basic or Advanced search. When you run the search, Soffid will display all the system that apply to the search criteria. Be in mind, the agent must have been previously created.
5.2. You must select the proper system from the result list and click the "Next" button. Then Soffid will add the agent to the "Account repositories" list and close the wizard.
* When you are in the wizard and click the "Undo" button, the wizard will browse to the previous page of the wizard, or close and no operation will execute if it is the first page.
Screen overview
. &&TODO&& video


