Full installation of Soffid 4 as test environment
Introduction
This guide describes all the steps required to install Soffid 4 as test environment.
We’re going to install it using Docker Compose, as it’s the simplest and quickest method for both installation and maintenance.
Prerequisites
User prerequisites
- To have a Linux machine; Ubuntu 24 has been used for this tutorial.
- The Linux administrator user must have sudo privileges.
- To have a Soffid account for the license activation step.
Soffid prerequisites
- Your Soffid
useraccount has to had a special role to download Soffid 4 images from the marketplace. - Your Soffid
useraccount has to had a Soffid 4 license for the test environment.
Step 1: Install Docker & Docker compose
The first step is to install Docker and Docker compose. Docker is the platform and compose is a tool that simplifies management.
1.1 Install docker
Install docker.
sudo apt-get update
sudo apt-get install docker.io
docker --version
1.2 Use docker without sudo
To use docker without sudo.
| Command | Comment |
|
sudo gedit /etc/group |
Edit the file with your editor (gedit for this example) |
| docker:x:988:YOUR-USER | Add YOUR-USER at the end of the docker command without : at the end |
| logout | Log out from the ubuntu session |
| login | Log in into the ubuntu session |
| docker ps | Confirm that you do not need to use sudo with a docker command |
1.3 Install docker compose
Install docker compose.
sudo apt-get install docker-compose-plugin
docker compose version
Step 2: Install Soffid 4
At this link, you can see the most commonly used Docker Compose commands: Docker compose commands
2.1 Test connectivity
Test the connectivity with the Soffid 4 repository pulling an image (¡Do not use sudo with docker, it does not work!).
docker pull "europe-docker.pkg.dev/soffid-docker-images/private/iam-console:4.0.0"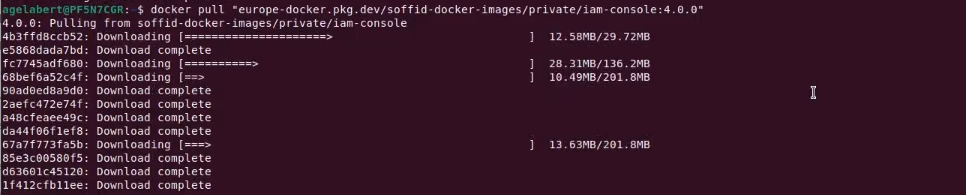
2.2 Create the directory and file structure
Create a the new file for the docker compose with this directory structure.
cd
mkdir lab
cd lab
mkdir soffid4
cd soffid4
touch docker-compose.yaml
2.3 Configure the docker-compose.yaml
Use this content for the docker-compose.yaml file.
Change the XXXX password and YYYY password for your values.
services:

  mariadb:
    image: mariadb:11.4
    environment:
      MYSQL_ROOT_PASSWORD: XXXX
      MYSQL_DATABASE: soffid
      MYSQL_USER: soffid
      MYSQL_PASSWORD: YYYY
    healthcheck:
      test: "/usr/bin/mariadb --user=root --password=XXXX --execute \"SHOW DATABASES;\""
      interval: 2s
      timeout: 20s
      retries: 10
    command: --max_allowed_packet=128M --innodb_log_file_size=256M --character-set-server=utf8mb4 --collation-server=utf8mb4_general_ci
    ports:
      - "3306:3306"
    networks:
      - network
    volumes:
      - mariadb_data:/var/lib/mysql

  console:
    image: europe-docker.pkg.dev/soffid-docker-images/private/iam-console:4.0.58
    environment:
      DB_URL: jdbc:mariadb://mariadb/soffid
      DB_USER: soffid
      DB_PASSWORD: YYYY
      JAVA_OPT: -Xmx4096m
    ports:
      - 8080:8080
      - 8443:8443
    networks:
    - network
    healthcheck:
      test: bash -c "(echo 'GET /soffid/anonymous/logo.svg HTTP/1.1' >&0; echo >&0; cat >&2;) <> /dev/tcp/localhost/8080"
      interval: 10s
      timeout: 20s
      retries: 10
      start_period: 40s
    volumes:
      - console_trust:/opt/soffid/iam-console-4/trustedcerts
      - console_conf:/opt/soffid/iam-console-4/conf
      - console_index:/opt/soffid/iam-console-4/index
    depends_on:
      mariadb:
        condition: service_started

  syncserver:
    image: europe-docker.pkg.dev/soffid-docker-images/private/iam-sync:4.0.35
    hostname: syncserver
    environment:
      SOFFID_PORT: 1760
      SOFFID_HOSTNAME: syncserver.network
      SOFFID_MAIN: yes
      DB_URL: jdbc:mysql://mariadb/soffid
      DB_USER: soffid
      DB_PASSWORD: YYYY
    ports:
      - 1760:1760
      - 1443:1443
    networks:
      - network
    volumes:
      - sync_conf:/opt/soffid/iam-sync/conf
    depends_on:
      mariadb:
        condition: service_started

networks:
  network:
    name: network
    driver: bridge

volumes:
  mariadb_data:
    name: soffid4_mariadbdata
  console_trust:
    name: soffid4_console_trustedcerts
  console_conf:
    name: soffid4_console_conf
  console_index:
    name: soffid4_console_index
  sync_conf:
    name: soffid4_sync_conf
2.4 Generate the containers
Generate the containers.
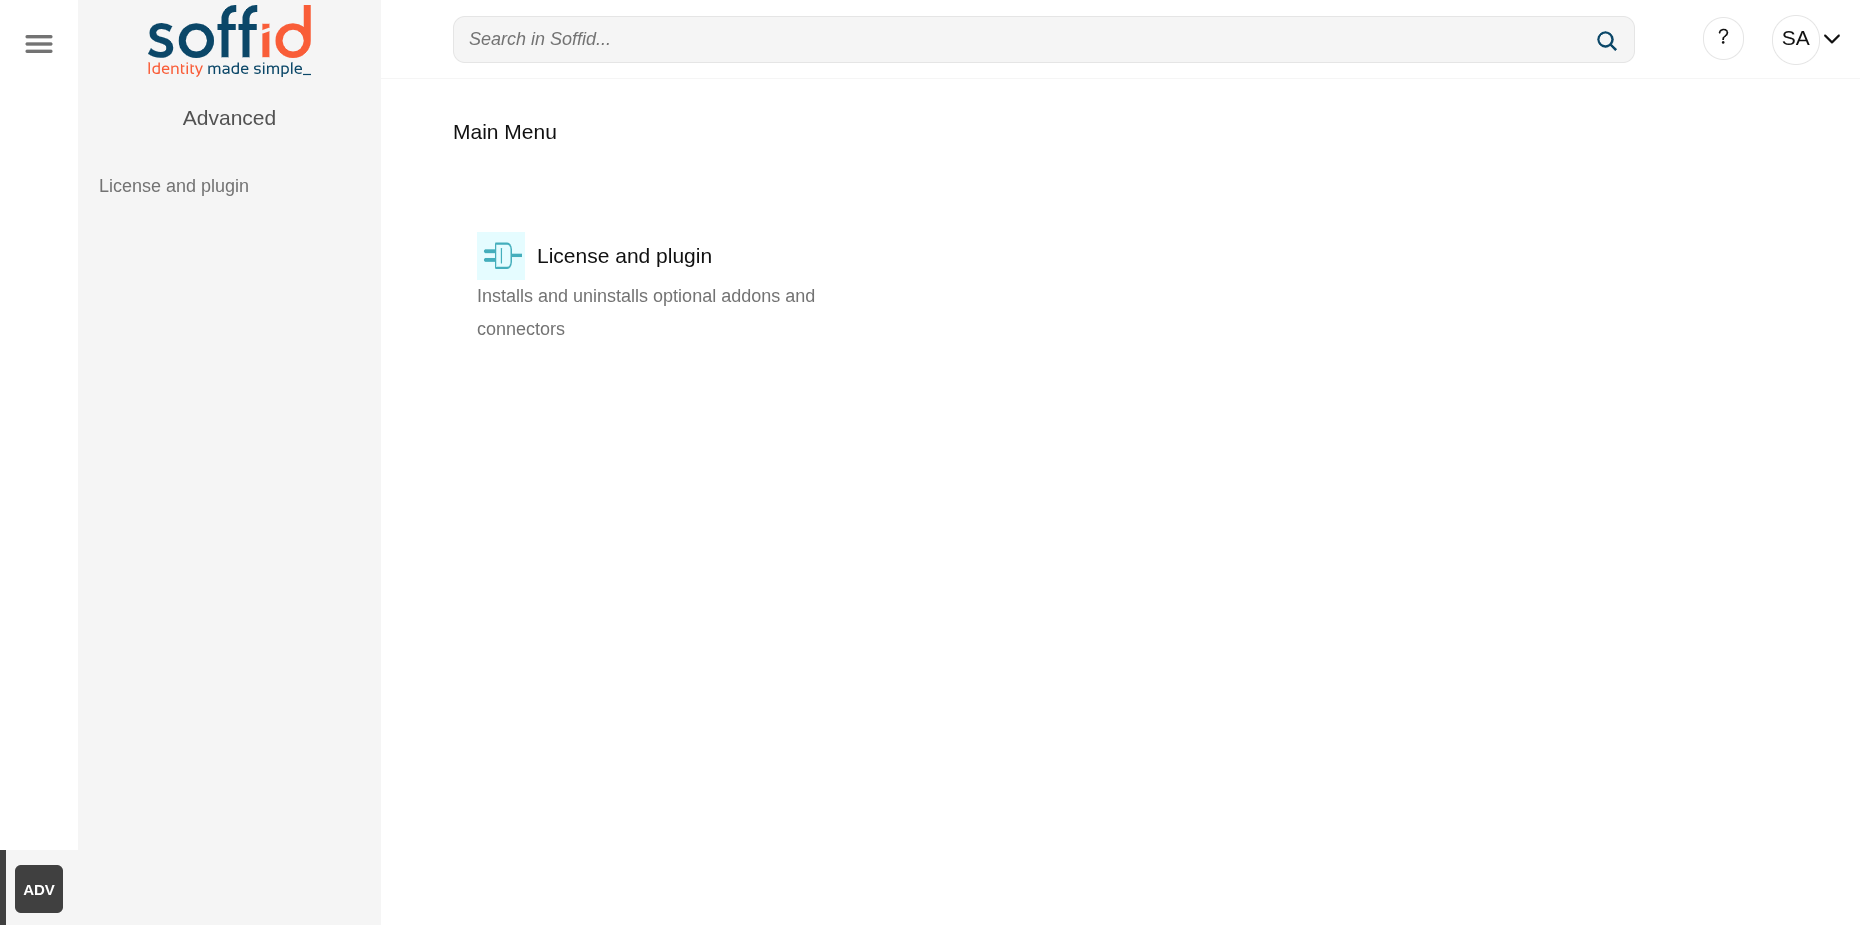
docker compose up -d2.5 Access to the Console
Follow these steps:
- Go to login page: http://localhost:8080
- We have to wait until the login page will be prompted.
- Accept the Update button.
- User: admin / password: changeit (temporal for 24 hours).
- Fill the new password and save it to use it later!
You will now see this page.
Step 3: Configure SSL access
To correctly validate the new license, the Soffid Console must be SSL-enabled, it has to be open with the https protocol.
3.1 Publish the domains
If you have a local environment, create new entries in:
- Linux /etc/hosts
- Windows C:\Windows\System32\drivers\etc\hosts
# Soffid 4 local
127.0.0.1 console.soffid4.local
127.0.0.1 syncserver.soffid4.local
3.2 Generate a self-signed certificate (pfx)
Generate a self-signed certificate (pfx).
Use 12345678 for all requiered passwords.
Generate a private key.
sudo openssl genrsa -aes256 -out console.soffid4.local.keyGenerate a certificate.
sudo openssl req -x509 -days 1000 -new -key console.soffid4.local.key -out console.soffid4.local.pemGenerate a pfx (PKCS12).
sudo openssl pkcs12 -export -in console.soffid4.local.pem -inkey console.soffid4.local.key -name "console.soffid4.local" -out console.soffid4.local.pfx3.3 Generate a jks file
Copy the pfx file in the console container.
docker compose cp console.soffid4.local.pfx console:/opt/soffid/iam-console-4/trustedcertsEnter the container.
docker compose exec -it console bashGenerate the jks file
cd /opt/soffid/iam-console-4/trustedcerts/keytool -v -importkeystore \
-srckeystore /opt/soffid/iam-console-4/trustedcerts/console.soffid4.local.pfx \
-srcstoretype PKCS12 \
-destkeystore /opt/soffid/iam-console-4/trustedcerts/console.soffid4.local.jks \
-deststoretype JKS \
-destkeypass 12345678 -srcstorepass 12345678 -deststorepass 12345678Confirm that we are able to open the file and that the alias is correct.
keytool -v -list -keystore console.soffid4.local.jks
3.4 Configure the SSL port
Configure the server.xml file.
cd /opt/soffid/iam-console-4/conf
apt-get install vim
vim server.xml
Add this configuration.
	<Connector
		port="8443"
		protocol="org.apache.coyote.http11.Http11NioProtocol"
		maxThreads="150"
		SSLEnabled="true">
		<SSLHostConfig
			protocols="TLSv1.3">
			<Certificate
				certificateKeystoreFile="trustedcerts/console.soffid4.local.jks"
				certificateKeystorePassword="12345678"
				certificateKeyAlias="console.soffid4.local"
				type="RSA"
				xpoweredBy="false"
				server="Apache TomEE" />
		</SSLHostConfig>
	</Connector>
Port 8443 has already been configured in the step 2.3.
Exit the container and restart the Console.
exit
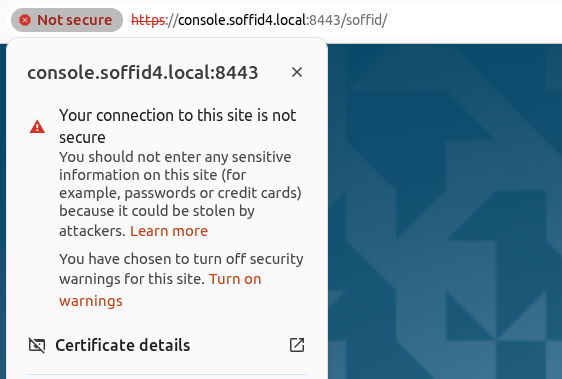
docker compose restart console3.5 Access to Console with SSL
Connect to the new URL:
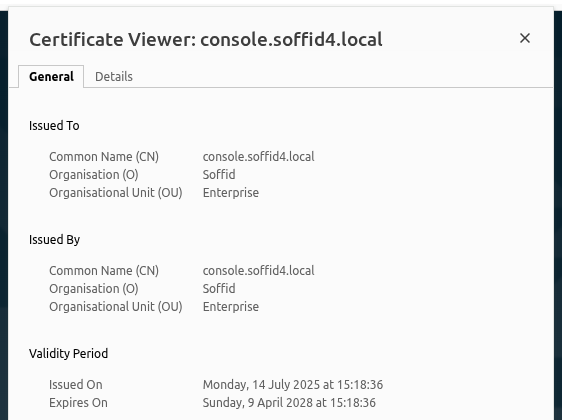
Confirm the SSL: browser > Not secure > Certificate details
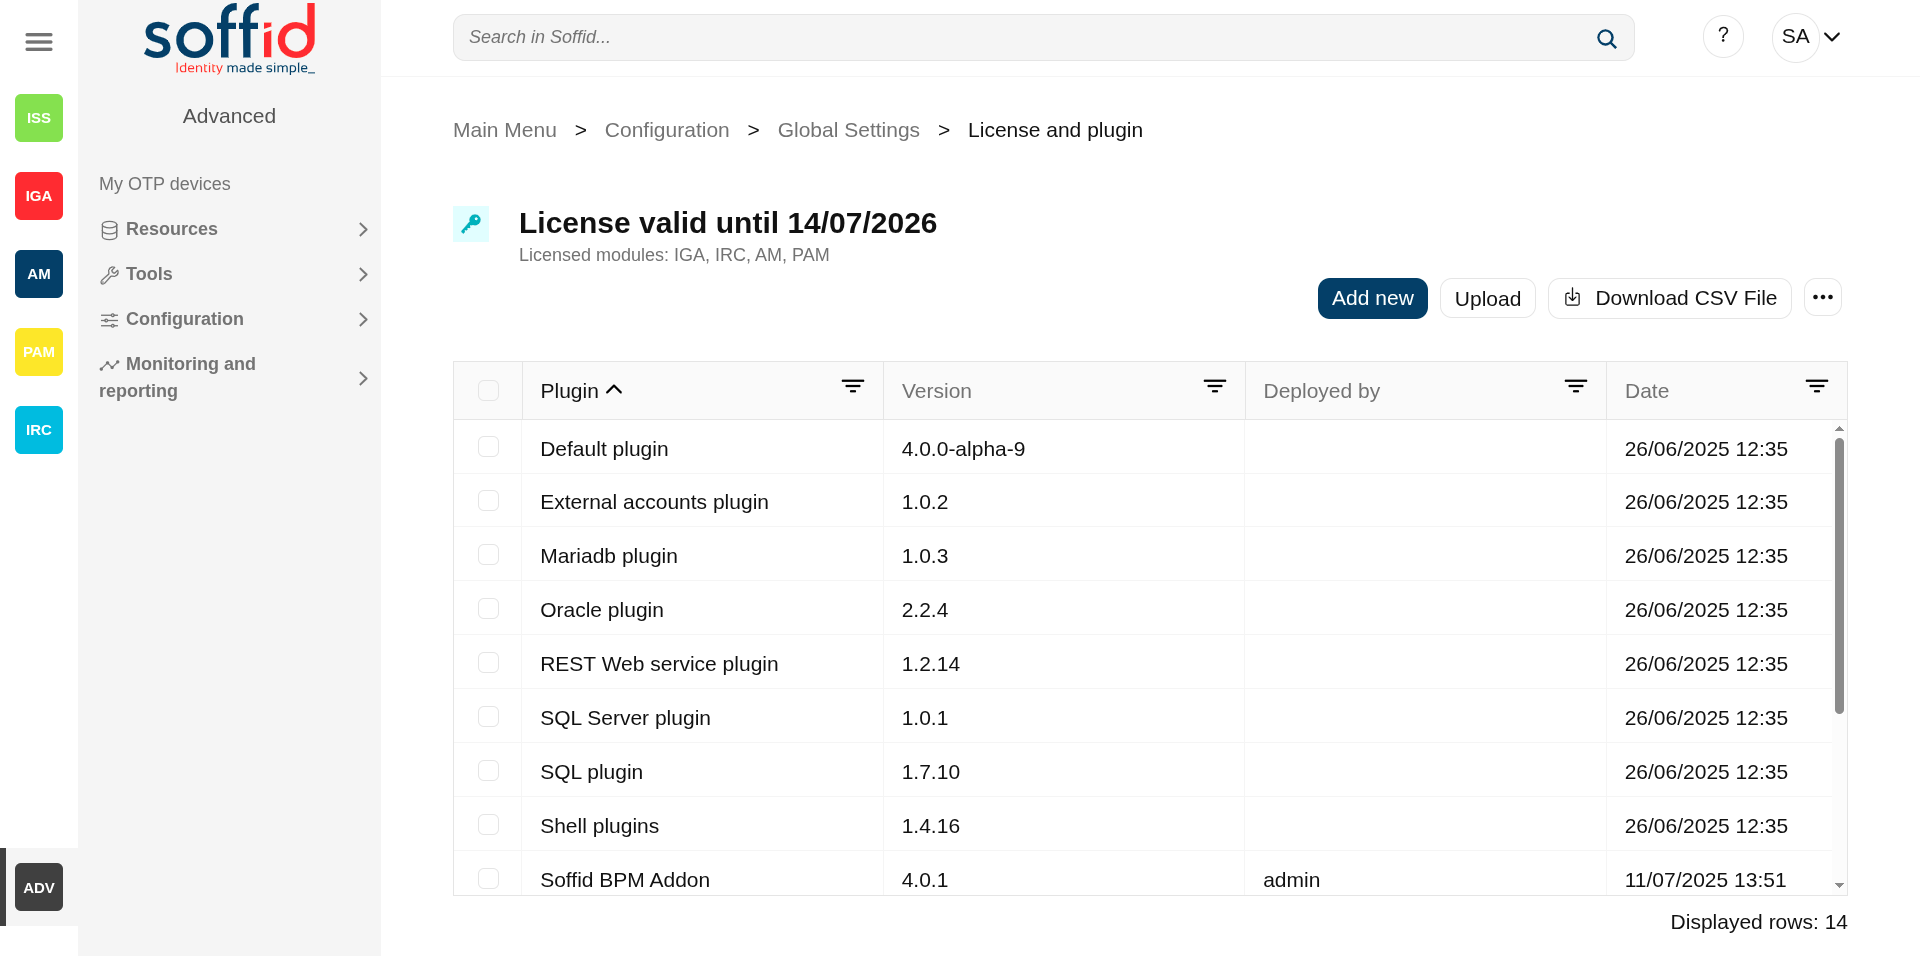
Step 4: Apply the license
When accessing the Soffid Console for the first time, you will need to apply a licence that the Soffid team will have created for you beforehand.
For more information, check the License and plugin page.
Step 4.1 Login with the Soffid account
To apply the license follow these steps:
- Log into the Soffid Console
- Go to the "License and plugin" page
- You will not have an active license
- Click the "Manage license" button
- Log in with yourSoffid account received from Soffid
Step 4.2 Apply license
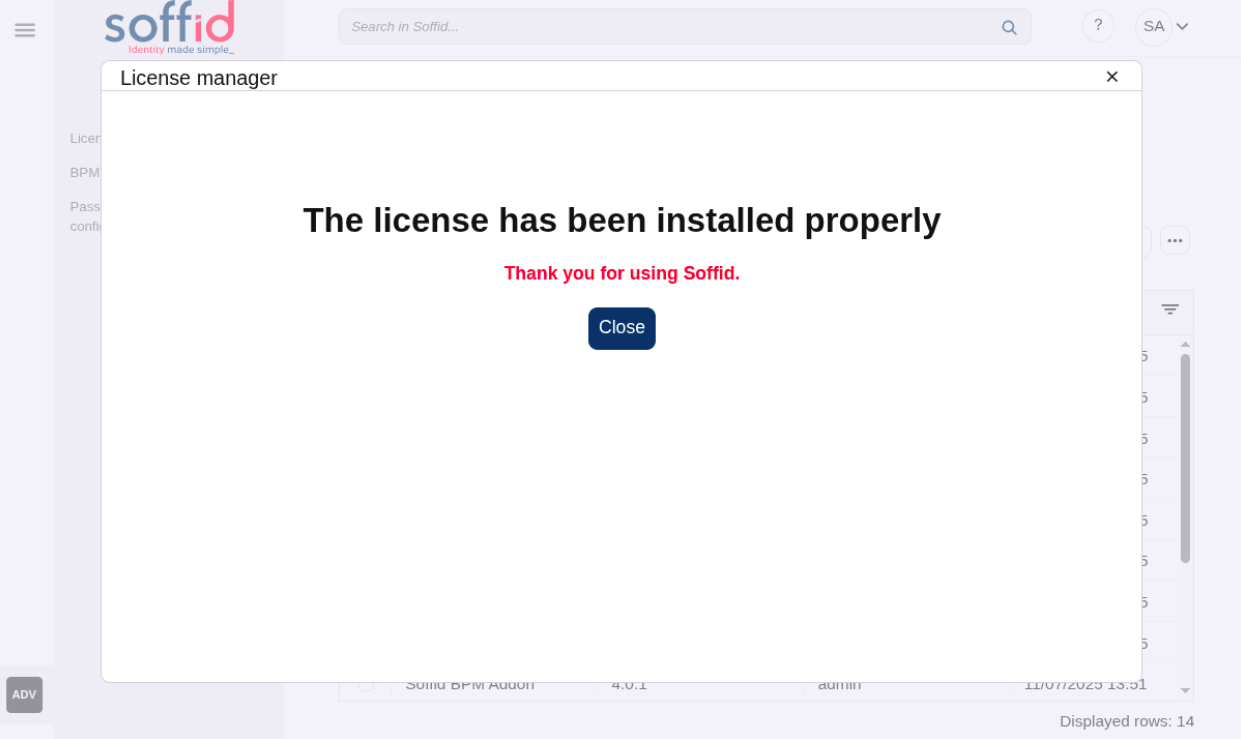
- Select your new license
- Accept the conditions
- Finally you will have an active license and access to all pages
Step 4.3 Welcome to Soffid 4!
You will now be able to access all of Soffid’s features.