Full installation of Soffid 4 as dev/test environment (for Soffid users)
Introduction
This guide is only for Soffid users.
This guide describes all the steps required to install Soffid 4 as dev/test environment.
The simplest installation is using Docker Compose.
Prerequisites
Sources:
User prerequisites
- To have a Linux machine; Ubuntu 24 has been used for this tutorial.
- The Linux administrator user has sudo privileges.
- To have a Soffid user.
Soffid prerequisites
- Your Soffid user has to had a special role to download Soffid 4 images.
- Your Soffid user has to has a Soffid 4 license.
Docker & Docker compose
Sources:
- https://bookstack.soffid.com/books/soffid-internal-documentation/page/how-to-install-docker
- https://bookstack.soffid.com/books/soffid-internal-documentation/page/how-to-install-docker-compose
- https://bookstack.soffid.com/books/soffid-internal-documentation/page/docker-compose-commands#bkmrk-use-docker-without-s
The first step is to install Docker and Docker compose. Docker is the platform and compose is a tool that simplifies management.
Install docker
Install docker.
sudo apt-get update
sudo apt-get install docker.io
docker --version
To use docker without sudo.
| Command | Comment |
|
sudo gedit /etc/group |
Edit the file with your editor (gedit for this example) |
| docker:x:988:YOUR-USER | Add YOUR-USER at the end of the docker command without : at the end |
| logout | Log out from the ubuntu session |
| login | Log in into the ubuntu session |
| docker ps | Confirm that you do not need to use sudo with a docker command |
Install docker compose
sudo apt-get install docker-compose-plugin
docker compose version
Soffid 4 docker registry
Sources:
Soffid 4 has transitioned from Docker Hub to Google Cloud Artifact Registry for image distribution. To successfully download Soffid 4 images, you must complete the following configuration steps.
Install and configure gcloud cli
sudo apt-get install ca-certificates gnupg curl
curl https://packages.cloud.google.com/apt/doc/apt-key.gpg | sudo gpg --dearmor -o /usr/share/keyrings/cloud.google.gpg
echo "deb [signed-by=/usr/share/keyrings/cloud.google.gpg] https://packages.cloud.google.com/apt cloud-sdk main" | sudo tee -a /etc/apt/sources.list.d/google-cloud-sdk.list
sudo apt-get update && sudo apt-get install google-cloud-cli
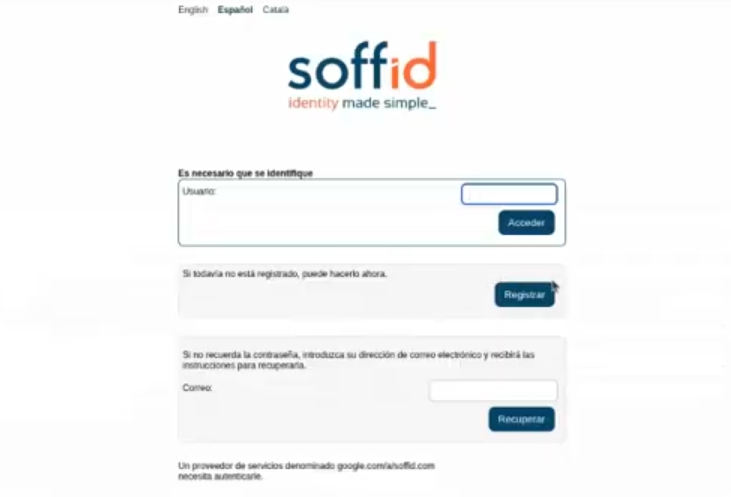
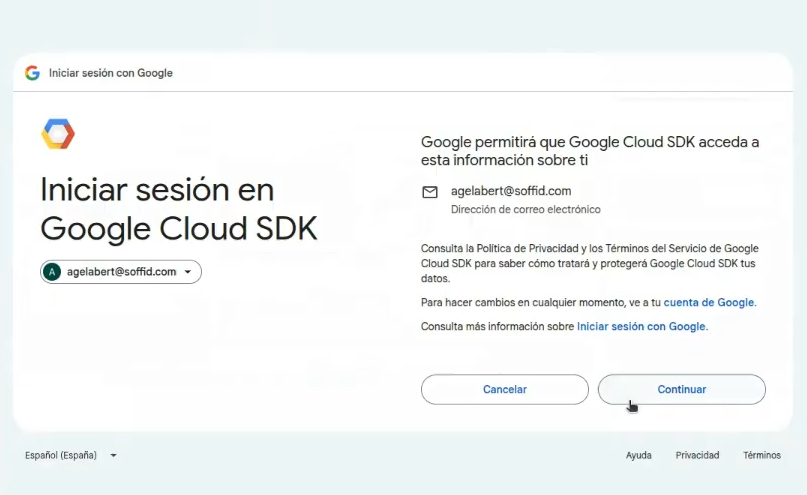
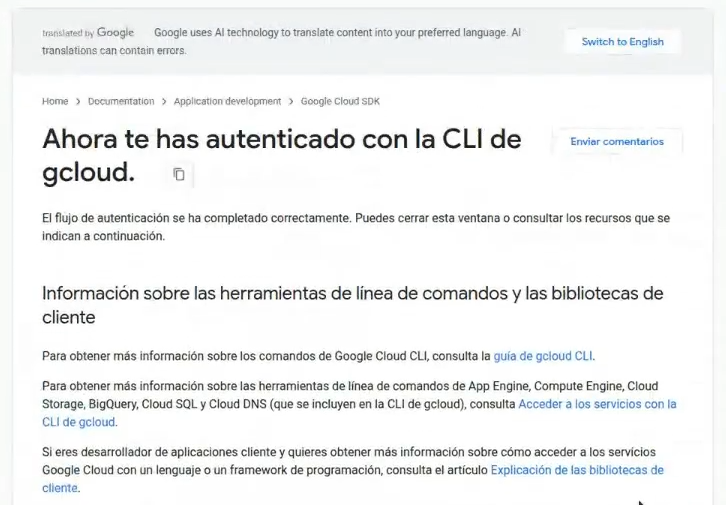
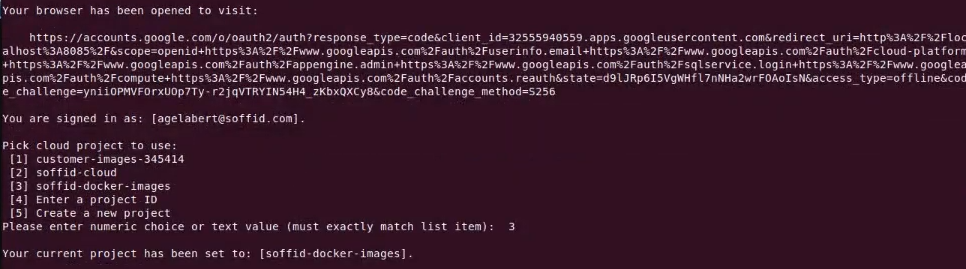
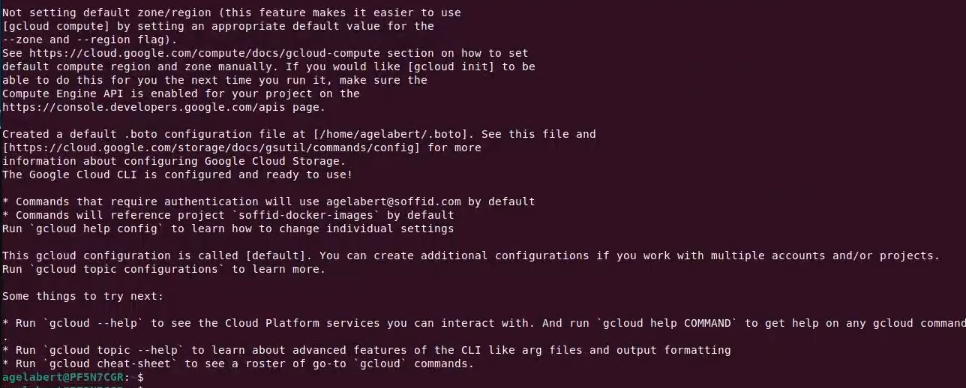
gcloud init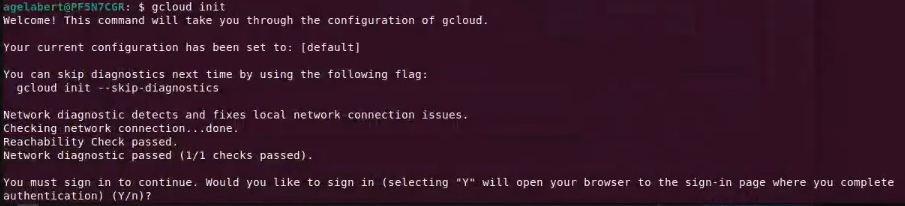
Sign in with your Soffid account
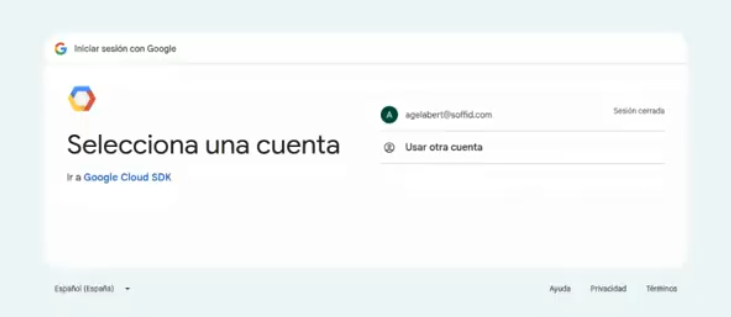
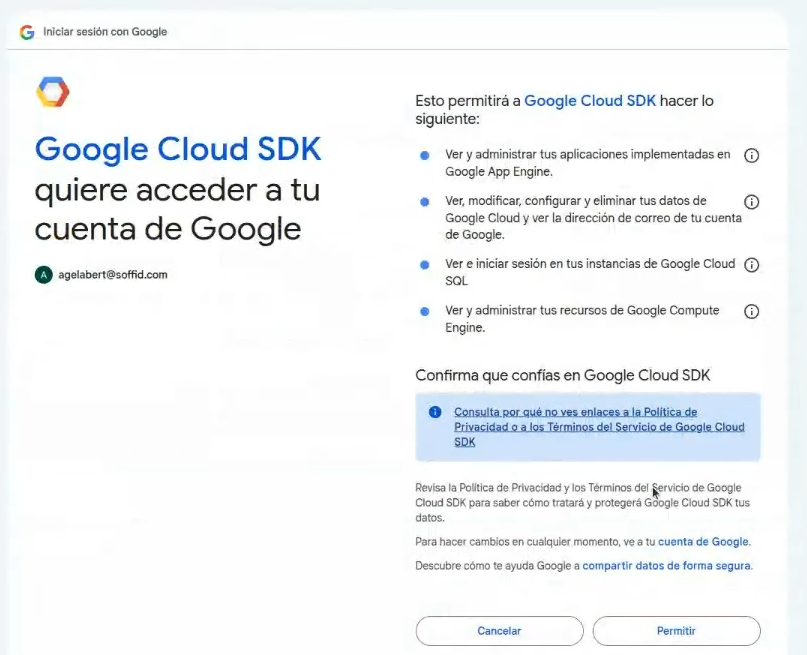
Select the project: soffid-docker-images
Register the domain
gcloud auth configure-docker europe-docker.pkg.dev
Test de configuration
Test the configuration pulling an image (¡Do not use sudo with docker, it does not work!).
docker pull "europe-docker.pkg.dev/soffid-docker-images/private/iam-console:4.0.0"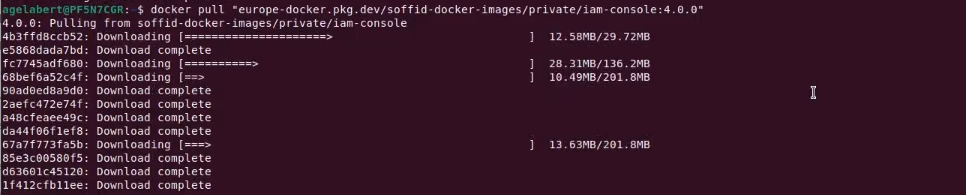
Install Soffid 4
Sources:
At this link, you can see the most commonly used Docker Compose commands: Docker compose commands
Install Soffid 4 with docker compose
Create a the new file for the docker compose.
cd
mkdir lab
cd lab
mkdir soffid4
cd soffid4
touch docker-compose.yaml
Use this content for the docker-compose.yaml file.
Change the XXXX password and YYYY password for your values.
services:

  mariadb:
    image: mariadb:11.4
    environment:
      MYSQL_ROOT_PASSWORD: XXXX
      MYSQL_DATABASE: soffid
      MYSQL_USER: soffid
      MYSQL_PASSWORD: YYYY
    healthcheck:
      test: "/usr/bin/mariadb --user=root --password=XXXX --execute \"SHOW DATABASES;\""
      interval: 2s
      timeout: 20s
      retries: 10
    command: --max_allowed_packet=128M --innodb_log_file_size=256M --character-set-server=utf8mb4 --collation-server=utf8mb4_general_ci
    ports:
      - "3306:3306"
    networks:
      - network
    volumes:
      - mariadb_data:/var/lib/mysql

  console:
    image: europe-docker.pkg.dev/soffid-docker-images/private/iam-console:4.0.58
    environment:
      DB_URL: jdbc:mariadb://mariadb/soffid
      DB_USER: soffid
      DB_PASSWORD: YYYY
      JAVA_OPT: -Xmx4096m
    ports:
      - 8080:8080
      - 8443:8443
    networks:
    - network
    healthcheck:
      test: bash -c "(echo 'GET /soffid/anonymous/logo.svg HTTP/1.1' >&0; echo >&0; cat >&2;) <> /dev/tcp/localhost/8080"
      interval: 10s
      timeout: 20s
      retries: 10
      start_period: 40s
    volumes:
      - console_trust:/opt/soffid/iam-console-4/trustedcerts
      - console_conf:/opt/soffid/iam-console-4/conf
      - console_index:/opt/soffid/iam-console-4/index
    depends_on:
      mariadb:
        condition: service_started

  syncserver:
    image: europe-docker.pkg.dev/soffid-docker-images/private/iam-sync:4.0.35
    hostname: syncserver
    environment:
      SOFFID_PORT: 1760
      SOFFID_HOSTNAME: syncserver.network
      SOFFID_MAIN: yes
      DB_URL: jdbc:mysql://mariadb/soffid
      DB_USER: soffid
      DB_PASSWORD: YYYY
    ports:
      - 1760:1760
      - 1443:1443
    networks:
      - network
    volumes:
      - sync_conf:/opt/soffid/iam-sync/conf
    depends_on:
      mariadb:
        condition: service_started

networks:
  network:
    name: network
    driver: bridge

volumes:
  mariadb_data:
    name: soffid4_mariadbdata
  console_trust:
    name: soffid4_console_trustedcerts
  console_conf:
    name: soffid4_console_conf
  console_index:
    name: soffid4_console_index
  sync_conf:
    name: soffid4_sync_conf
Generate the containers.
docker compose up -dAccess to the Console
Go to login page: http://localhost:8080
We have to wait until the login page will be prompted.
Accept the Update button.
User: admin / password: changeit (temporal for 24 hours).
Fill the new password and save it to use it later!
Now you will see this page.
Configure SSL access
Sources:
To correctly validate the new license, the Soffid Console must be SSL-enabled, it has to be open with the https protocol.
Publish the domains
If you have a local environment, create new entries in /etc/hosts (Linux) or C:\Windows\System32\drivers\etc\hosts (Windows).
# Soffid 4 local
127.0.0.1 console.soffid4.local
127.0.0.1 syncserver.soffid4.local
Generate a self-signed certificate (pfx).
TODO
Use 12345678 for all requiered passwords.
sudo openssl genrsa -aes256 -out console.soffid4.local.key
sudo openssl req -x509 -days 1000 -new -key console.soffid4.local.key -out console.soffid4.local.pem
sudo openssl pkcs12 -export -in console.soffid4.local.pem -inkey console.soffid4.local.key -out console.soffid4.local.pfx
Copy this certificate in the console container.
sudo docker compose cp console.soffid4.local.pfx console:/opt/soffid/iam-console-4/trustedcertsEnter the container, generate the jks file and configure it in the server.xml.
Publish the new port in docker compose and regenerate.
  consoleversion4:
...
    ports:
      - "8088:8080"
      - "8443:8443"
Update the system:
docker compose up -dConnect to the new URL:
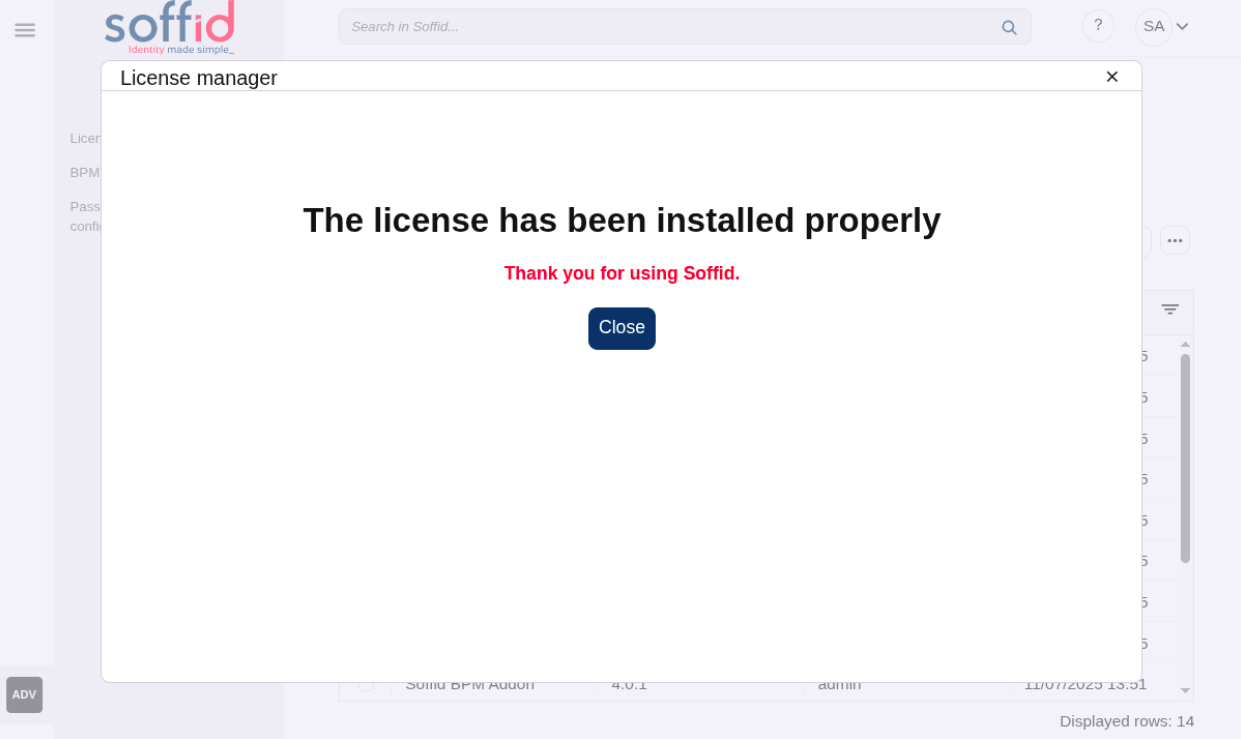
Apply the license
When accessing the Soffid Console for the first time, you will need to apply a licence that the Soffid team will have created for you beforehand. Check this link:
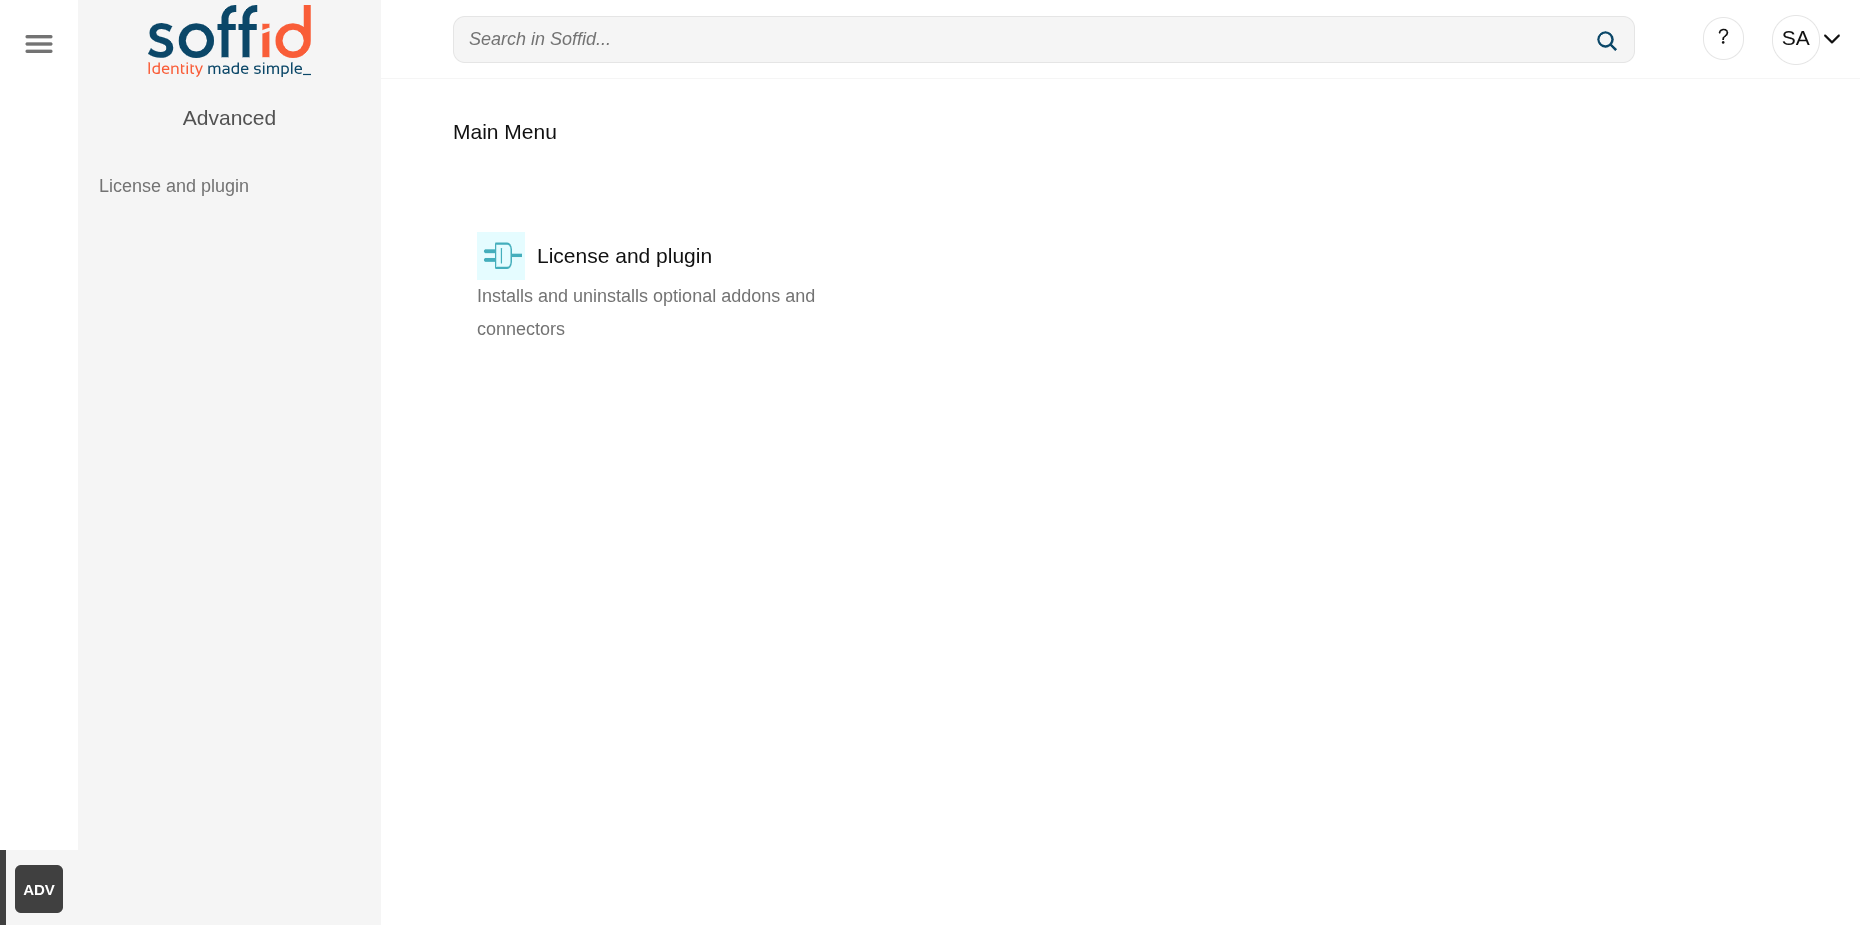
To apply the license follow these steps:
- Log into the Soffid Console
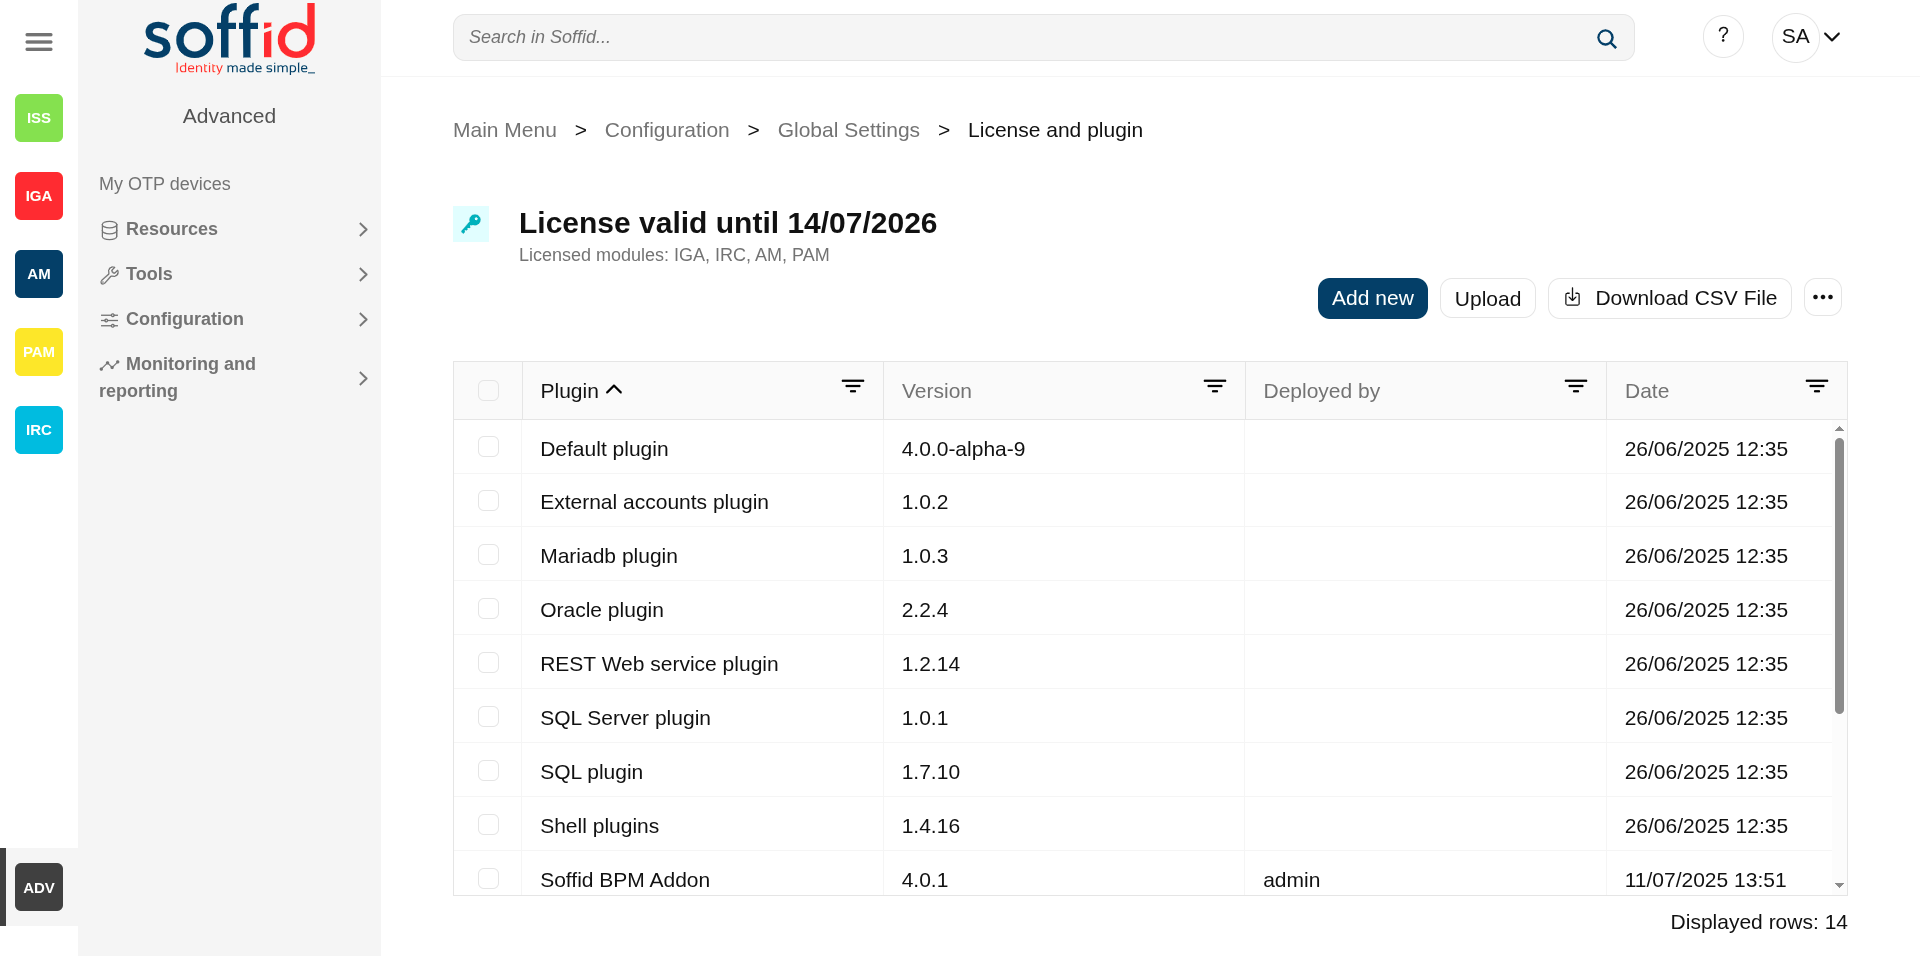
- Go to the "License and plugin" page
- You will not have an active license
- Click the "Manage license" button
- Log in with your new Soffid account received from Soffid
- Select your new license
- Accept the conditions
Finally you will have an active license and access to all pages