Active Directory back channel configuration
Introduction
Active Directory Back Channel refers to a mechanism that allows Soffid to synchronize user information with an external Active Directory (AD) server in real-time or near real-time. This synchronization ensures that both Soffid and AD maintain consistent and up-to-date data.
How to install Active Directory back channel?
Download
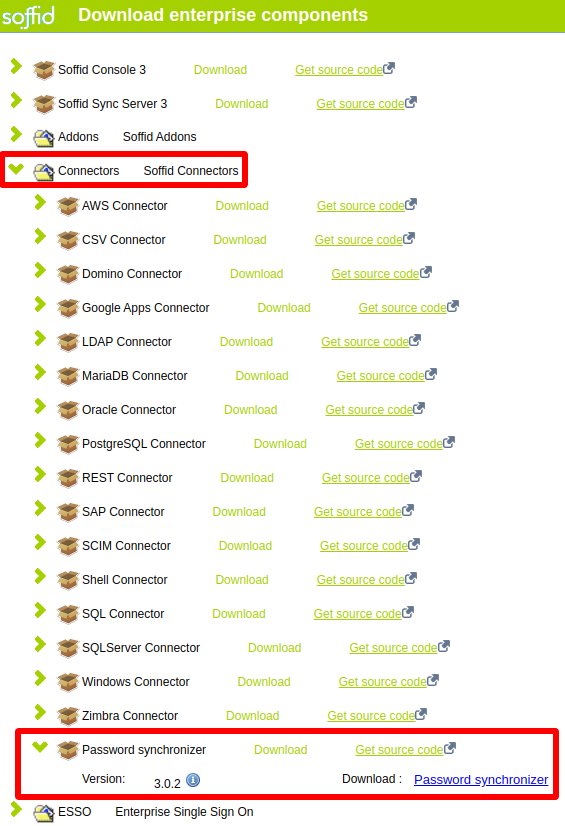
In order to configure the Active Directory back-channel, you must use the eris command line tool. To do this, please, download the Password Synchronizer from our download portal:
Install
First of all, you must install the Windows package "Password synchronizer-3.0.x.msi"
Once installed Password Synchronizer on your system, please change to eris or eris64 directory (\ProgramFiles\Soffid\eris64) and execute:
eris-ad-service installConfigure
Finally, you must configute the Password Synchronizer executing the following command:
eris-ad-service CONFIGURE url-syncserver agent-name- url-syncserver is the master sync server url (http://master.dom.dom:port)
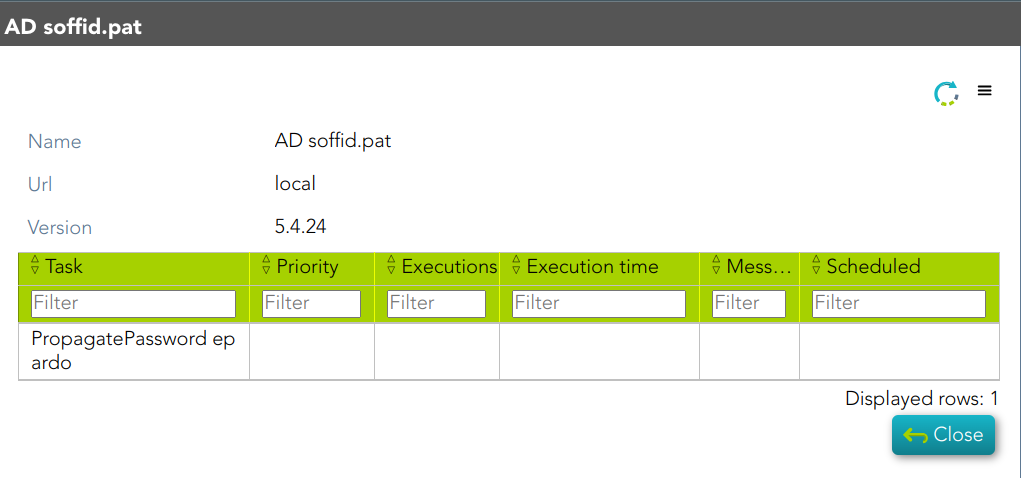
- agent-name is the agent code name configured on Soffid console.
To see more information when configuring use | more.
Example
eris-ad-service CONFIGURE https://sync-server.netcompose:1760/ "AD owatest.lab" | moreTest configuration
In order to test configuration, you must use the eris command line tool.
eris-ad-service TEST user passWhere user and pass can be dummy. If you use a real one it will be propagated to the system.
To see more information during test use | more.
Example
eris-ad-service TEST aretha password | more


