How to configure Office 365 as External SAML identity provider?
Introduction
Step-by-Step
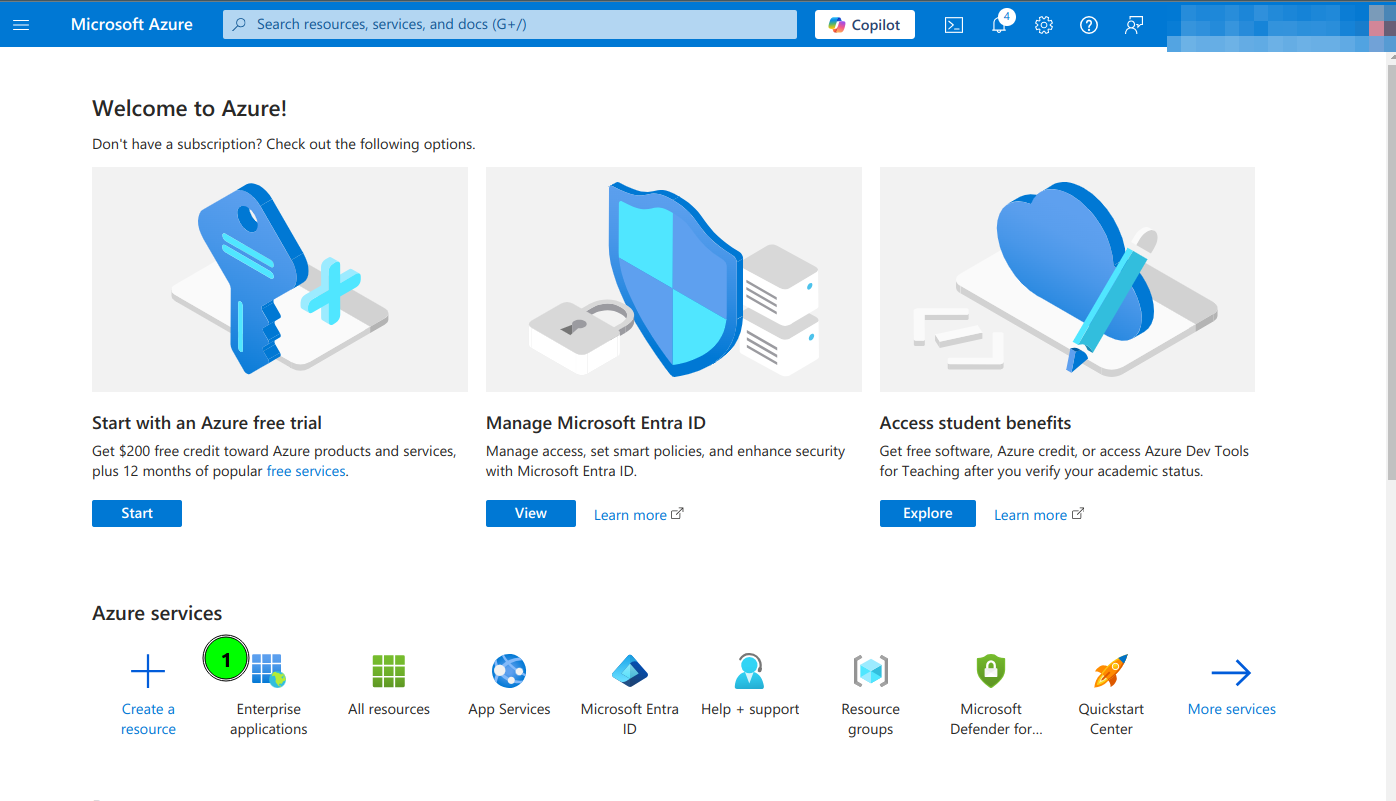
1. Open a https://portal.azure.com
2. Open Microsoft Entra ID and select Enterprise applications option
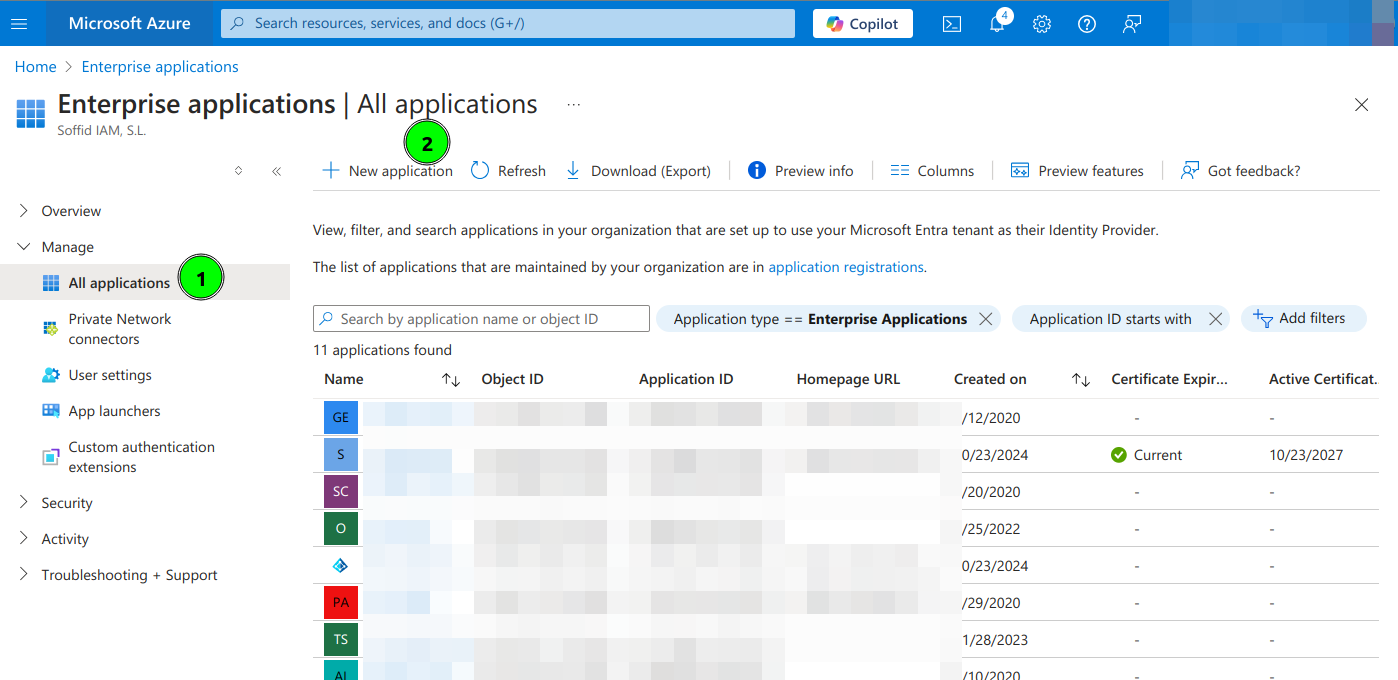
3. Select All applications and click New Application
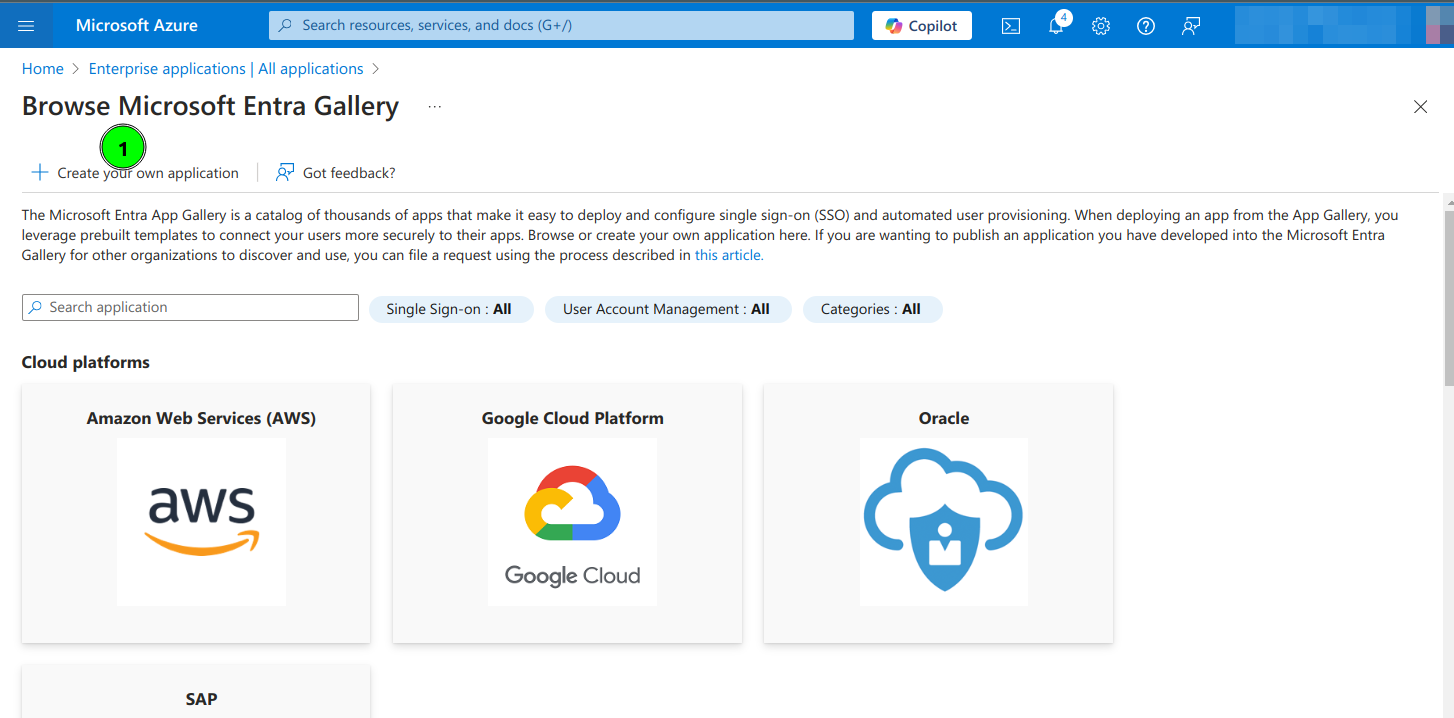
4. Select Create your own application
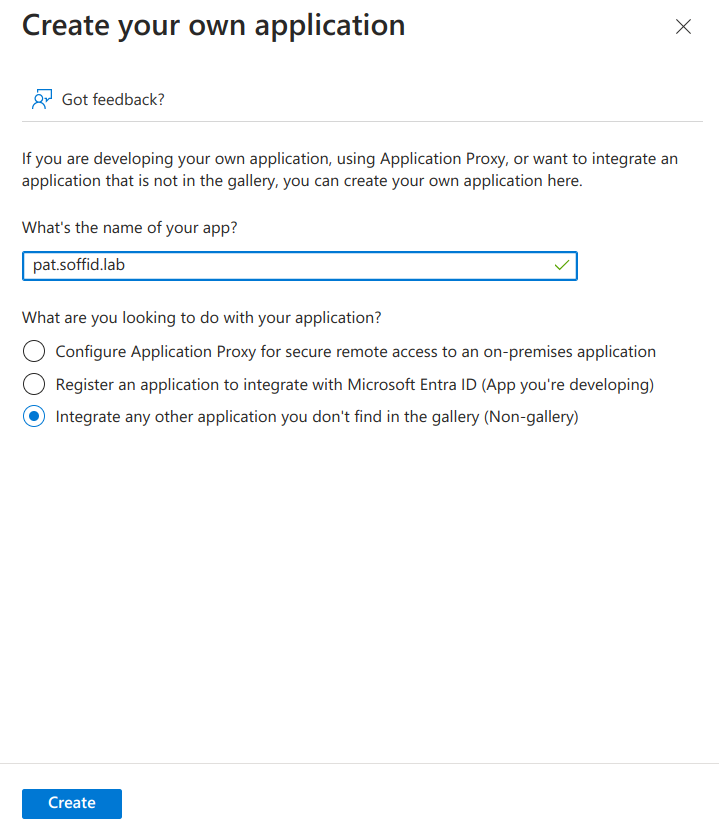
5. Type the name of your app and select the "Integrate any other application you don't find in the gallery (Non-gallery)" option
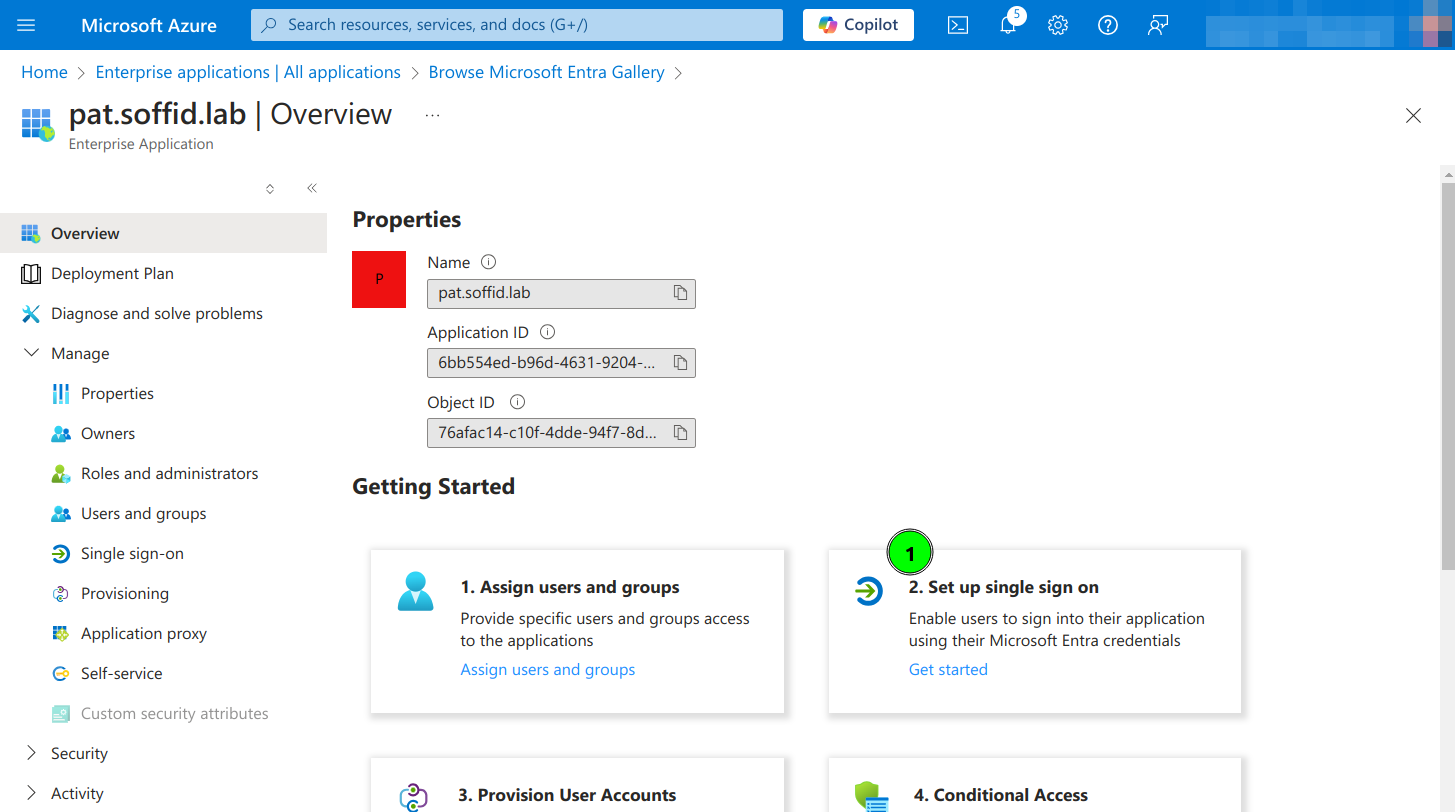
6. Click on Set up single sign on
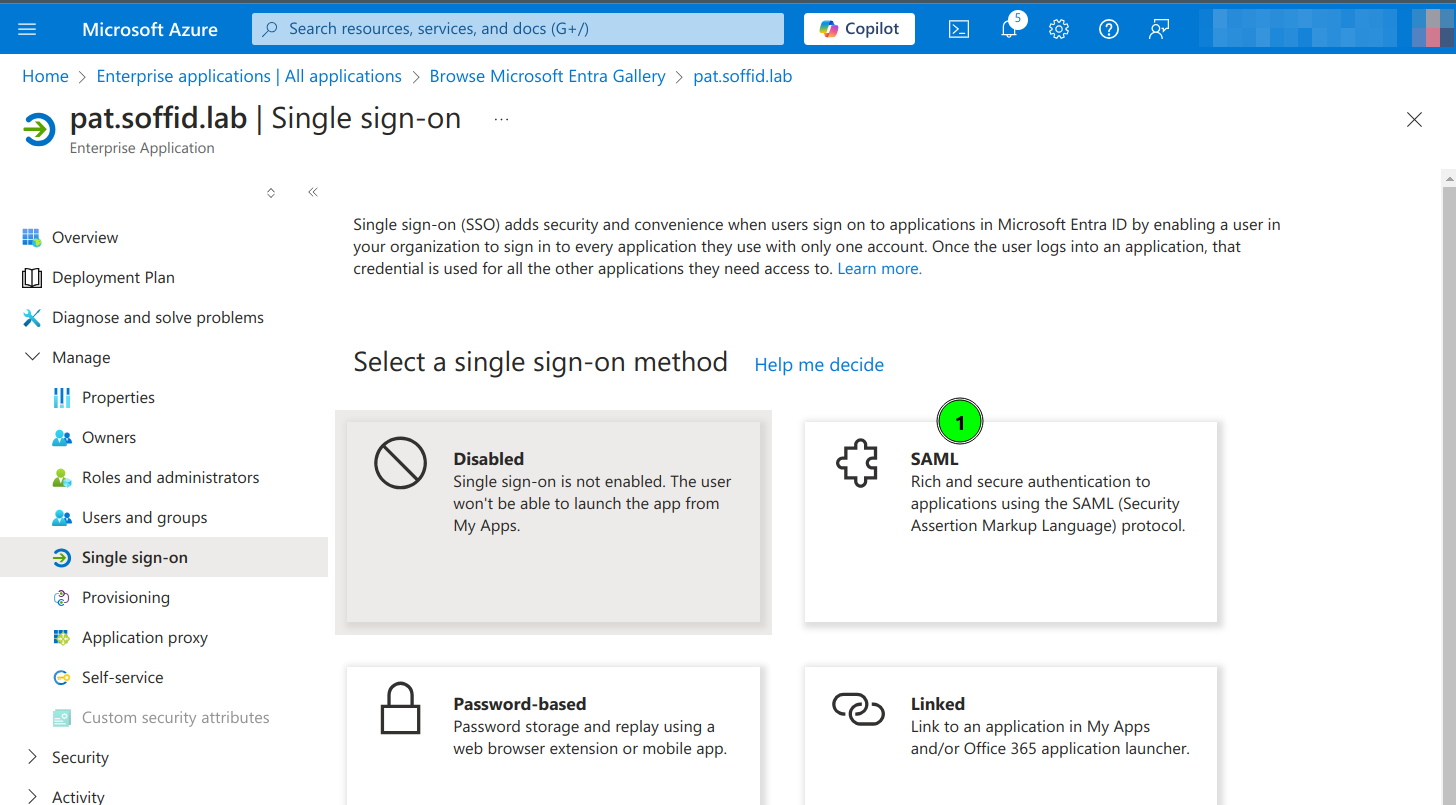
7. TClick the SAML option
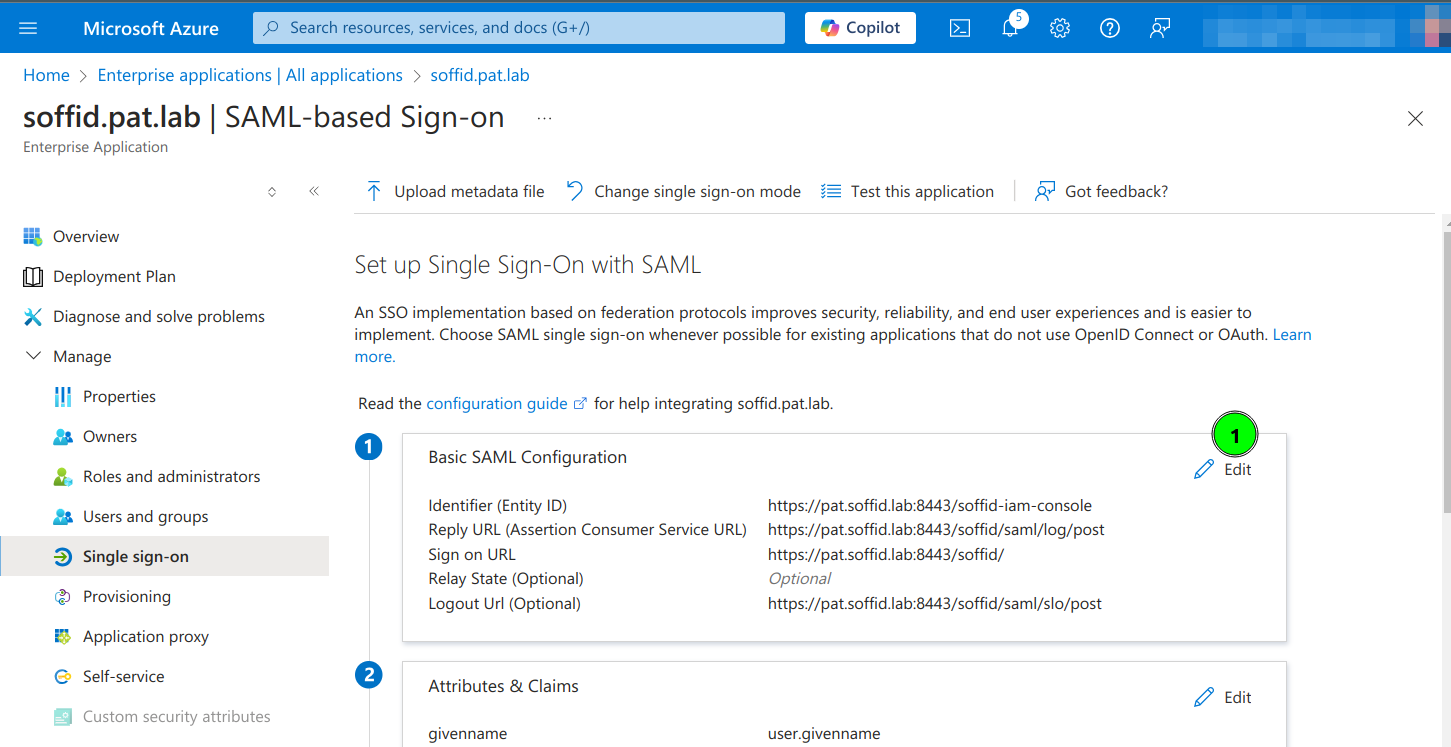
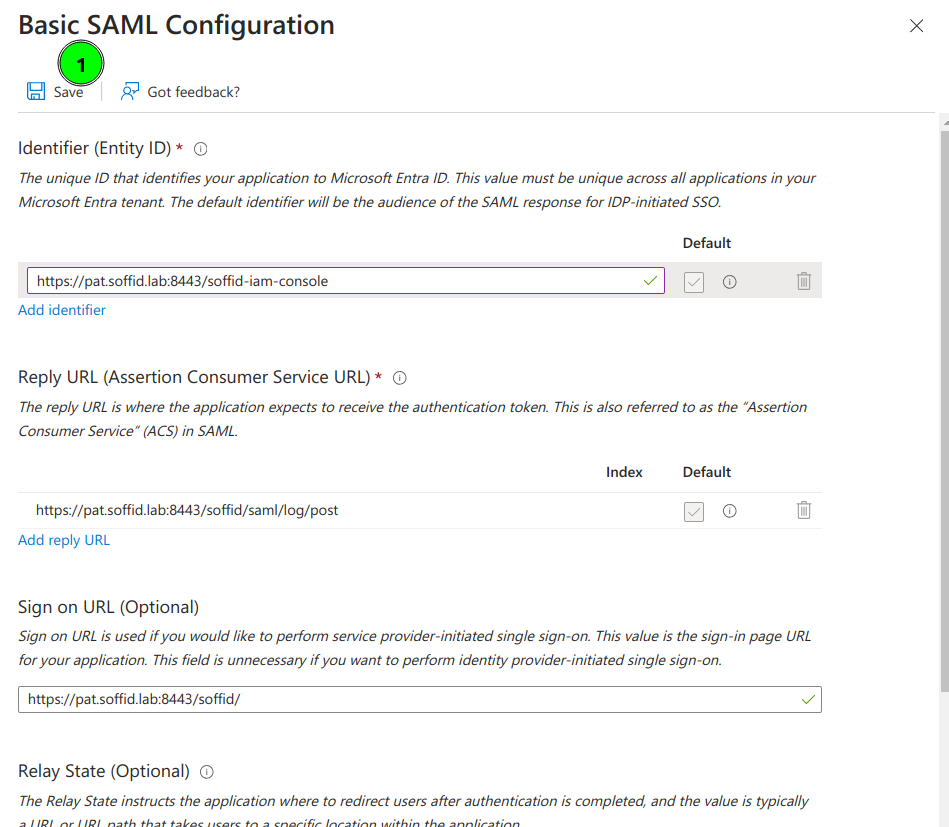
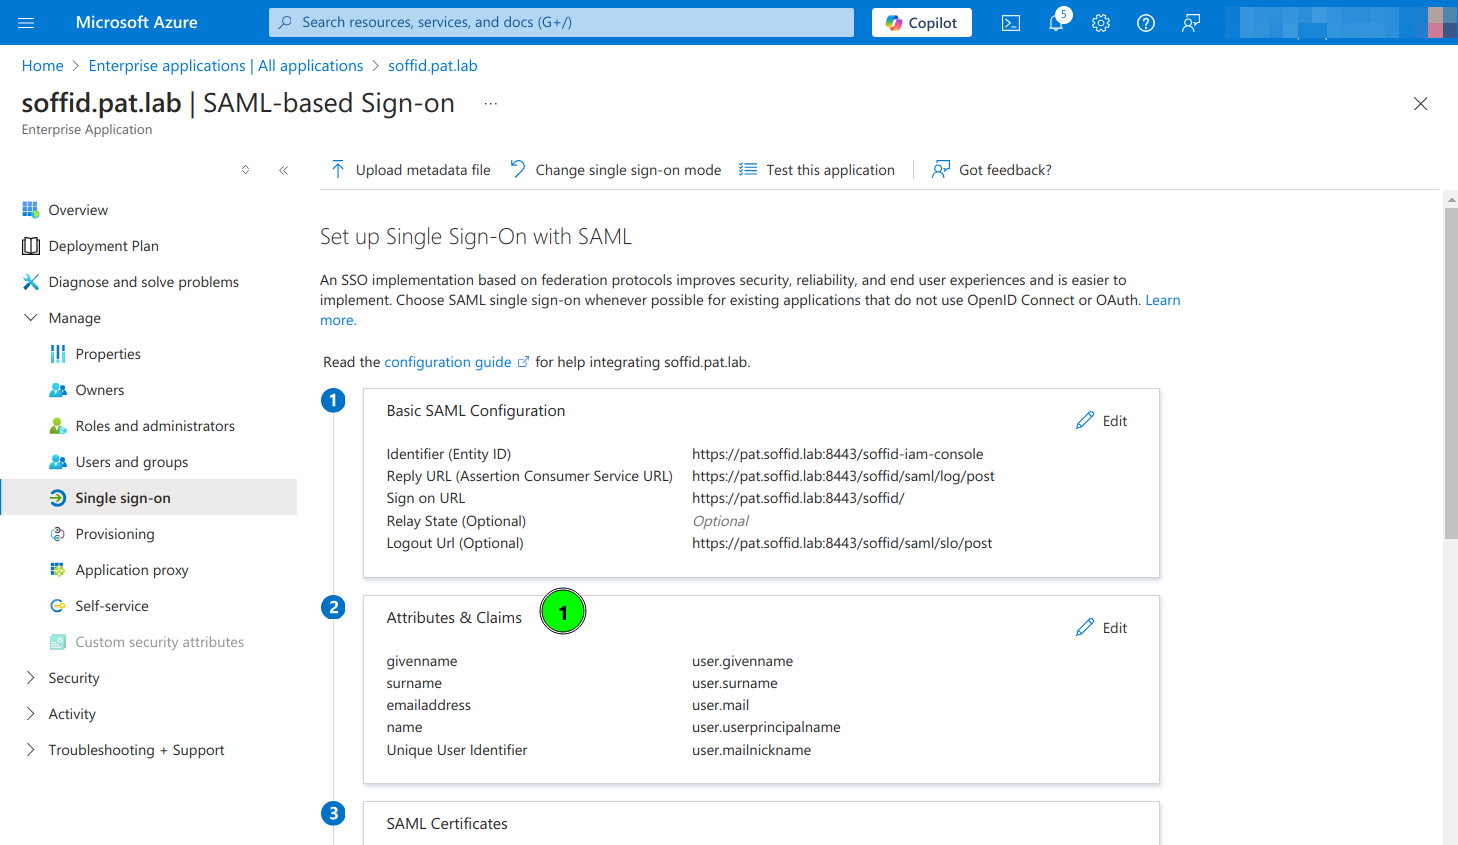
8. TEnter the Basic SAML Configuration and Save:
- Identifier: https://<YOUR-SERVER>/soffid-iam-console
- Reply URL: https://<YOUR-SERVER>/soffid/saml/log/post
- Sign on URL: https://<YOUR-SERVER>/soffid/
- Logout URL: https://<YOUR-SERVER>/soffid/saml/slo/post
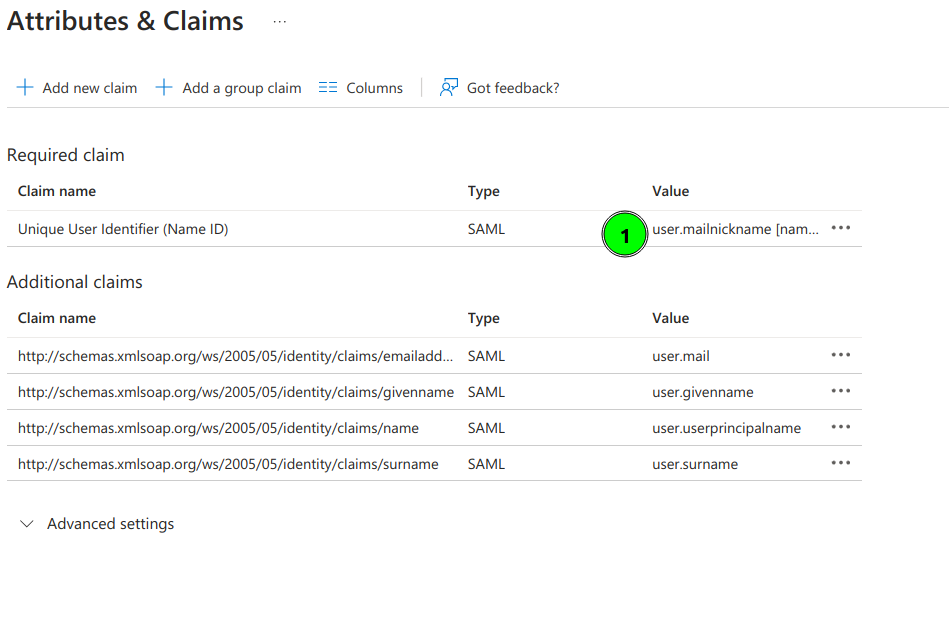
9. TConfigure Attributes & Claims and change the attributes and claims to send the mailnickname as the user identifier (nameid)
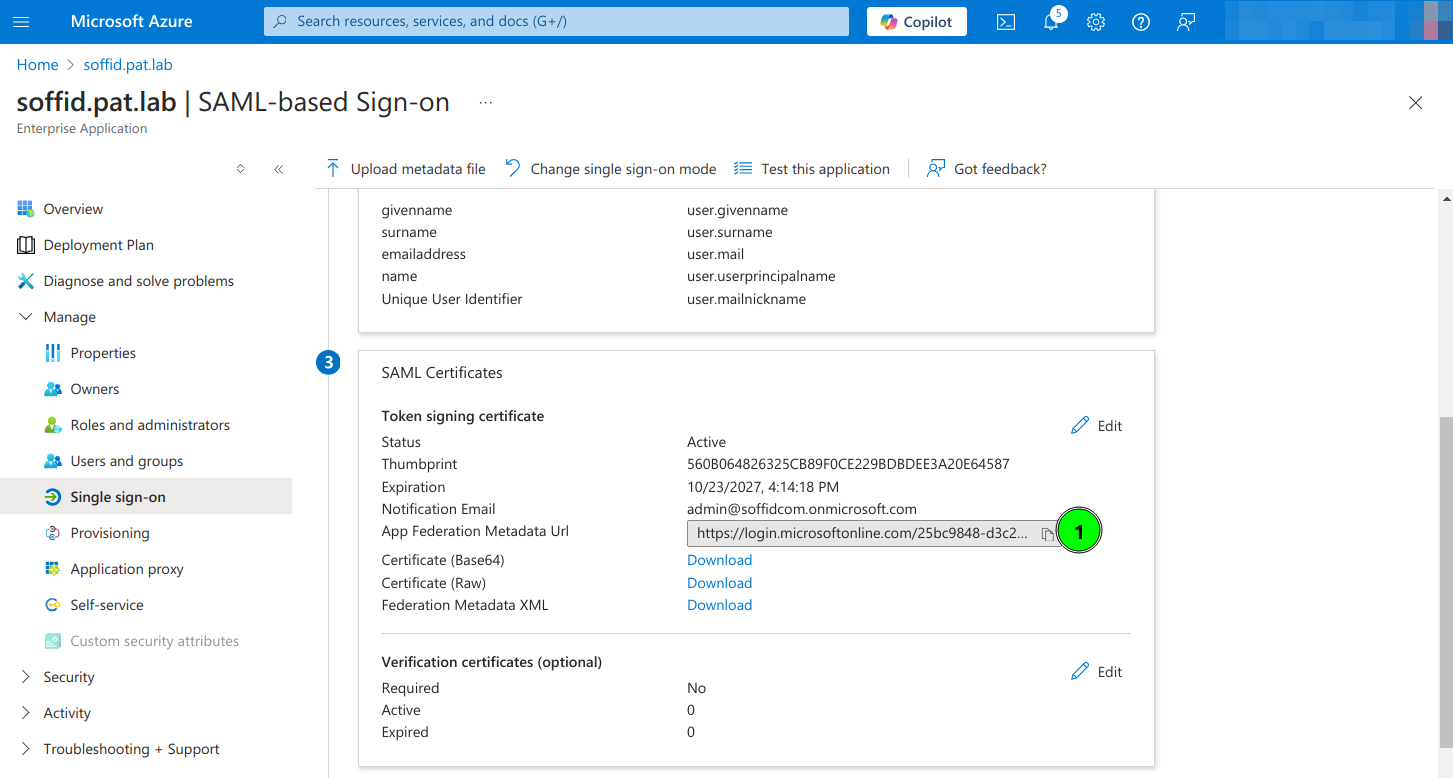
10. TCopy the App Federation Metadata Url
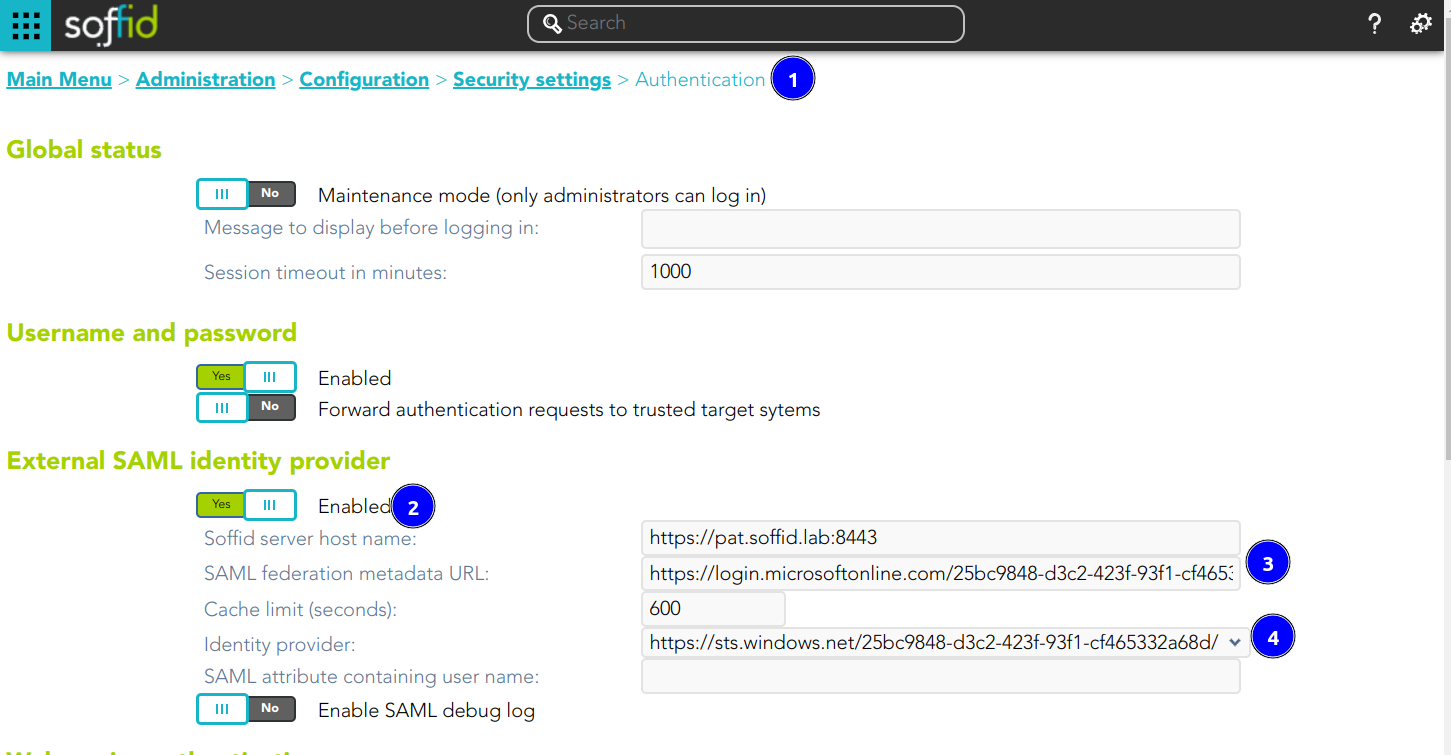
11. Configure the External SAML identity Provider in the Soffid Console Authentication page
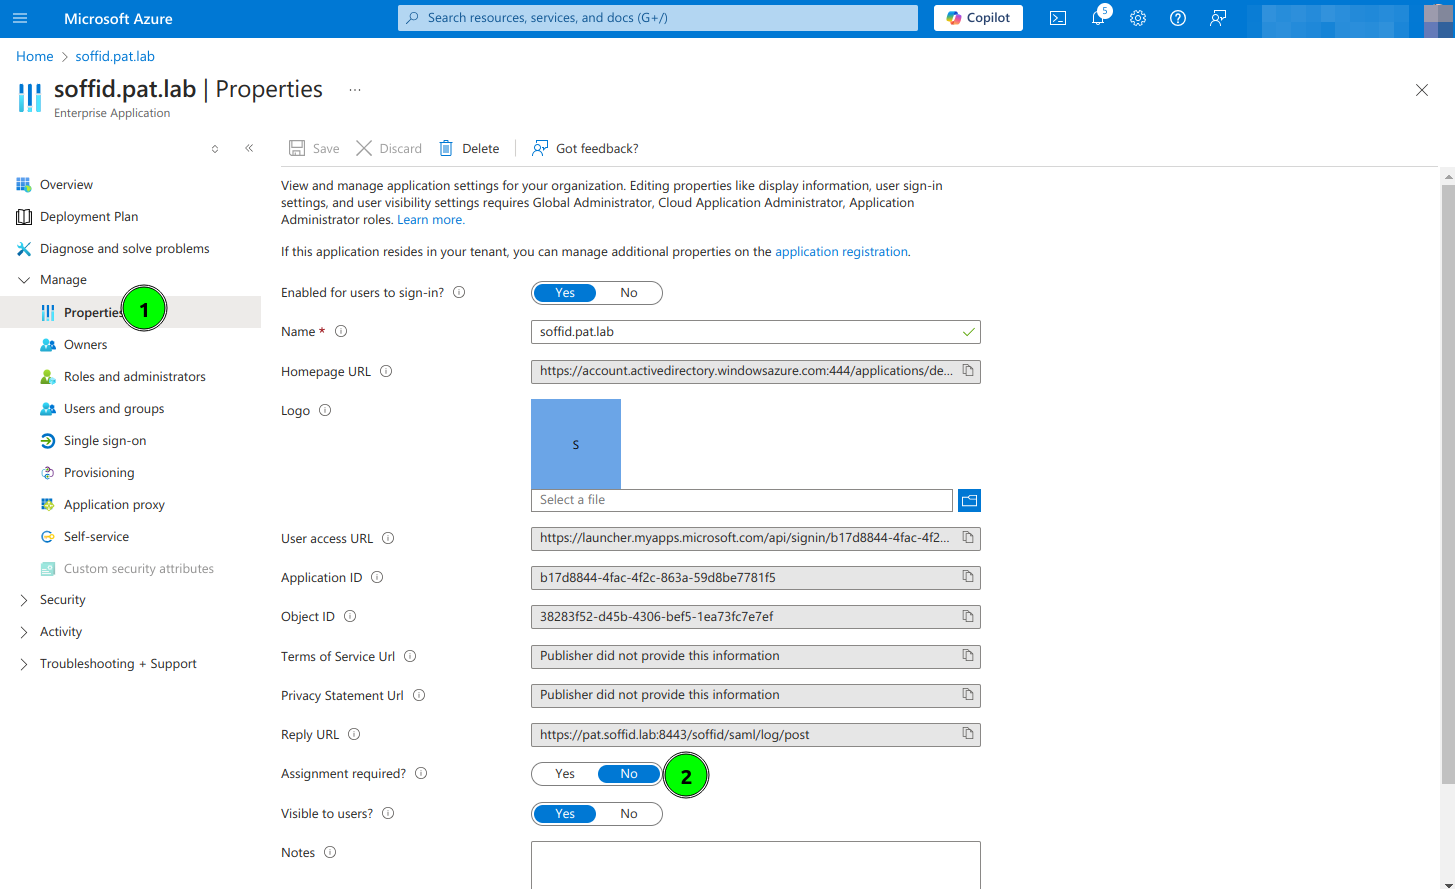
12. Optional, enable any user to login

