Add applications
Description
This wizard allows you to add a new Service Provider, that is, to configure an application that relies on an Identity Provider (IdP) to authenticate users and provide access to its services.
Step-by-step
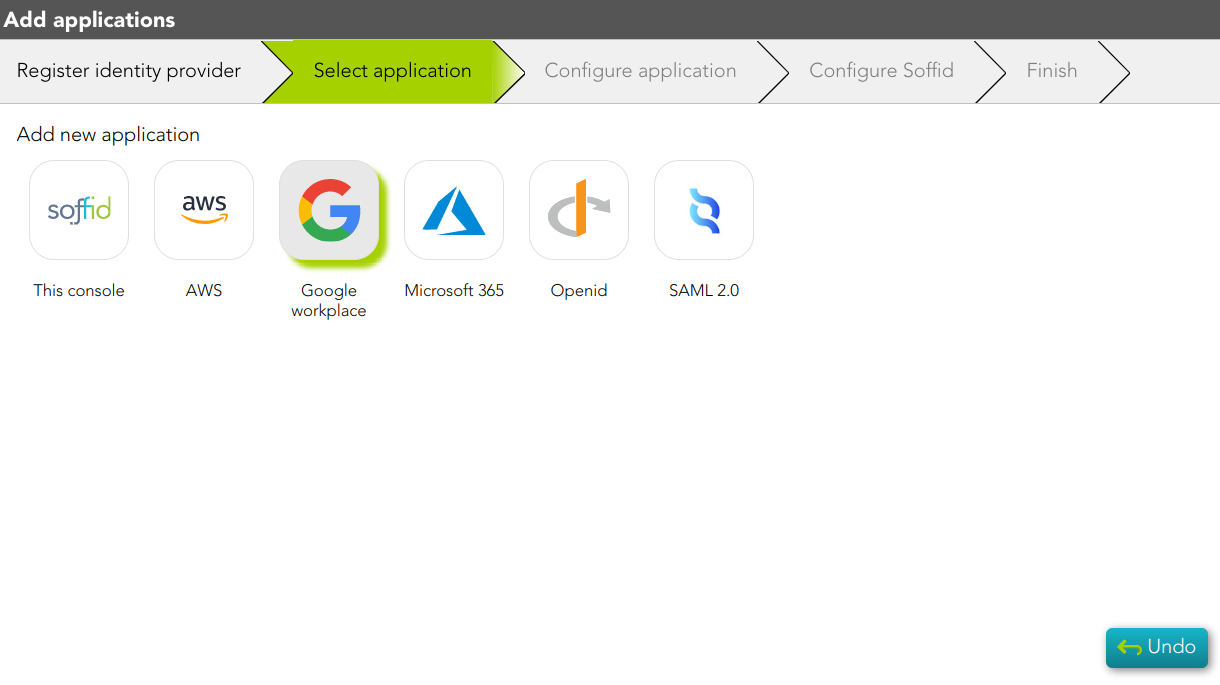
1. Once you select the Add application option, Soffid will display the Add Application Wizard
2. You must select the application you want to add.
2.1. Soffid app:
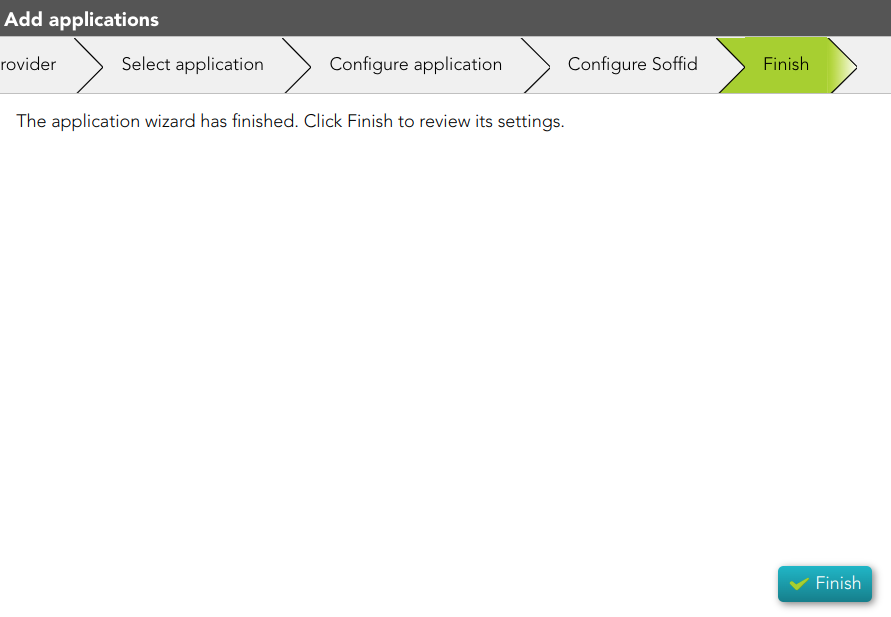
2.1.1. The Finish step will be displayed.
2.1.1. If you click the Finish button, Soffid will display the Service Provider page.
2.2. AWS app:
2.2.1 Soffid will download the proper certificate.
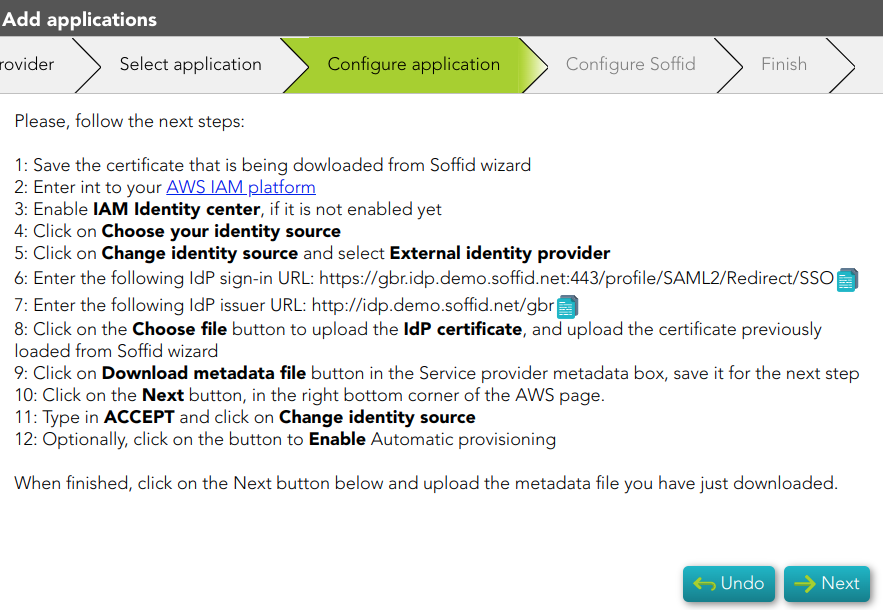
2.2.2 Once, you download the certificate, Soffid will display the Configure application step. You must follow the indicated steps at this point and click the Next button.
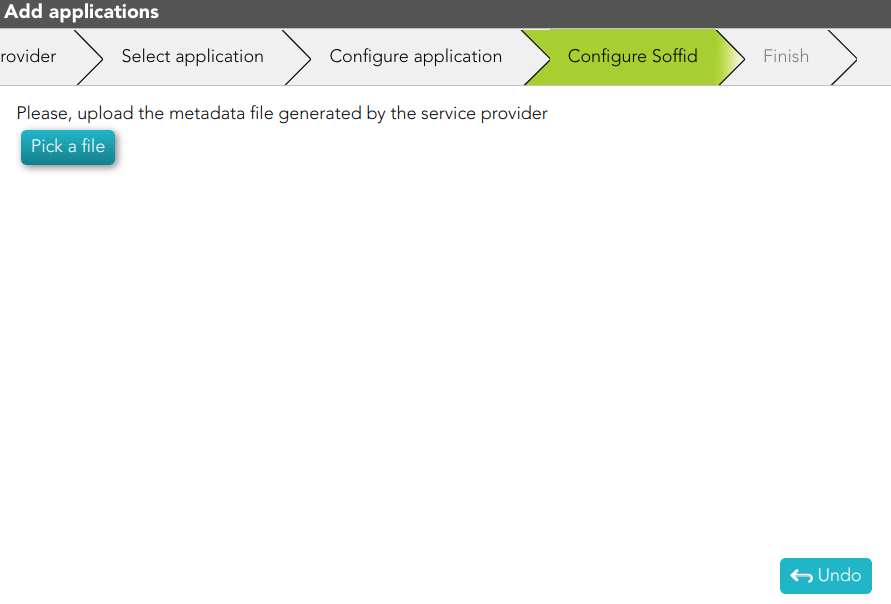
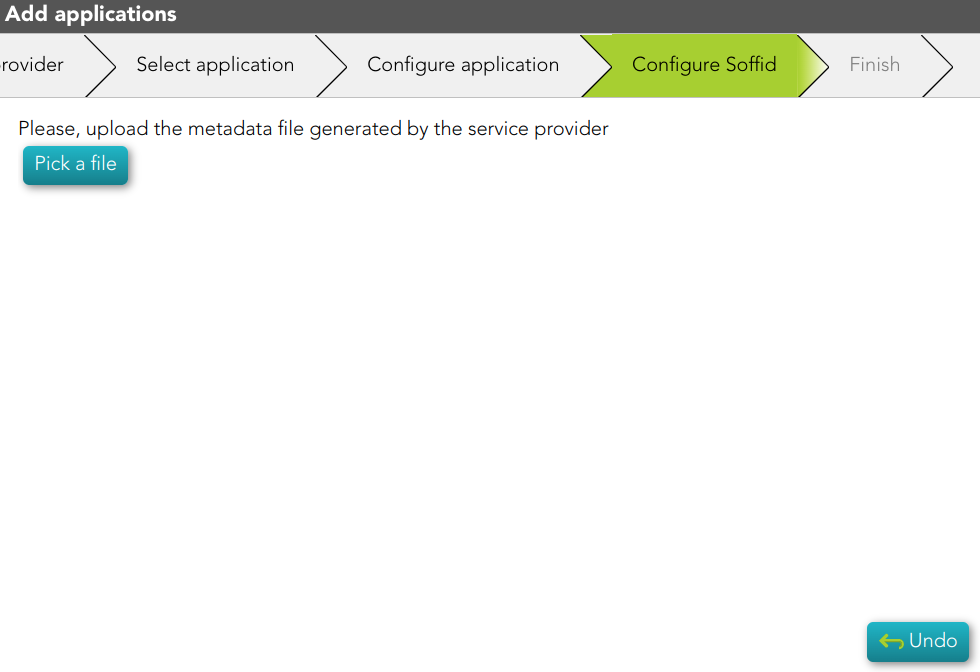
2.2.2 Then, you must upload the metadata of your service provider and click the Finish button.
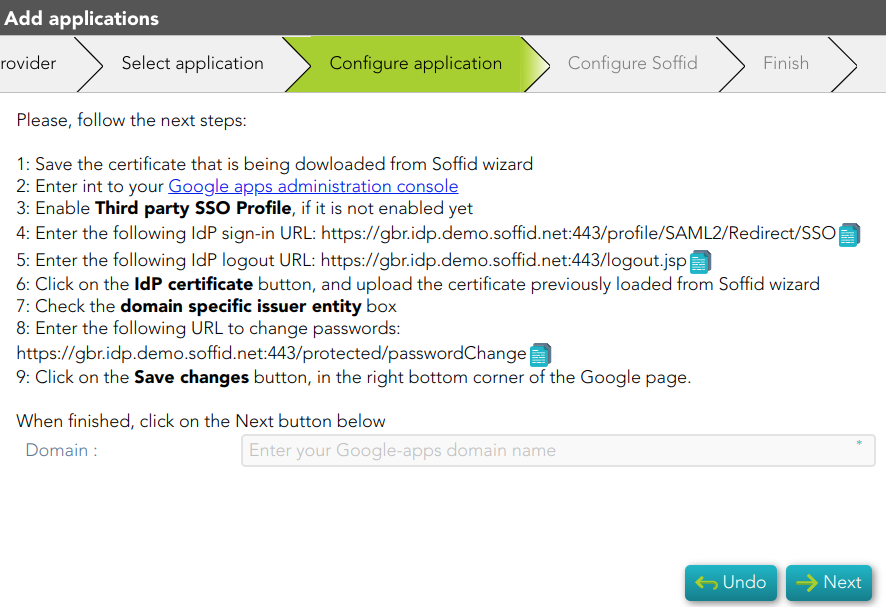
2.3. Google workplace app:
2.3.1 Soffid will download the proper certificate.
2.3.2 Once, you download the certificate, Soffid will display the Configure application step. You must follow the indicated steps at this point, fill in the Domain, and click the Next button.
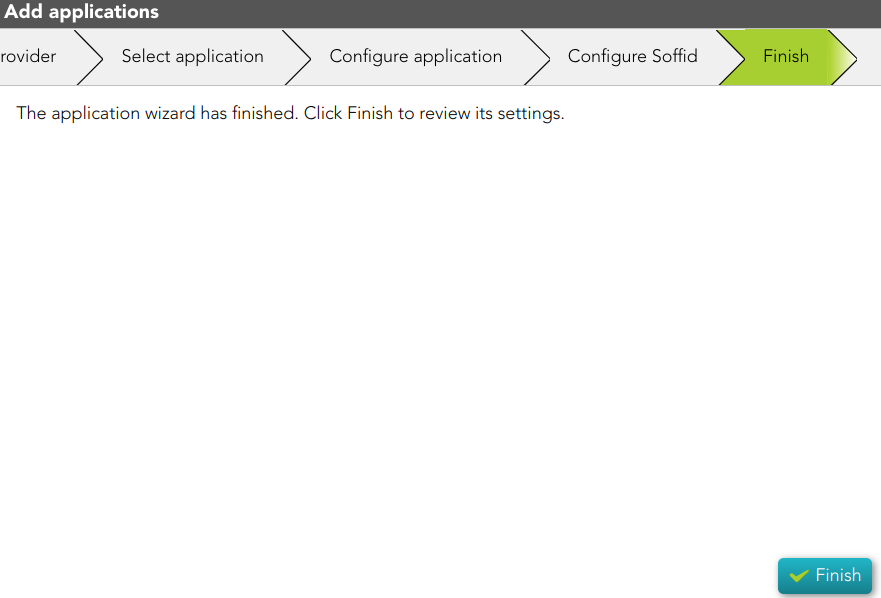
2.3.3 Then, you must click the Finish button.
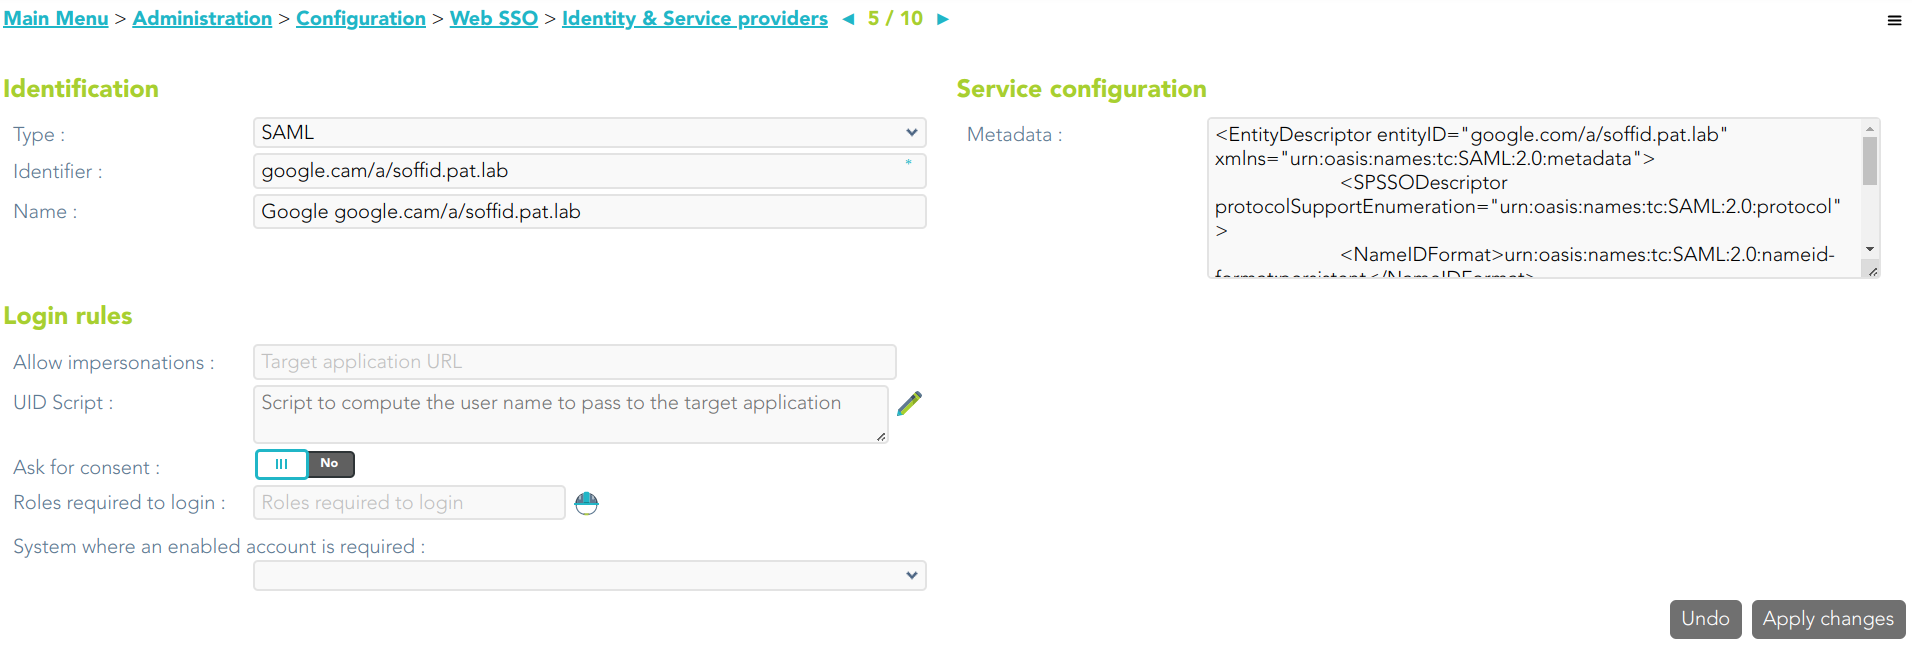
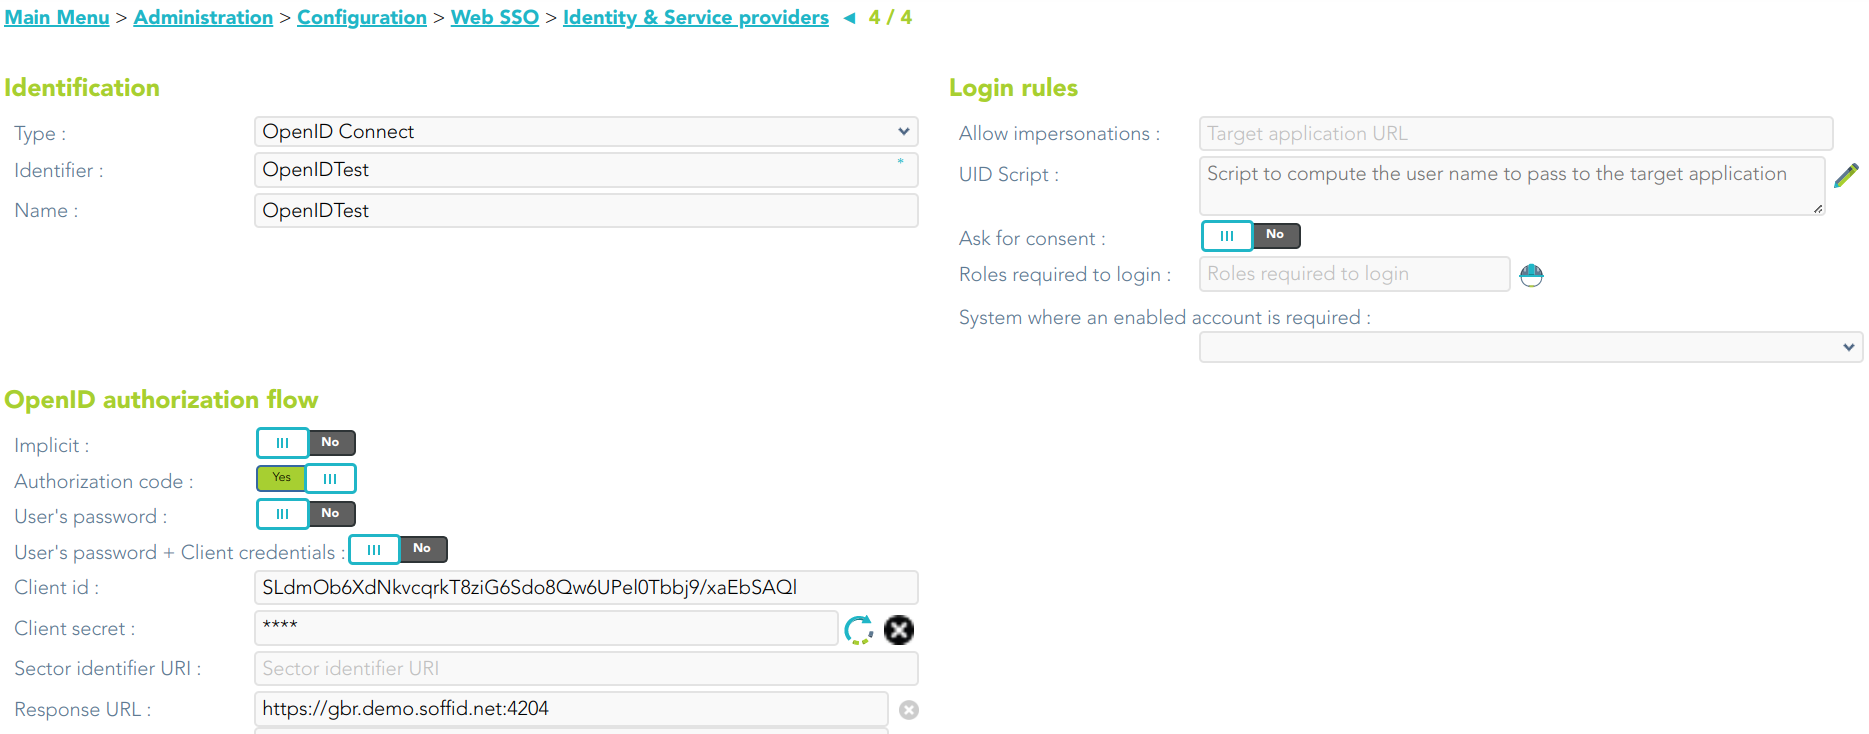
2.3.4 Finally, Soffid will browse to the Service Provider page where you can finish the Service provider configuration.
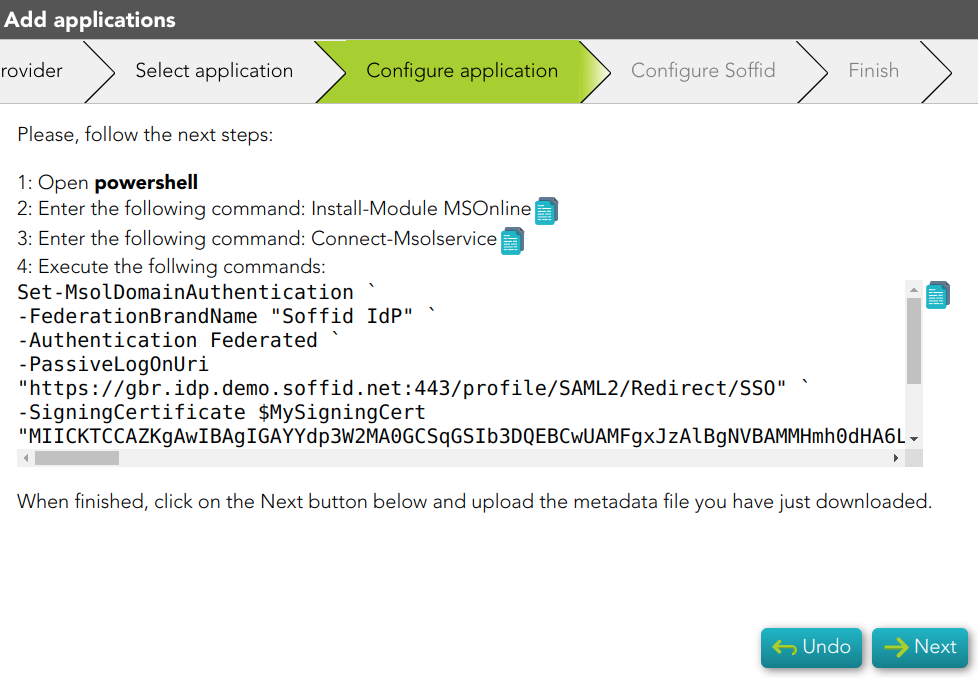
2.4. Microsoft 365 app:
2.4.1. When you select this option, Soffid will display the Configure application step. You must follow the indicated steps at this point, and click the Next button.
2.4.2 Then, you must click the Finish button.
2.4.3 Finally, Soffid will browse to the Service Provider page where you can finish the Service provider configuration.
2.5. OpenID app:
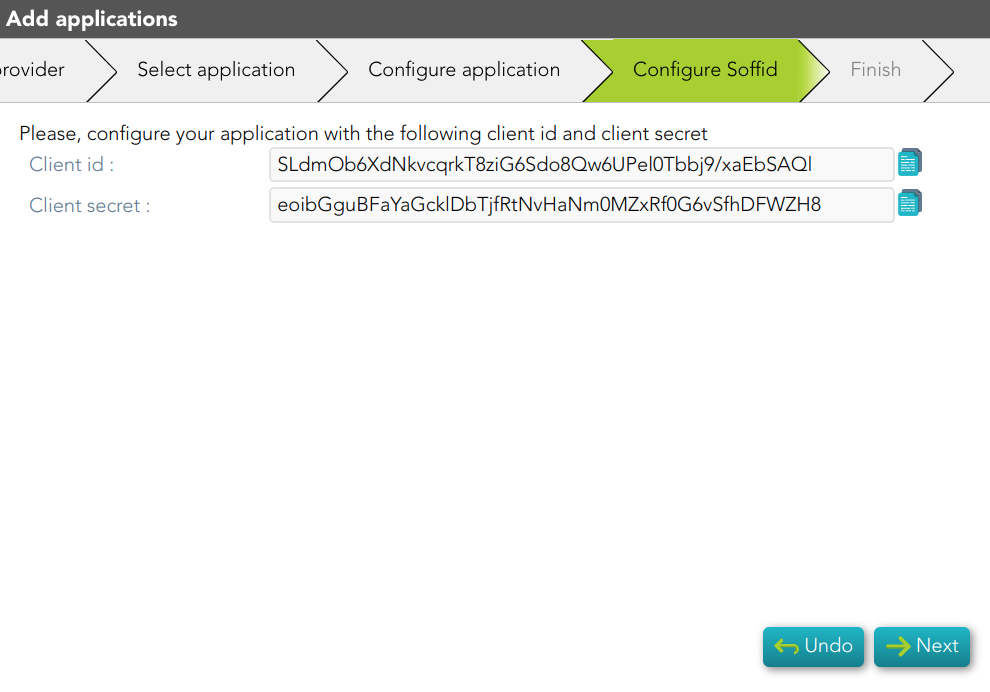
2.5.1. When you select this option, Soffid will display the Configure application step. You must configure your Service Provider, and click the Next button.
2.5.2. Then Soffid will return you the Client id and Client secret
2.5.3 Then, you must click the Finish button.
2.5.4 Finally, Soffid will browse to the Service Provider page where you can finish the Service provider configuration.
2.6. SAML 2.0 app:
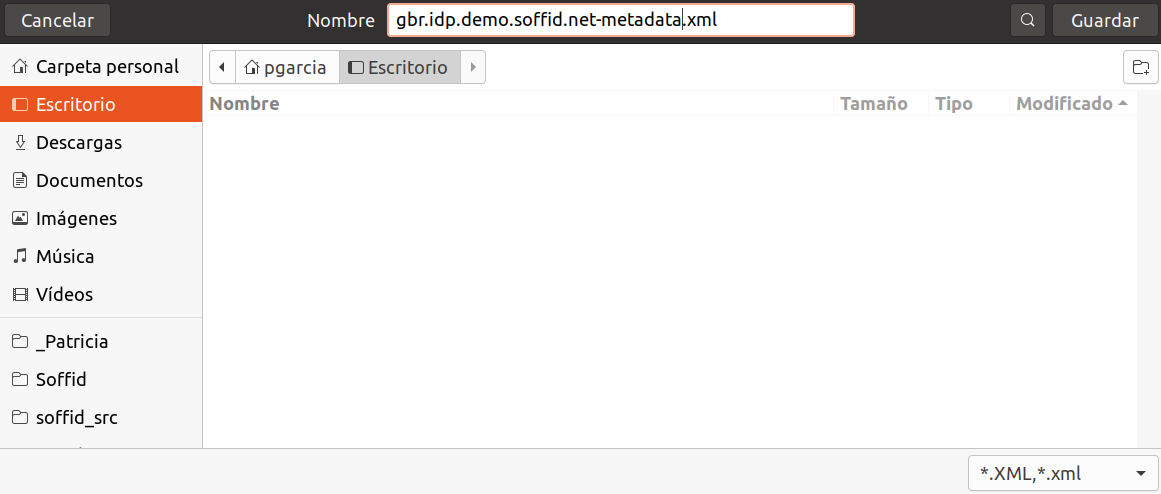
2.6.1 Soffid will download the metadata XML file.
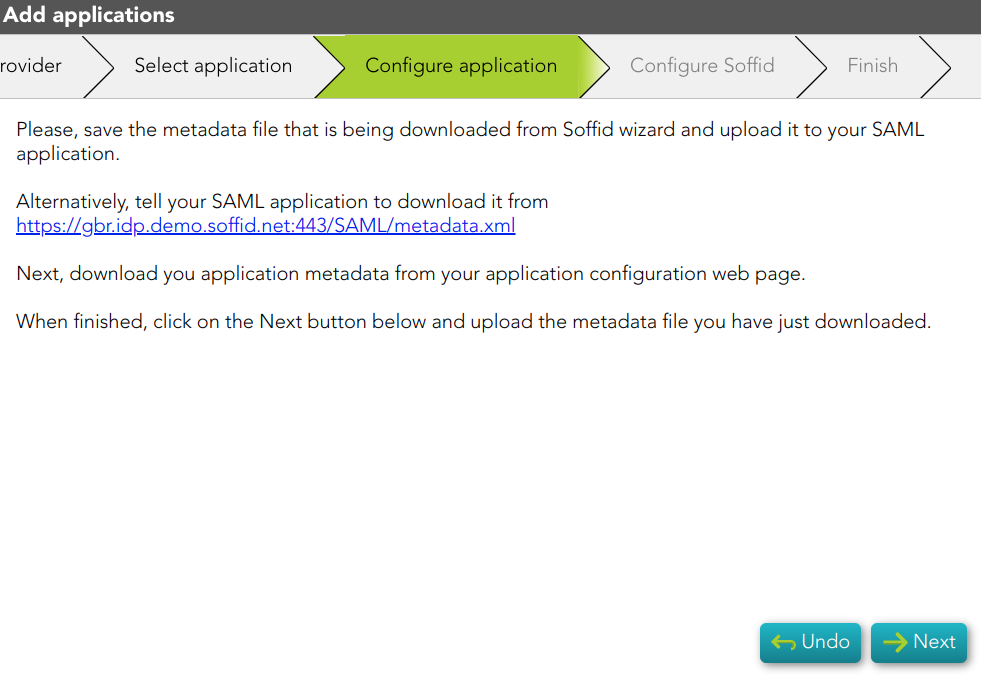
2.5.2 Once, you download the metadata file, Soffid will display the steps to follow.
2.5.3 Then, you have to upload the metadata file generated by the Service Provider

