| ```XML
|
The data model documentation, including [E-R diagrams is here](http://www.soffid.org/doc/console/latest/uml/entities.html).
6. Upload your report to Soffid Console. 7. Execute or schedule it!!! # Using JasperReports ## Introduction Soffid provides an addon to execute a custom Jaspersoft report designer. Configure a new Soffid data adapter will be mandatory with the proper data to connect to Soffid console, it will not be necessary to configure the database connection. Then you can use your custom Jasper report designer, it will be in charge to make REST requests to the Soffid console, and Soffid console will make the requests to the database. Steps Once you have installed the Reporting add-on you must follow the following steps: 1. Download the Report designer from the Soffid download page. You could donwload in the following link [http://www.soffid.com/download/enterprise/](http://www.soffid.com/download/enterprise/) if you have Soffid user with authorization, or in the following [http://download.soffid.com/download/](http://download.soffid.com/download/) by registering. 2. Open the custom Jaspersoft report designer. ```shell root@soffid:/home/user/Descargas/jaspersoftstudio# ./Jaspersoft\ Studio ``` 3. Add a new Soffid Data Adapter - **Name**: data adapter name. - **Soffid console URL**: your Soffid console URL. - **User Name**: user to connect to Soffid Console. - **Password**: password to connect with the user to Soffid Console. [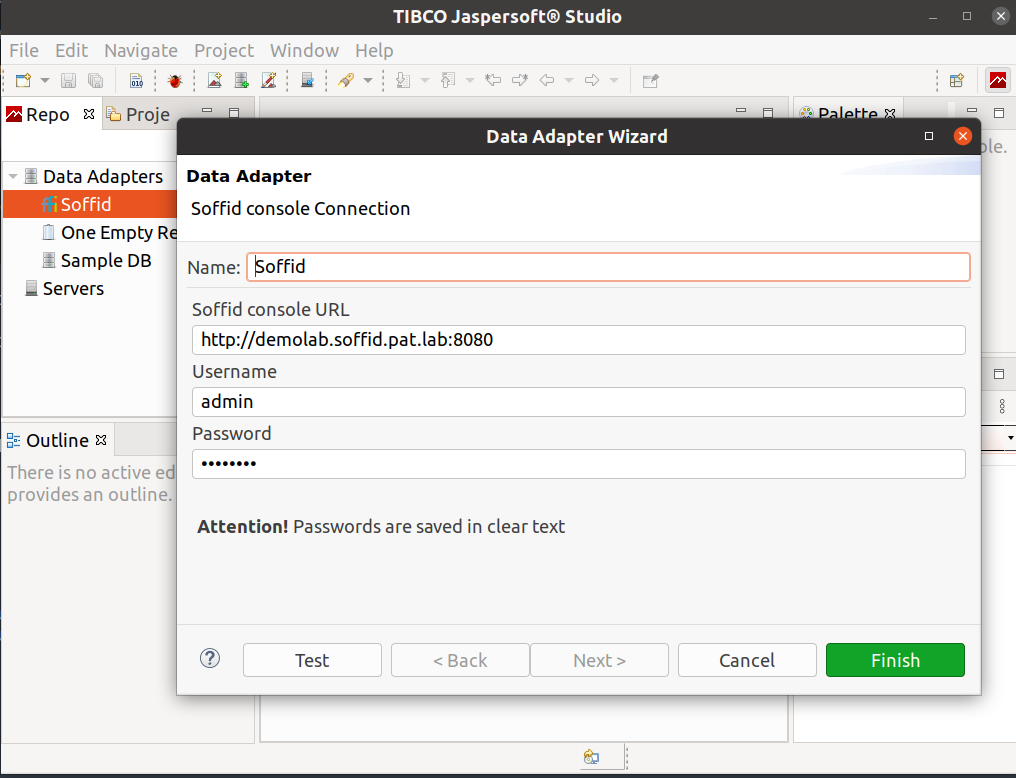](https://bookstack.soffid.com/uploads/images/gallery/2022-05/image-1651765772922.png) 4. Design your report or open an existing one.The data model documentation, including [E-R diagrams is here](http://www.soffid.org/doc/console/latest/uml/entities.html).
5. Upload your report to Soffid Console. 6. Execute or schedule it!!!