# Step 8.2. PAM Policies
## Step-by-step
1. To create a new PAM Policy, you must access the PAM Rules page in the following path:
`Main Menu > Administration > Configure Soffid > Security settings > PAM policies`
2. To create a new PAM policy, you must click the add button (+) and Soffid will display a new window to fill in the data.
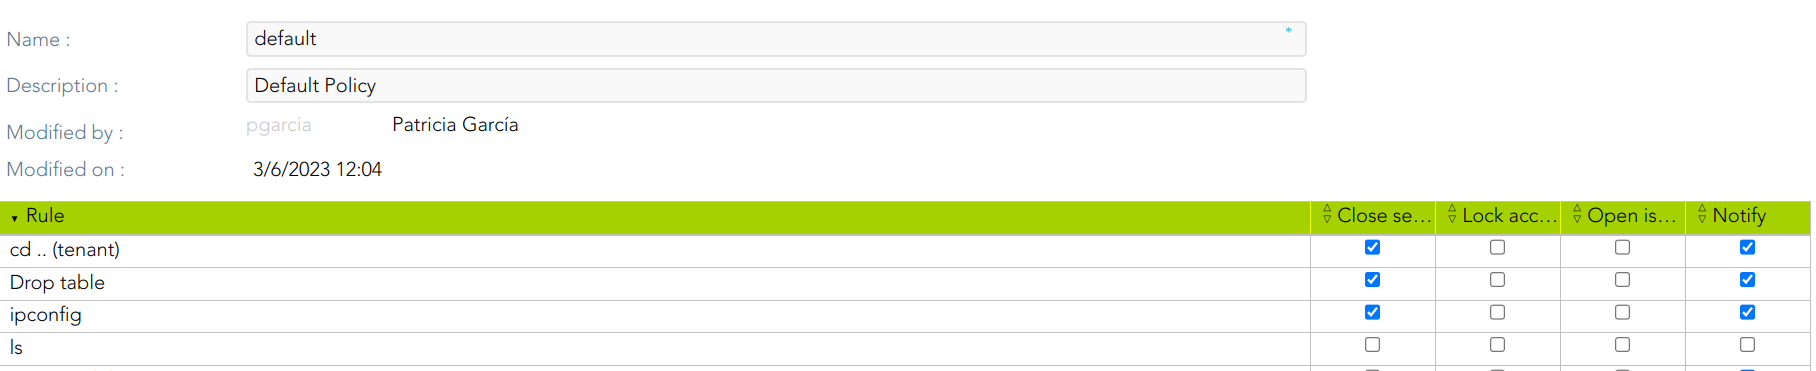
- The **Name** should be an identificative and unique policy name. That field will be mandatory.
- The **Description** should be a brief description of the rule.
- The **Rules list**: show a list of the PAM rules defined. You can check/uncheck the available options. You can choose zero, one, or several options:
- **Close session**: if you select this option when the rule is met, Soffid will close the session opened.
- **Lock account**: if you select this option when the rule is met, Soffid will lock the account.
- **Open issue**: if you select this option when the rule is met, Soffid will open an issue in the ticketing system.
- **Notify**: if you select this option when the rule is met, Soffid will send a notification about the action.
3. Then you need to click on the "Apply changes" button to save the new PAM policy.
3.1. If you click on the "Undo" button, no updates will be saved.
4. Finally you can assign the PAM policy to the proper Password vault folder.
## Screen overview
[](https://bookstack.soffid.com/uploads/images/gallery/2023-07/image-1688998468318.png)