# Step 7.1. Define an approval workflow
## Step-by-step
1. To define and configure an approval workflow, you can use the Soffid BPM editor. You must access the BPM editor page in the following path:
`Main Menu > Administration > Configure Soffid > Workflow settings > BPM editor`
2. To add a new workflow you must click the add button (+) and Soffil will display a new window.
3. Then, you must write a process name and select the process type "Account reservation" and Soffid will display the process editor to configure the new workflow.
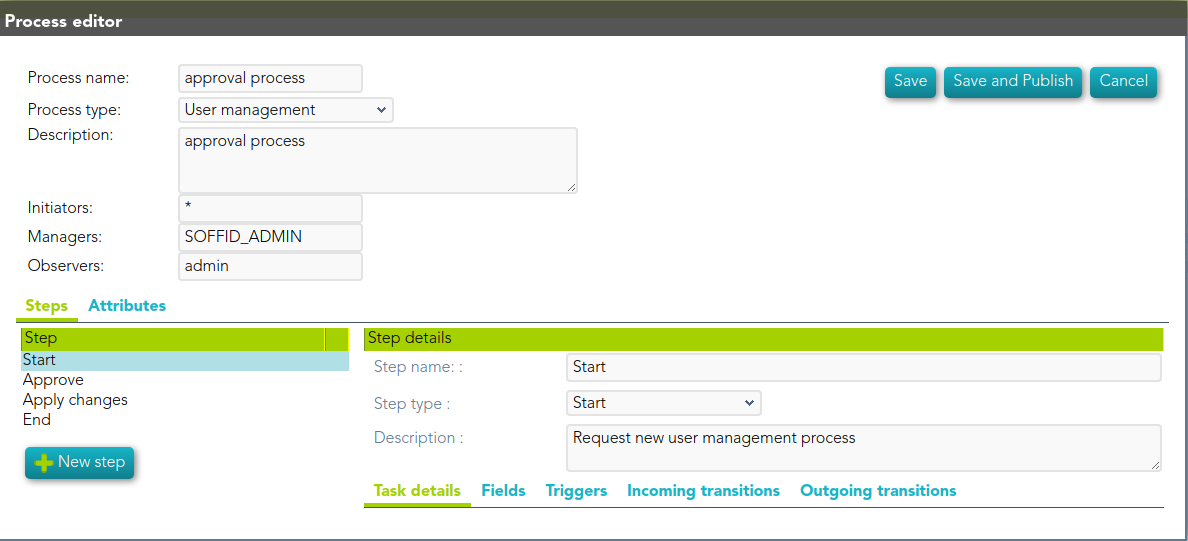
4. At the "Process editor" form you could config the workflow steps.
You can visit the[ BPM Editor book](https://bookstack.soffid.com/books/bpm-editor "BPM Editor") to find more information and examples about the workflows.
5. Once you finish configuring the workflow, you must click the option "Save and Publish" to be able to use the workflow.
## Screen overview