# Step 3.3. Entry point
Soffid allows you to manually create entry points to connect to information systems.
## Step-by-step
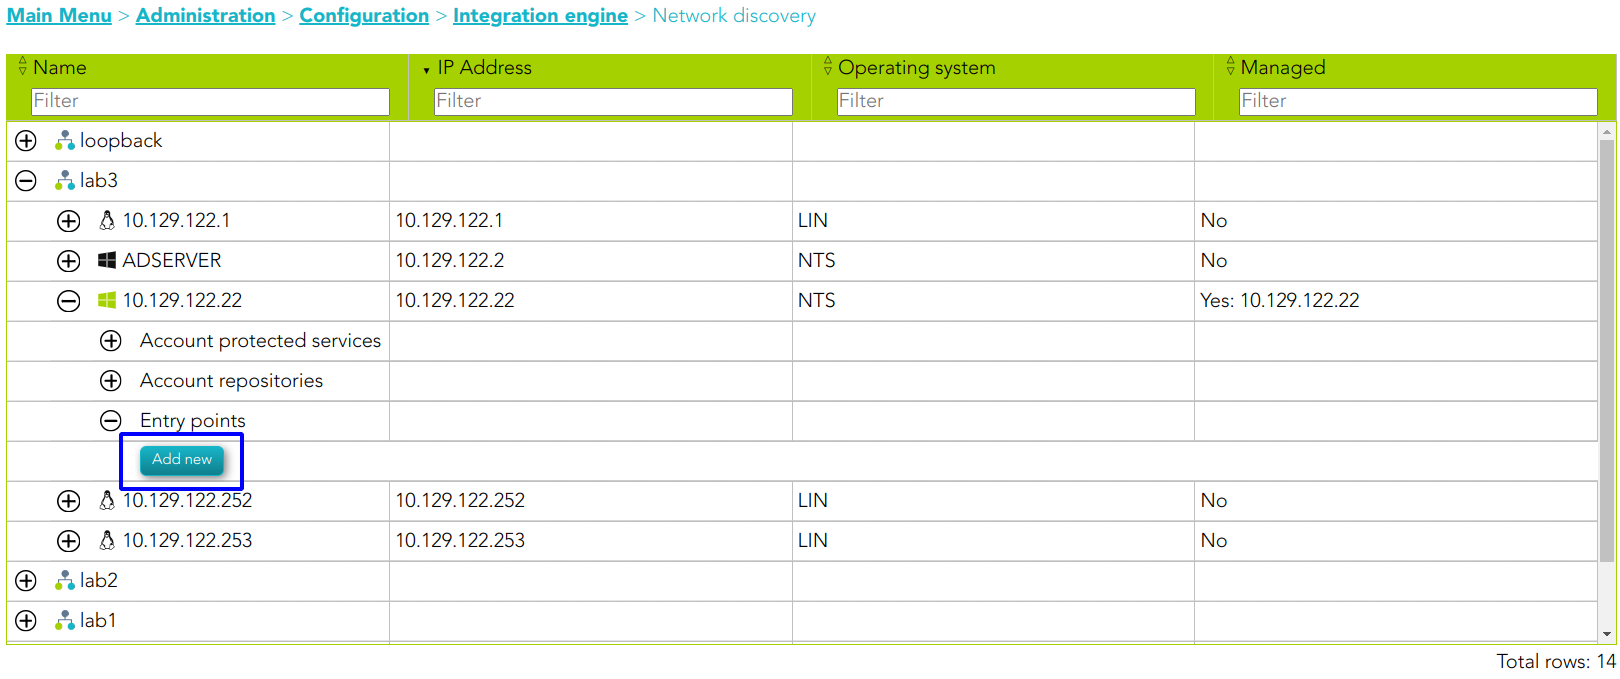
1. Once the device is detected in the network, you could add new Entry points to this device. To add a new device you must click the *Add new* button
[](https://bookstack.soffid.com/uploads/images/gallery/2023-07/image-1688986139643.png)
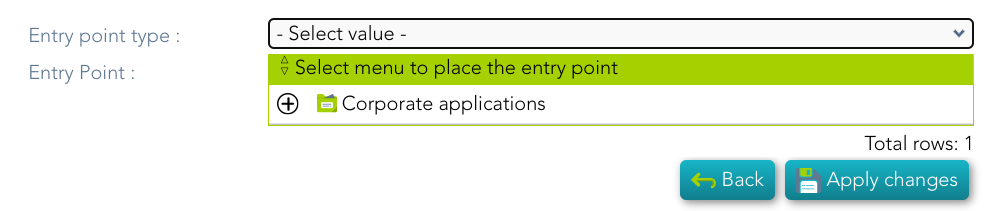
2. Then Soffid will display a new window to add the new Entry point. At this step, you need to select the Entry point type you are creating, and the menu to place the entry point.
- Secure shell (ssh)
- Secure web application (https)
- Web application (HTTP)
[](https://bookstack.soffid.com/uploads/images/gallery/2023-07/image-1688987276113.png)
3. Finally you must save by clicking the *Apply changes* button
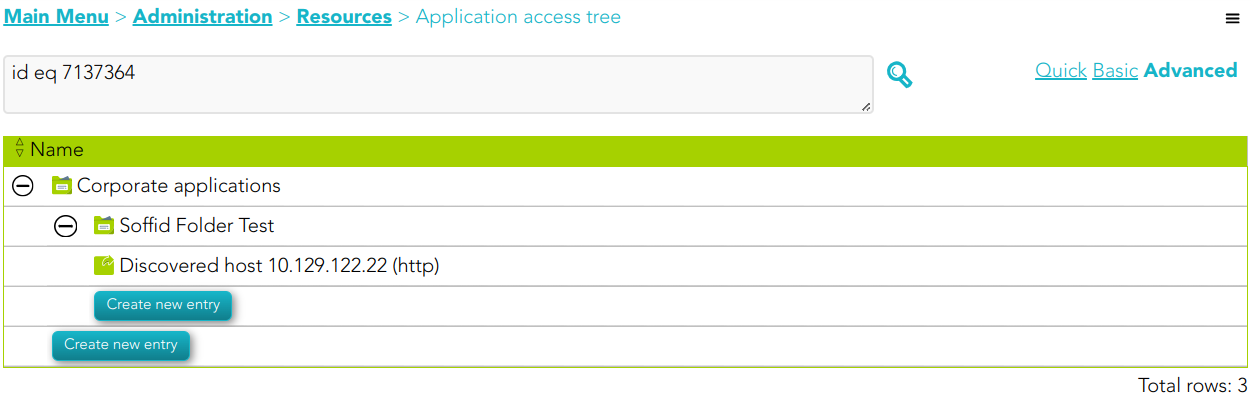
4. You could check the new Entry point by visiting the Application access tree page
[](https://bookstack.soffid.com/uploads/images/gallery/2023-07/image-1688992625992.png)
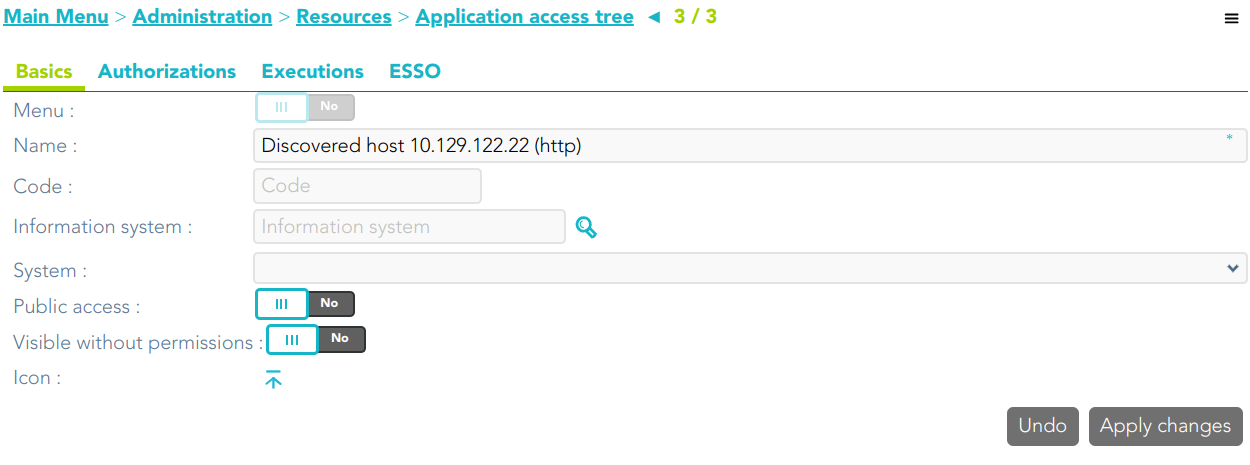
##### Entry point detail
[](https://bookstack.soffid.com/uploads/images/gallery/2023-07/image-1688992665327.png)