You can find more information about how to configure a scheduled task on the [Scheduled task page](https://bookstack.soffid.com/books/soffid-3-reference-guide/page/scheduled-tasks).
# Step 6.1. Create User type How to create a new User type. That will be mandatory to create a new Password policy. ## Step-by-step 1. First of all, you must access the User types page, the path to access is the following: `Main Menu > Administration > Configure Soffid > Global Settings > User types` 2. Once you are located on the User types page, you must click the button with the add symbol (+) to add a new User type. Then Soffid will display a new empty page to fill in the data. You must fill, at least the required fields (fields with an asterisk) to create a user type. - The **short name** should be an identificative name, that will be a unique user type name (no spaces and no symbols). Other fields you could configure - The **Description** should be a brief description about the user type. - If you check the **Unmanaged** field (Yes), the accounts that belong to this category will not be propagated to the target system. 3. Once you have filled in all those fields, you must apply changes, by clicking on the "Apply changes" button to create the new user type. 4. When you apply changes: 4.1. If all the required information is correct, Soffid will save the new user type, close the page and show the user types list with all the user types created on the system, including the last one created. 4.2. If the information filled in is not correct, Soffid will show an alert on the fields which have errors. You must correct the errors and save the user type again. ## Screen overview [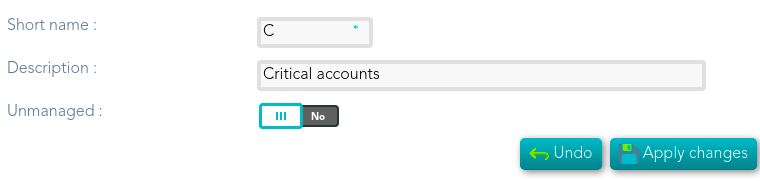](https://bookstack.soffid.com/uploads/images/gallery/2021-08/image-1629989740440.png) # Step 6.2. Create Password policy How to define a new password policy for the previous user type created. ## Step-by-step 1. First of all, you must access the Password policies page, the path to access is the following: `Main Menu > Administration > Configure Soffid > Security settings > Password policies` 2. Once you are located on the Password policies page, you must click the "Add password policy", at the proper domain, to add a new Password policy type. Then Soffid will display a new empty page to fill in the data. You must fill, at least the required fields (fields with an asterisk) to create a password policy. - You must select the **User type** created in the previous step. - The **Description** should be a brief description about the password policy. - The **Password type** you must select the option **Automatically generated.** Other fields you could configure {{@64#bkmrk-password-domain%3A-use-2}} 3. Once you have filled in all those fields, you must apply changes, by clicking on the "Apply changes" button to create the new user type. 4. When you apply changes: 4.1. If all the required information is correct, Soffid will save the new user type, close the page and show the user types list with all the user types created on the system, including the last one created. 4.2. If the information filled in is not correct, Soffid will show an alert on the fields which have errors. You must correct the mistakes and save the user type again. ## Screen overview [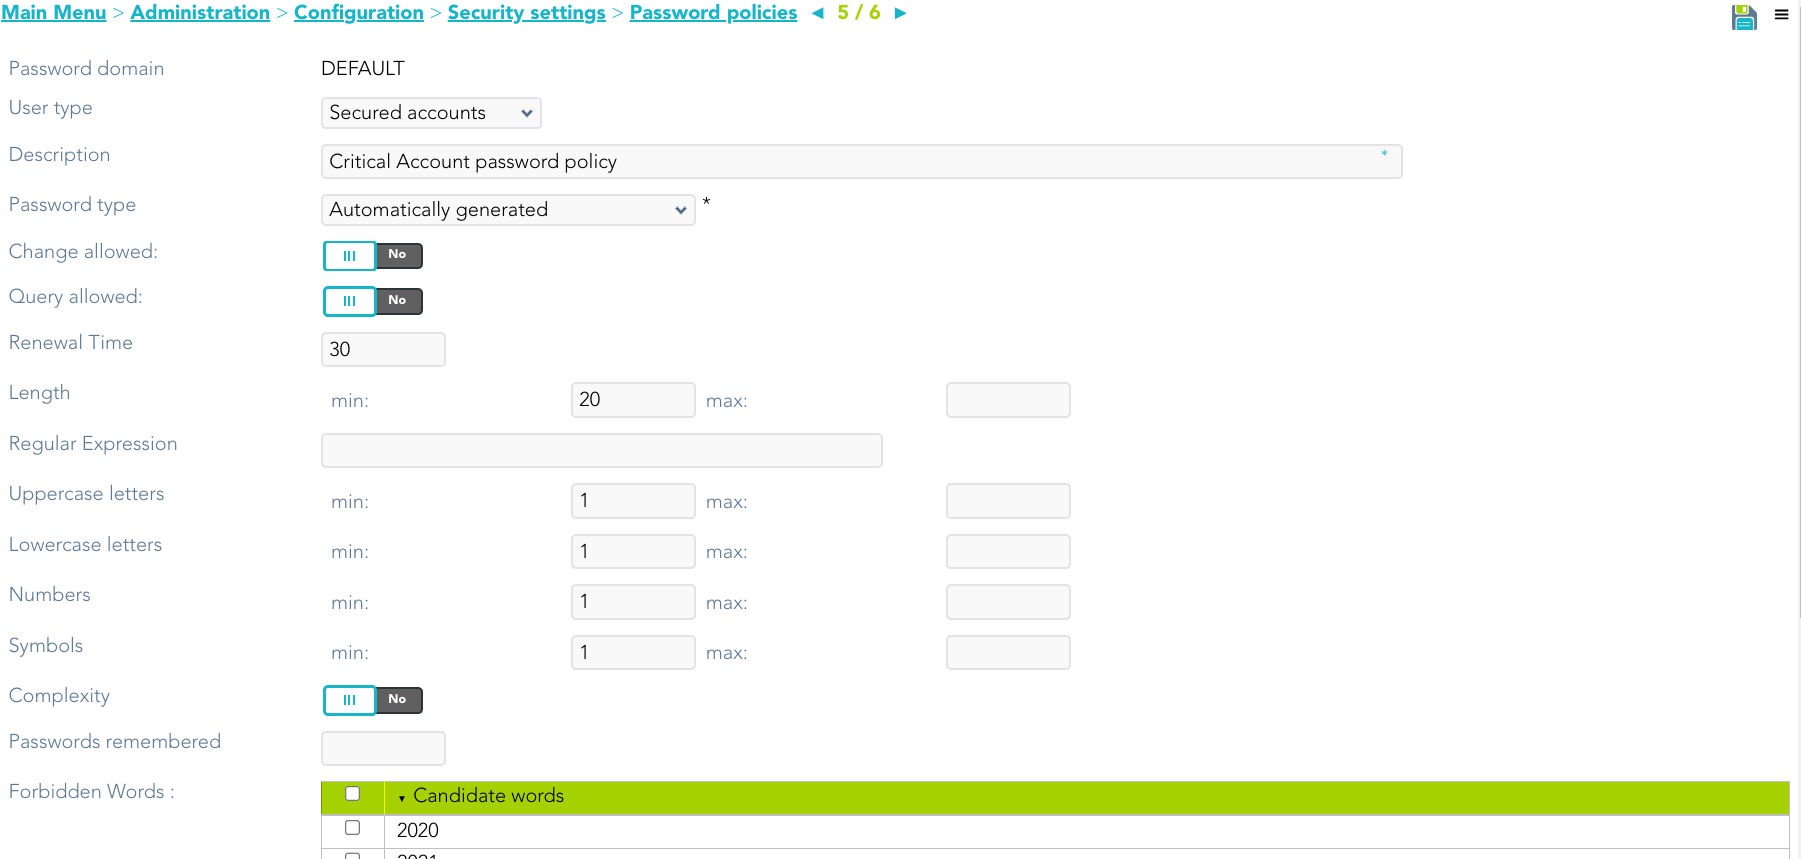](https://bookstack.soffid.com/uploads/images/gallery/2023-07/image-1688998161328.png) # Step 6.3. Assign password policy You must assign a proper password policy to the critical accounts to keep them safe. ## Step-by-step 1. To access the accounts of a specific host or database (SQL Server or Oracle), you must click the "Accounts" button. The button is located close to the name of the host or the agent, inside the "Account repositories" of a specific host, on the network discovery tree. - Host [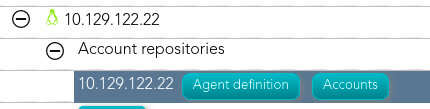](https://bookstack.soffid.com/uploads/images/gallery/2021-08/image-1629971294668.png) - Database agent [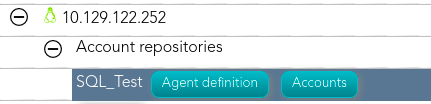](https://bookstack.soffid.com/uploads/images/gallery/2021-08/image-1629971278636.png) 2. Once you click the button, Soffid will display the accounts list which belongs to the host or agent. 3. You must click on the account record to edit the detailed account info. 4. Once Soffid displays the account detail, you can change the password policy (located on the Common attributes) to the proper type. You must click on the "Password Policy" drop-down list and select the proper value for the account. 5. Then, you can save the update by clicking on the disk icon (located at the top right), and continue with the next account to change. ## Screen overview 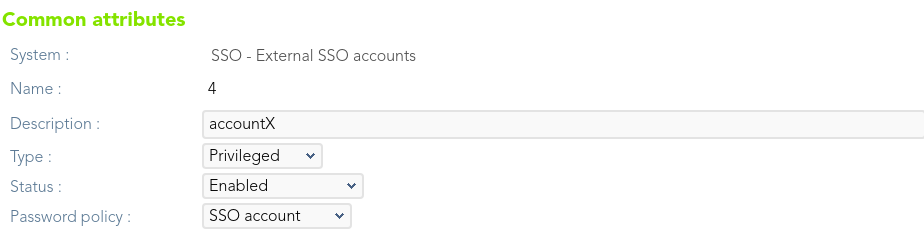 # Step 6.4. Enable Task To rotate the password it will be necessary to enable the task **Expire untrusted passwords**. The **Expire untrusted passwords** task is in charge to create a new password for the accounts: - Critical accounts with the password type "Automatically generated", in that case, the Renewal Time value will be in mind to determine when a password expires. - Also, for accounts with the "Entered by the user" Password type that has expired. That case is out of the rotation passwords in the PAM implementation. ## Step-by-step 1. First of all, you must access the Scheduled tasks page, the path to access is the following: `Main Menu > Administration > Monitoring and reporting > Scheduled tasks` 2. Second, you must search the task **Expire untrusted passwords** and click on the record to edit the task detail. 3. Once you have accessed the task detail, you must check the enable option. Also, you can update the schedule depending on your company policies. 4. Finally you must "Apply changes" to save the updates. ## Screen overview [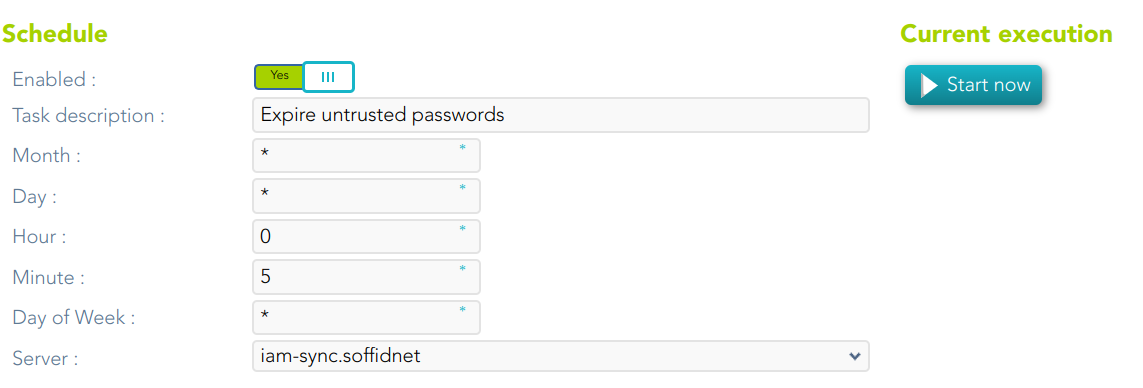](https://bookstack.soffid.com/uploads/images/gallery/2023-07/image-1688998219625.png) # Step 6.5. Password Rotation using Windows Connector ## Password Rotation using Windows Connector When you are configuring password rotation using WIndows Connector, it could be necessary to make some changes in the local computar policies. The Local Computer Policies on the target Windows server mentioned below: - **User Account Control: Admin Approval Mode for Built-in Administrator Account** - **User Account Control: Run All Administrator in Admin Approval Mode** Need to be disabled for PAM application to connect target server and reset password of privilege accounts. If the Policies are originally in ‘Enabled’ mode, then after disabling them a system restart may required for the Policies to get applied on target servers properly. To check the User Access Policies on servers, follow below mentioned path: Open group policy editor **Run > gpedit.msc > Local Computer Policy > Windows Settings > Security Settings > Local Policies > Security Options > select policy ‘User Account Control: Run all administrators in Admin Approval Mode’ and ‘User Account Control: Run All Administrator in Admin Approval Mode’ and select Disabled and apply > OK**.