| **Command** | **Comment** |
| sudo gedit /etc/group | Edit the file with your editor (gedit for this example) |
| docker:x:988:YOUR-USER | Add YOUR-USER at the end of the docker command without : at the end |
| logout | Log out from the ubuntu session |
| login | Log in into the ubuntu session |
| docker ps | Confirm that you do not need to use sudo with a docker command |
At this link, you can see the most commonly used Docker Compose commands: [Docker compose commands](https://bookstack.soffid.com/books/soffid-internal-documentation/page/docker-compose-commands "Docker compose commands")
#### 2.1 Test connectivity **Test** the connectivity with the Soffid 3 repository pulling an image (¡Do not use sudo with docker, it does not work!). ``` docker pull "soffid/iam-console:3.6.75" ``` [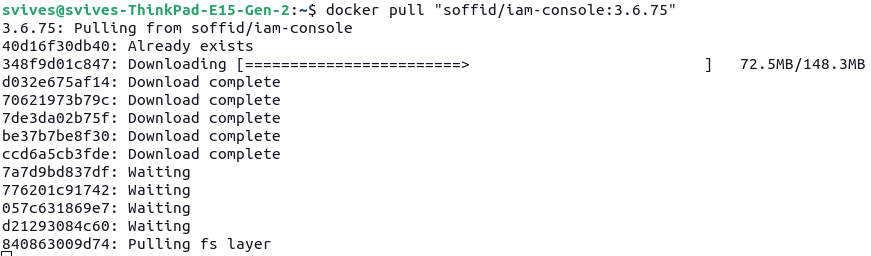](https://bookstack.soffid.com/uploads/images/gallery/2026-06/d0BqdyWFeQpuBQ6Q-image.png) #### 2.2 Create the directory and file structure Create a the new file for the docker compose with this directory structure. ``` cd mkdir lab cd lab mkdir soffid3 cd soffid3 touch docker-compose.yaml ``` #### 2.3 Configure the docker-compose.yaml Use this content for the docker-compose.yaml file.Change the XXXX password and YYYY password for your values.
``` services: mariadb: image: mariadb:11.4 environment: MYSQL_ROOT_PASSWORD: XXXX MYSQL_DATABASE: soffid MYSQL_USER: soffid MYSQL_PASSWORD: YYYY healthcheck: test: "/usr/bin/mariadb --user=root --password=XXXX --execute \"SHOW DATABASES;\"" interval: 2s timeout: 20s retries: 10 command: --max_allowed_packet=128M --innodb_log_file_size=256M --character-set-server=utf8mb4 --collation-server=utf8mb4_general_ci networks: - network volumes: - mariadb_data:/var/lib/mysql console: image: soffid/iam-console:3.6.74 environment: DB_URL: jdbc:mariadb://mariadb/soffid DB_USER: soffid DB_PASSWORD: YYYY SOFFID_TRUSTED_SCRIPTS: true networks: - network ports: - "8080:8080" volumes: - console_trust:/opt/soffid/iam-console-3/trustedcerts - console_conf:/opt/soffid/iam-console-3/conf - console_index:/opt/soffid/iam-console-3/index depends_on: mariadb: condition: service_healthy syncserver: image: soffid/iam-sync:3.6.47 hostname: syncserver environment: SOFFID_PORT: 1760 SOFFID_HOSTNAME: syncserver SOFFID_MAIN: yes DB_URL: jdbc:mysql://mariadb/soffid DB_USER: soffid DB_PASSWORD: YYYY networks: - network volumes: - sync_conf:/opt/soffid/iam-sync/conf depends_on: mariadb: condition: service_healthy networks: network: name: netcompose driver: bridge volumes: mariadb_data: name: soffid3_mariadbdata console_trust: name: soffid3_console_trustedcerts console_conf: name: soffid3_console_conf console_index: name: soffid3-console_index sync_conf: name: soffid3_sync_conf ``` #### 2.4 Generate the containers Generate the containers. ``` docker compose up -d ``` #### 2.5 Publish the domains We recommend using a local domain to access the Console, create new entries in: - Linux **/etc/hosts** - Windows **C:\\Windows\\System32\\drivers\\etc\\hosts** ``` # Soffid 3 local 127.0.0.1 console.soffid3.local 127.0.0.1 syncserver.soffid3.local ``` #### 2.6 Access to the Console Follow these steps: - Go to **login** page: [http://console.soffid3.local:8080](http://console.soffid3.local:8080 "http://console.soffid3.local:8080") - We have to **wait** until the login page will be prompted. - User: **admin** / password: **changeit** (temporal for 24 hours). - Fill the **new password** and save it to use it later! You will now see this page. [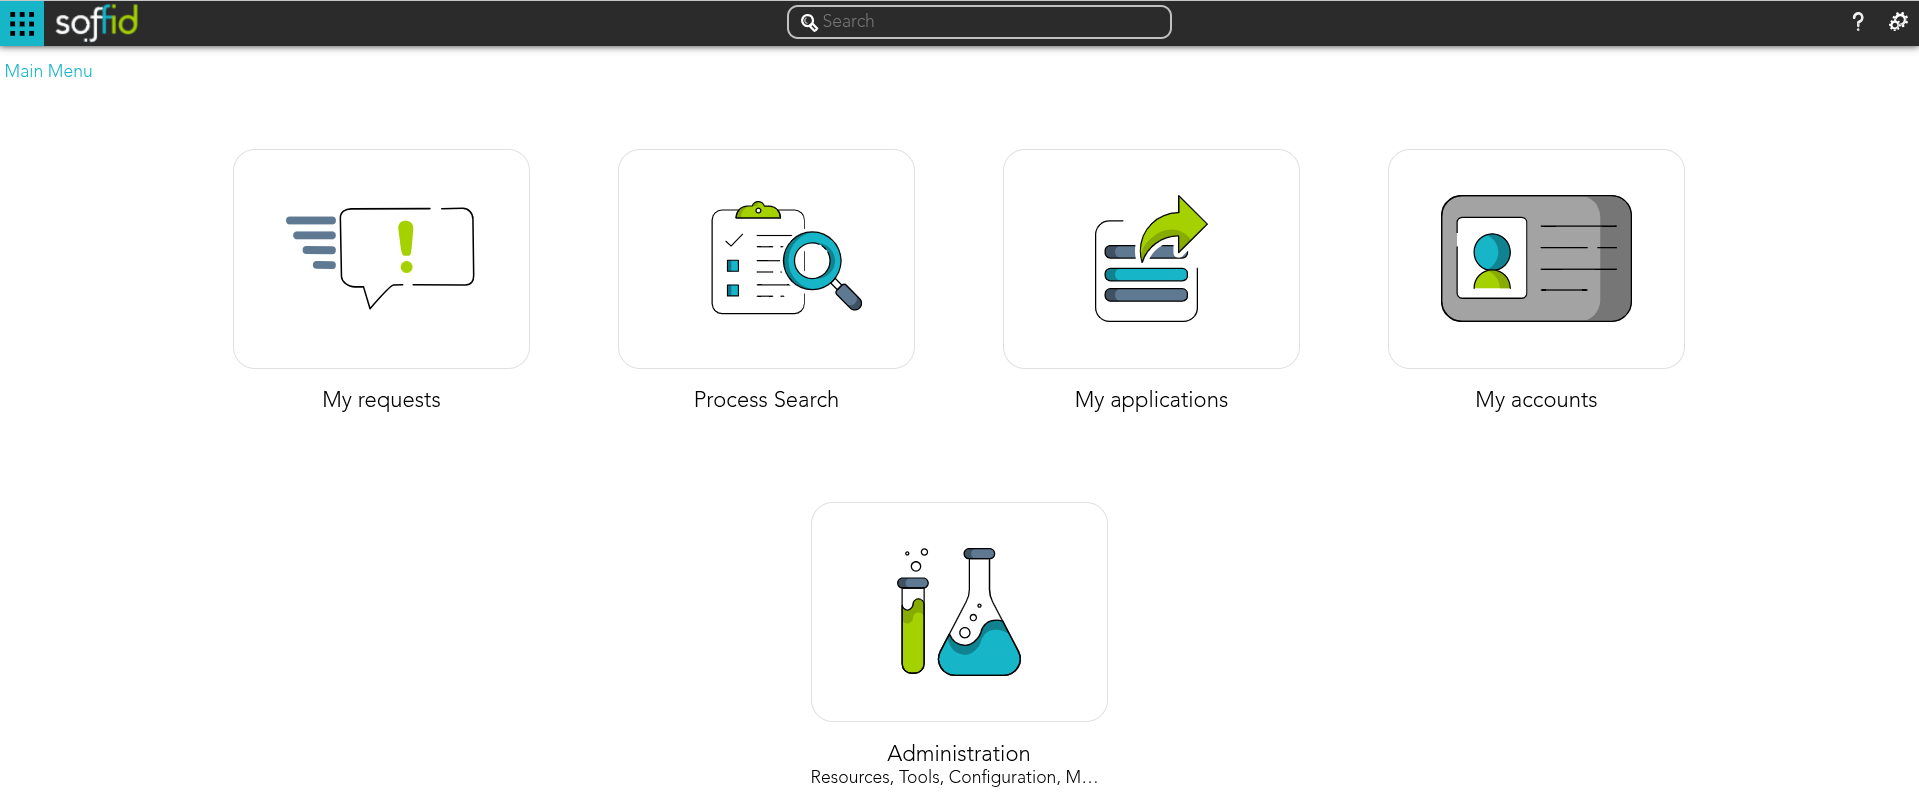](https://bookstack.soffid.com/uploads/images/gallery/2026-06/gzllZ9GI82ldJk4L-image.png)