# IGA
Identity Governance Administration
# Connect Soffid IdaaS to your on-premise network
## Description
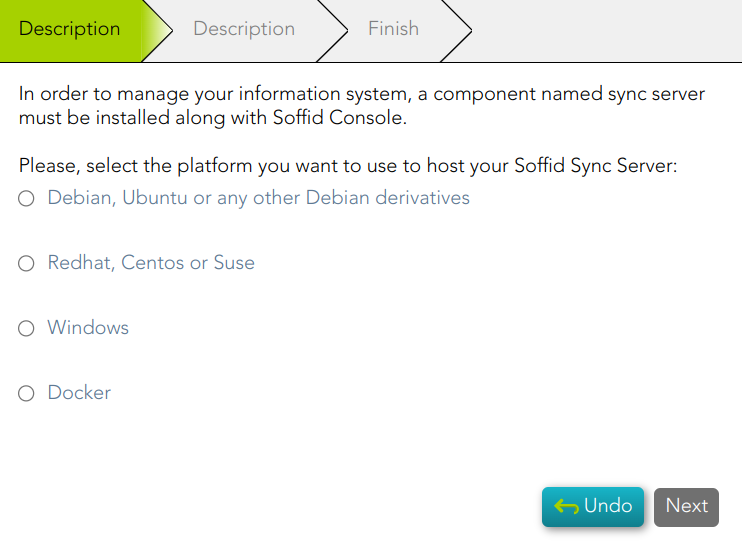
In order to manage your information system, a component named Sync Server must be installed along with Soffid Console. You must choose one platform as your Sync Server Soffid host and follow the instructions.
Once you have run the corresponding scripts, Soffid will detect the new Sync server. You could check the new Sync server on the **[Synchronization servers page](https://bookstack.soffid.com/books/soffid-3-reference-guide/page/synchronization-servers).**
## Step-by-step
1. First, you must select the platform and click the Next button
[](https://bookstack.soffid.com/uploads/images/gallery/2023-02/image-1677150674570.png)
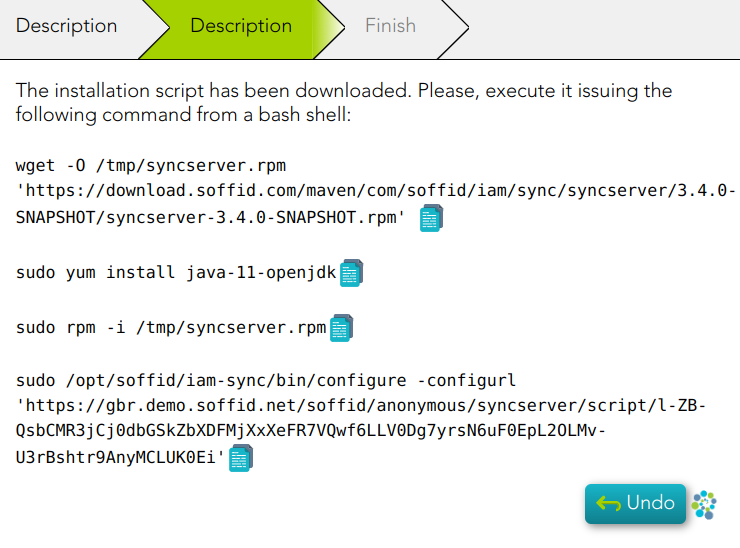
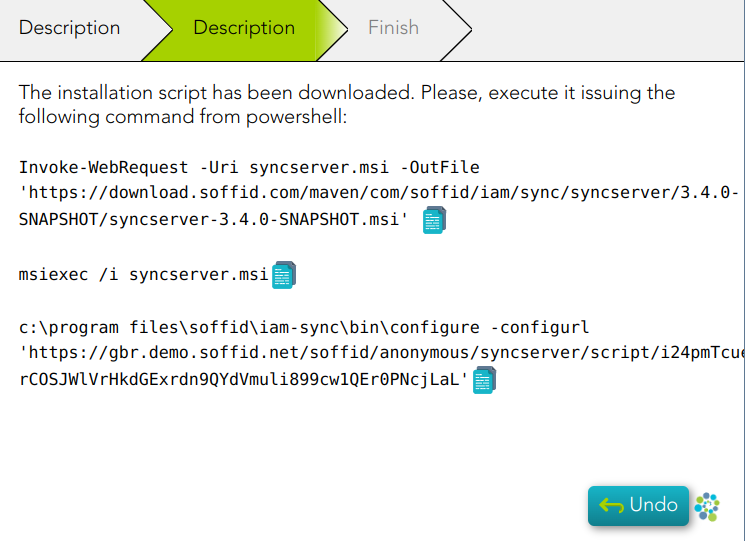
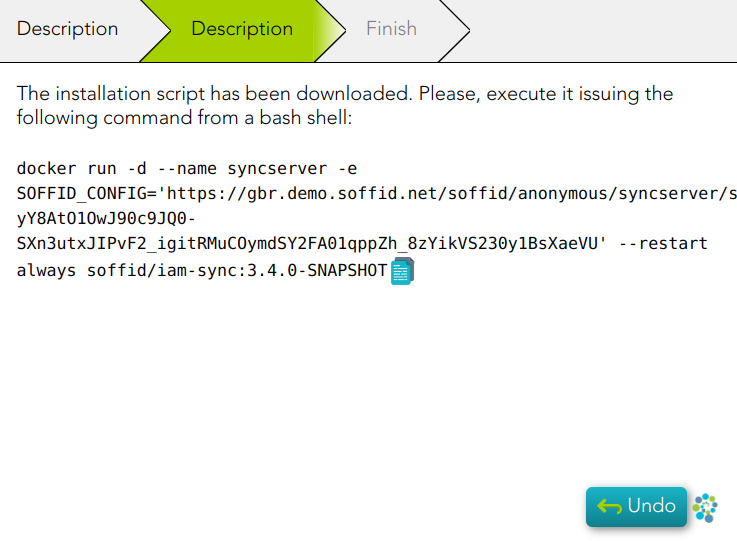
2. You must follow the instructions depending on the previous selection.
2.1. Debian, Ubuntu, or any other Debian derivatives
[](https://bookstack.soffid.com/uploads/images/gallery/2023-02/image-1677150856900.png)
2.2. Redhat, Centos, or Suse
[](https://bookstack.soffid.com/uploads/images/gallery/2023-02/image-1677150880354.png)
2.3. Windows
[](https://bookstack.soffid.com/uploads/images/gallery/2023-02/image-1677150906931.png)
2.4. Docker
[](https://bookstack.soffid.com/uploads/images/gallery/2023-02/image-1677150930165.png)
3. Finally, Soffid will detect that the Sync Server has been successfully installed and you can click the Finish button.
[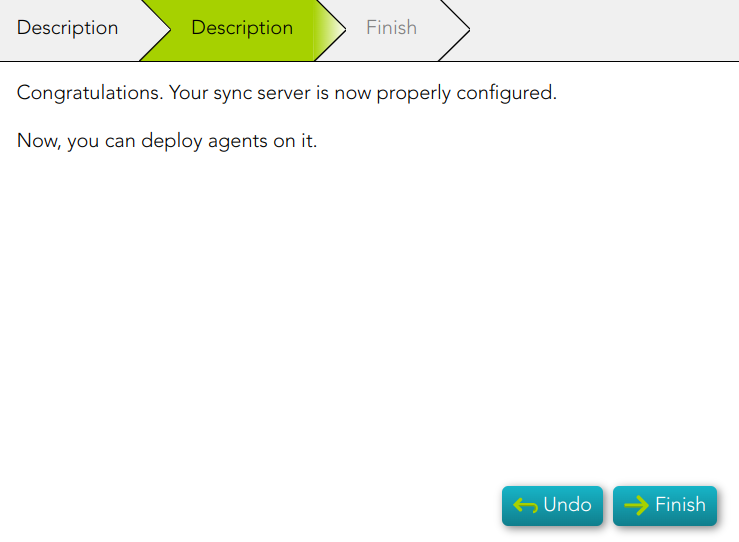](https://bookstack.soffid.com/uploads/images/gallery/2023-02/image-1677151000904.png)
# Create identities (manually, CSV file or authoritative source)
## Description
You need to register the identities to manage and protect them. This wizard allows you to choose the easiest way to do it.
## Step-by-step
1. First, you must select one option to register the identities. Soffid allows you three options.
[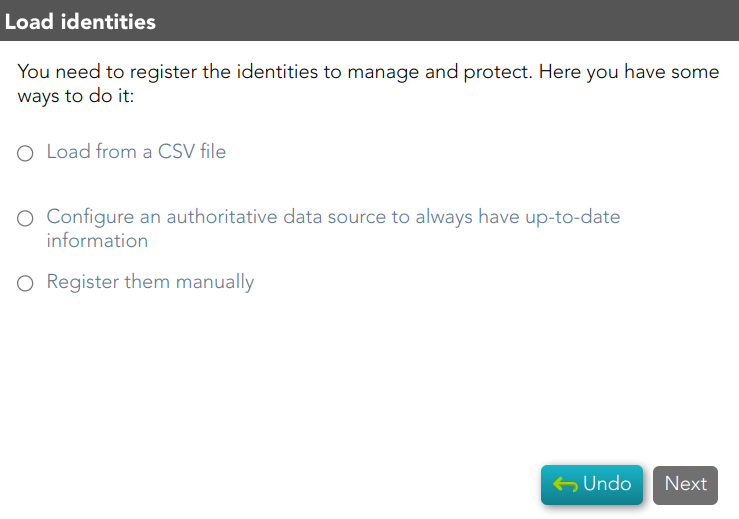](https://bookstack.soffid.com/uploads/images/gallery/2023-02/image-1677151715487.png)
2. You must follow the steps, depending on the selected option:
2.1. **Load from a CSV file**: this option allows you to load identities from a CSV file.
2.1.1. First of all, you need to pick up the CSV file.
[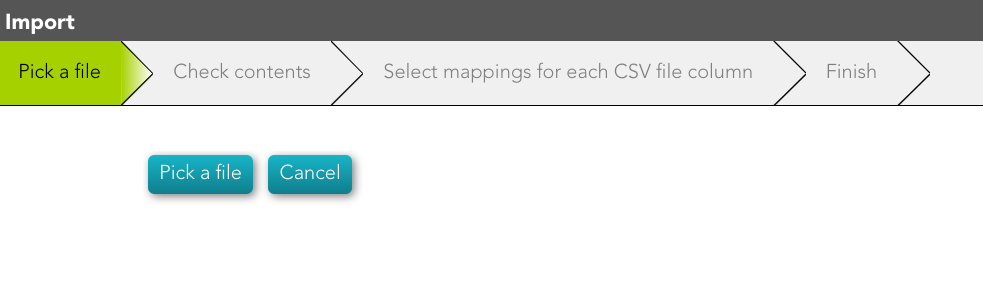](https://bookstack.soffid.com/uploads/images/gallery/2023-02/image-1677151980079.png)
2.1.2. Second, Soffid will display the file data to check contents
[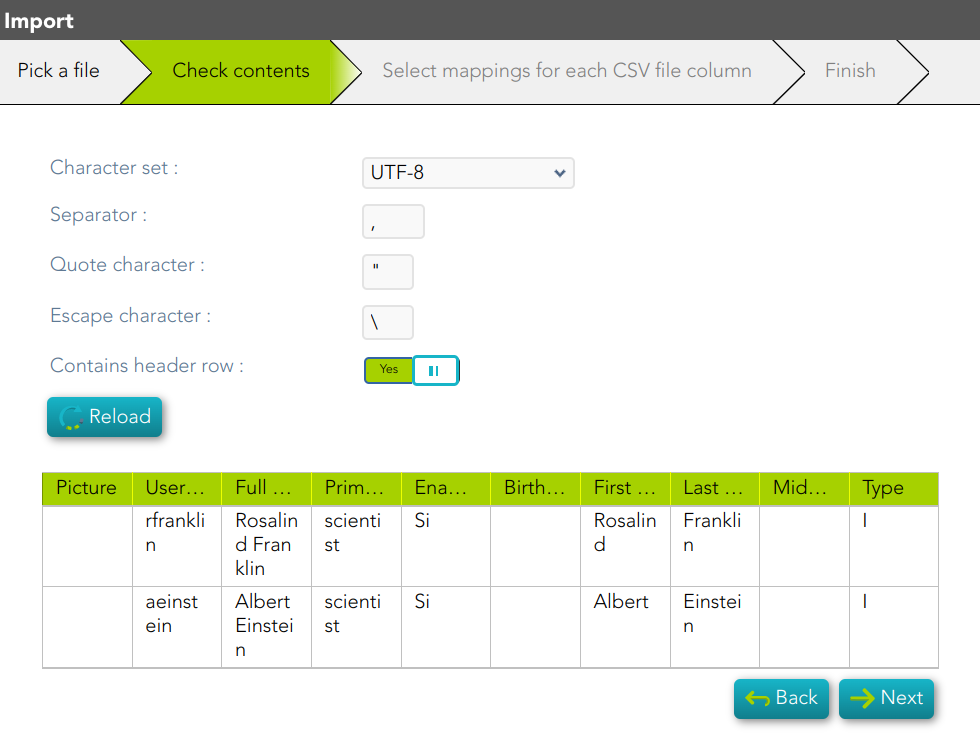](https://bookstack.soffid.com/uploads/images/gallery/2023-02/image-1677152756166.png)
2.1.3. Then you must select the proper mapping for each CSV file column. And finally, click the Import Button and Soffid will add the identities to the platform.
[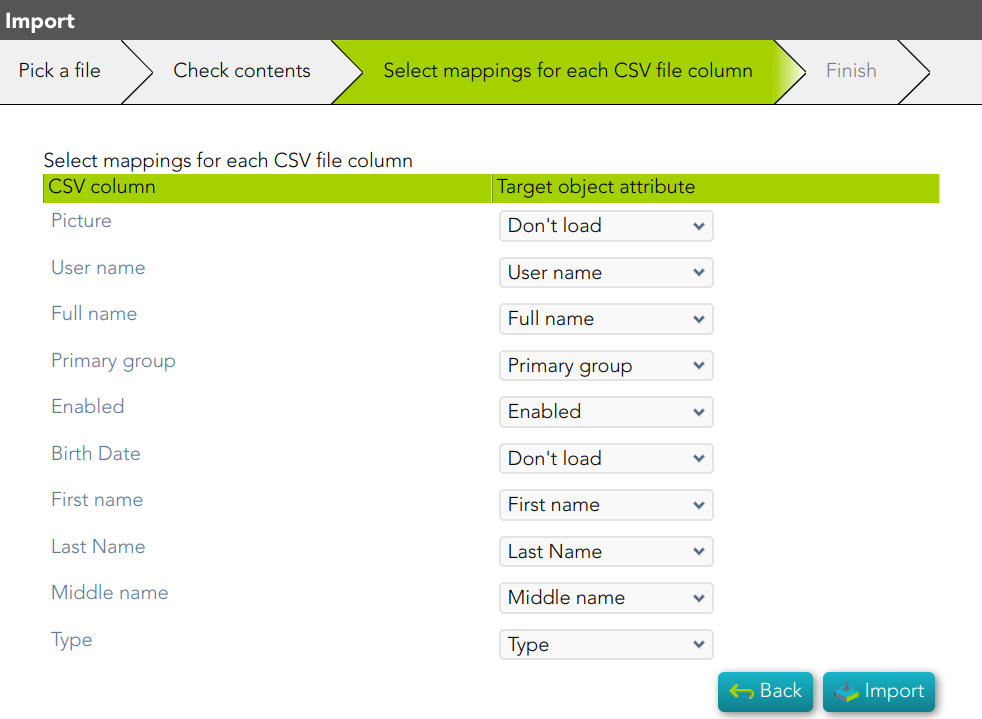](https://bookstack.soffid.com/uploads/images/gallery/2023-02/image-1677152797214.png)
2.1.4. Soffid will display the result of the process.
[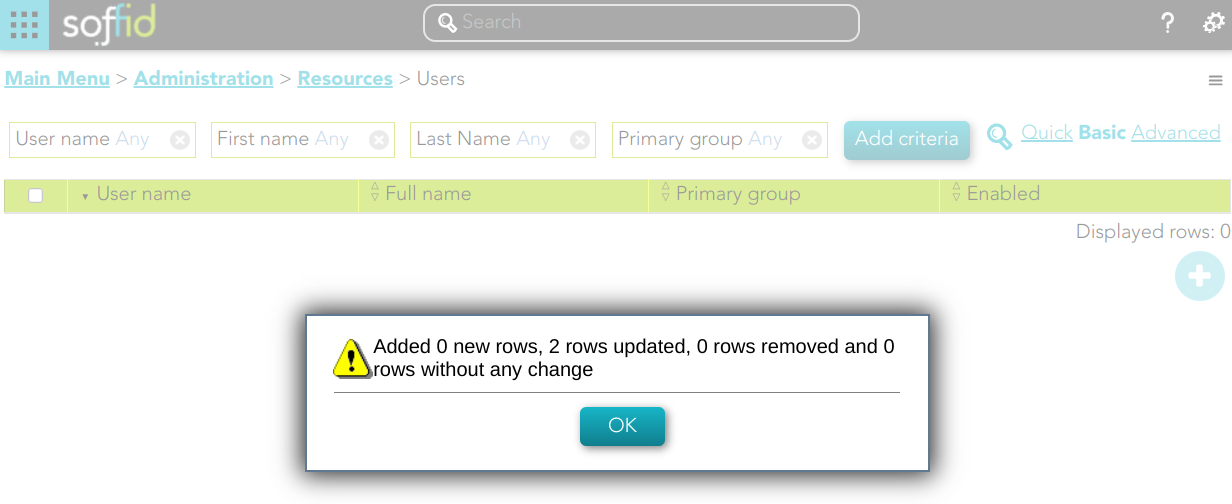](https://bookstack.soffid.com/uploads/images/gallery/2023-02/image-1677152920695.png)
2.2. **Configure an authoritative data source to always have up-to-date information**: this option allows you to configure an Active Directory agent, or a Relational database agent to load the identities.
Once the process will finish, you could check the new agent on the agent's page `Main Menu > Administration > Configuration > Integration engine > Agents`
For more information about the agents, you can visit [the Agents page](https://bookstack.soffid.com/books/soffid-3-reference-guide/page/agents).
[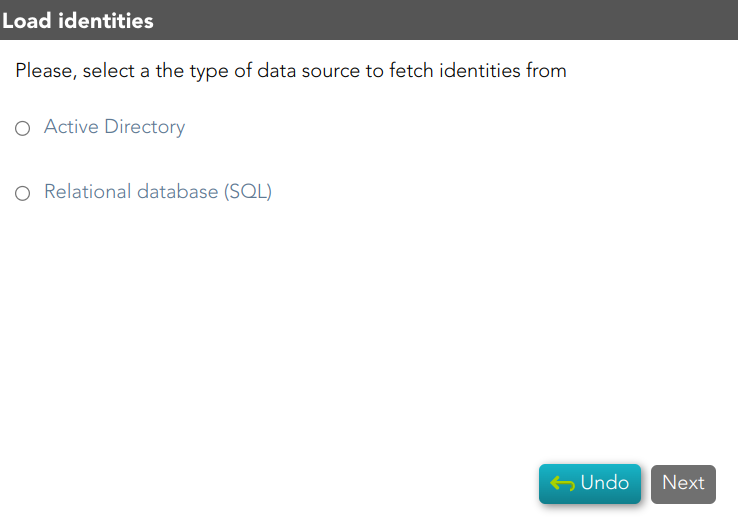](https://bookstack.soffid.com/uploads/images/gallery/2023-02/image-1677152049535.png)
2.2.1. Active Directory
- To configure the AD connection you must fill in the required fields and click the Next button.
- Then Soffid will run the Authoritative load and the Reconcile process
- Finally, you could check the result on the [Scheduled tasks ](https://bookstack.soffid.com/books/soffid-3-reference-guide/page/scheduled-tasks)page.
[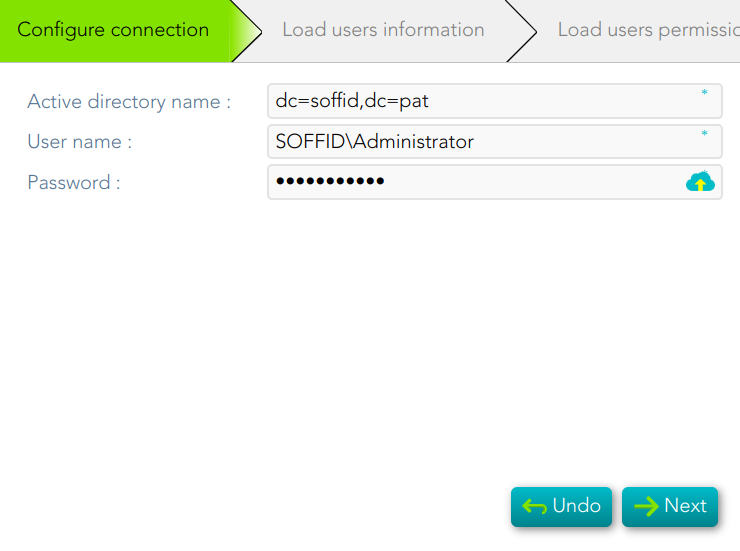](https://bookstack.soffid.com/uploads/images/gallery/2023-05/image-1685436631243.png)
2.2.2. Relational database (SQL)
[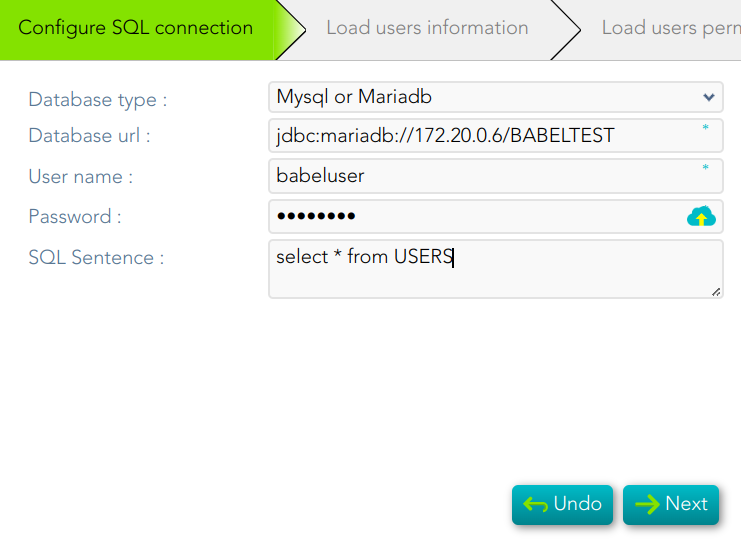](https://bookstack.soffid.com/uploads/images/gallery/2023-05/image-1685436774882.png)
2.3. **Register them manually**: this option browses to the **[User page](https://bookstack.soffid.com/books/soffid-3-reference-guide/page/users)** to register the identities manually
[](https://bookstack.soffid.com/uploads/images/gallery/2023-02/image-1677153597024.png)
# Add applications
## Description
The wizard allows you to add Applications or **[Information Systems](https://bookstack.soffid.com/books/soffid-3-reference-guide/page/information-systems)** to Soffid as well. The wizard allows you to choose from an application list. Once you choose one of them, you must fill in the required fields to connect to this application. Then the Reconcile process will be launched.
## Step-by-step
1. First, you need to select the proper application to add. Soffid provides you a huge application list to configure.
[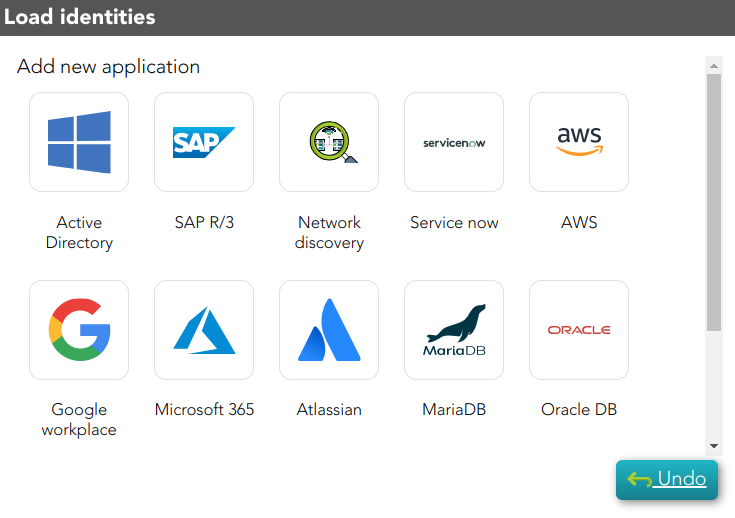](https://bookstack.soffid.com/uploads/images/gallery/2023-02/image-1677497120165.png)
2. Once you select the application, you must configure the connection parameters.
[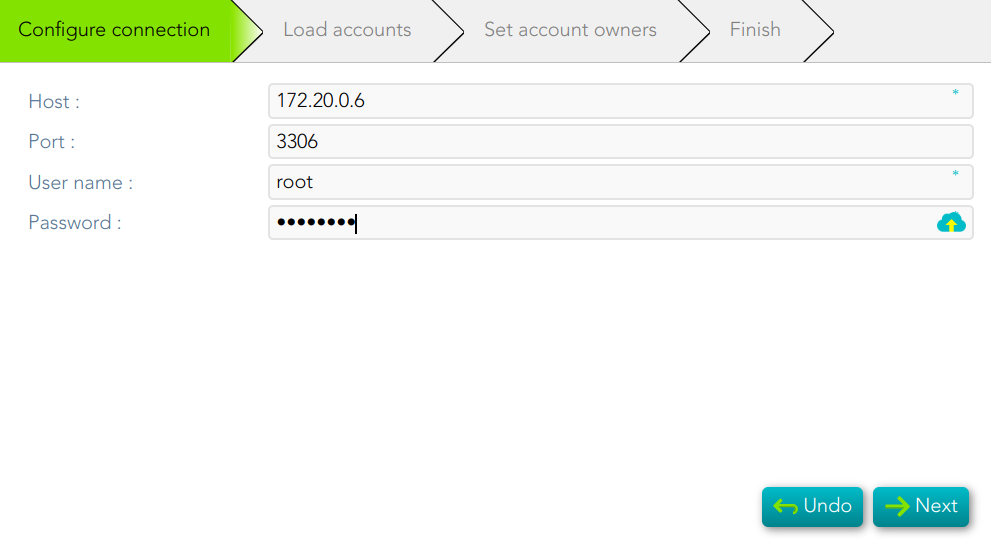](https://bookstack.soffid.com/uploads/images/gallery/2023-05/image-1685437011704.png)
3. Then, Soffid allows you to choose the strategy to load accounts.
[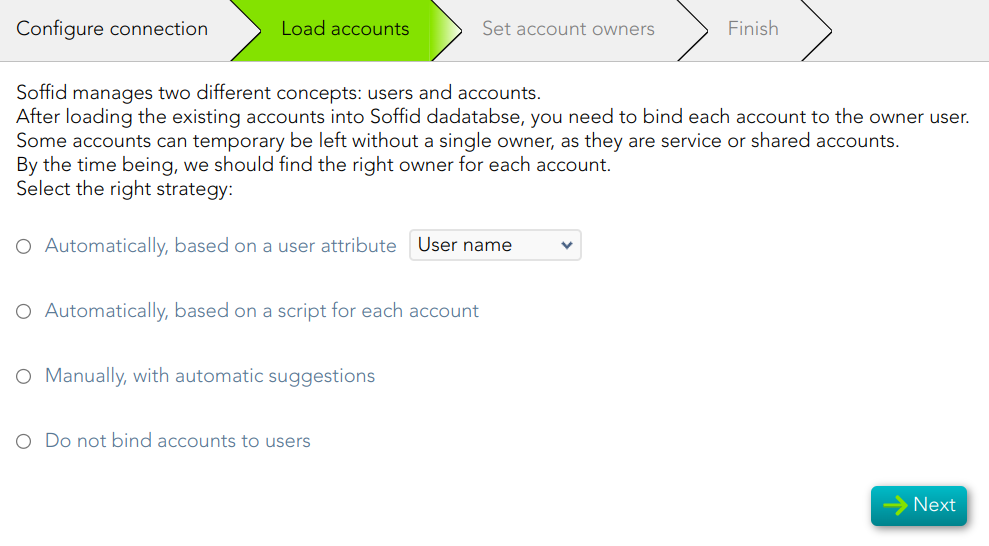](https://bookstack.soffid.com/uploads/images/gallery/2023-05/image-1685437664369.png)
4. Then Soffid will run the reconcile process
[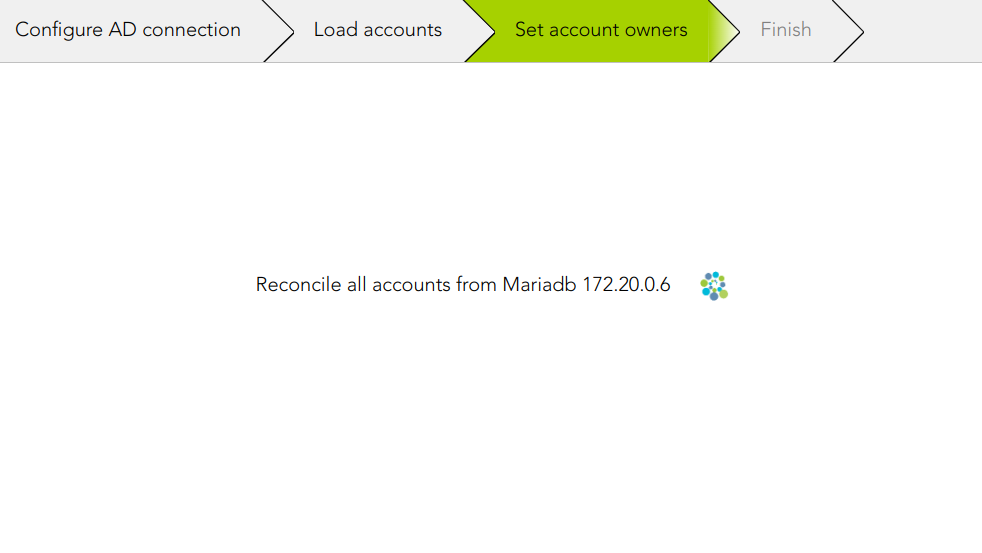](https://bookstack.soffid.com/uploads/images/gallery/2023-03/image-1678090555705.png)
5. Finally, the process ends.
[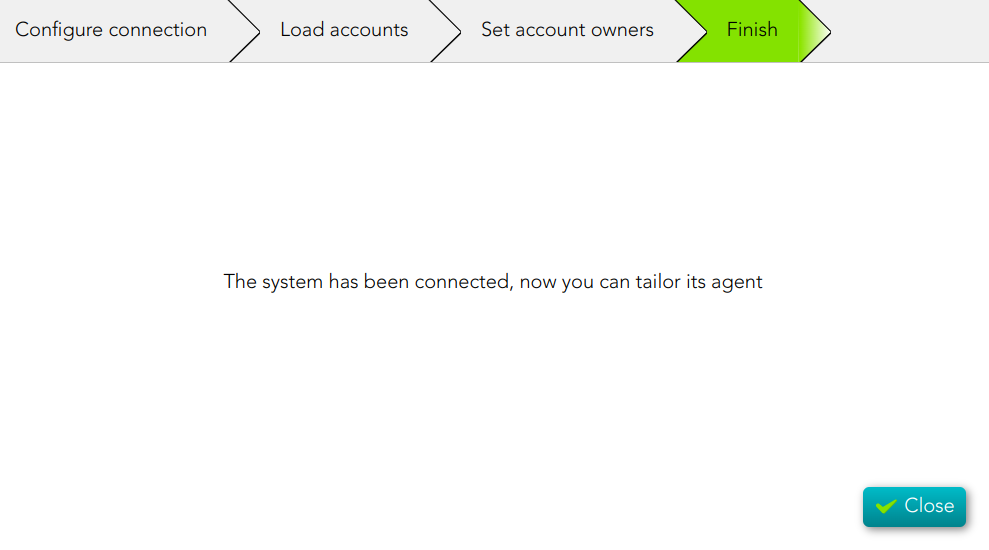](https://bookstack.soffid.com/uploads/images/gallery/2023-05/image-1685437831278.png)
# Design user life cycle workflows
## Description
When you select the option "Design user life cycle workflows", Soffid will browse to the BPM Editor page, where you could define new workflows or import existing workflows from a file.
For more information, you can visit [the BPM Editor book](https://bookstack.soffid.com/books/bpm-editor).
## Screen overview
[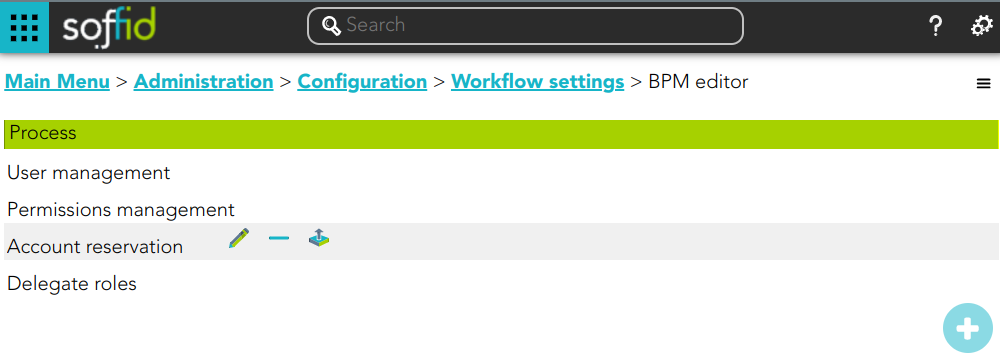](https://bookstack.soffid.com/uploads/images/gallery/2023-02/image-1676907389549.png)