AM
Access Management & SSO
- Create identities (manually, CSV file, or authoritative source)
- Add applications
- Create MFA policies
- Create adaptive authentication rules
Create identities (manually, CSV file, or authoritative source)
Description
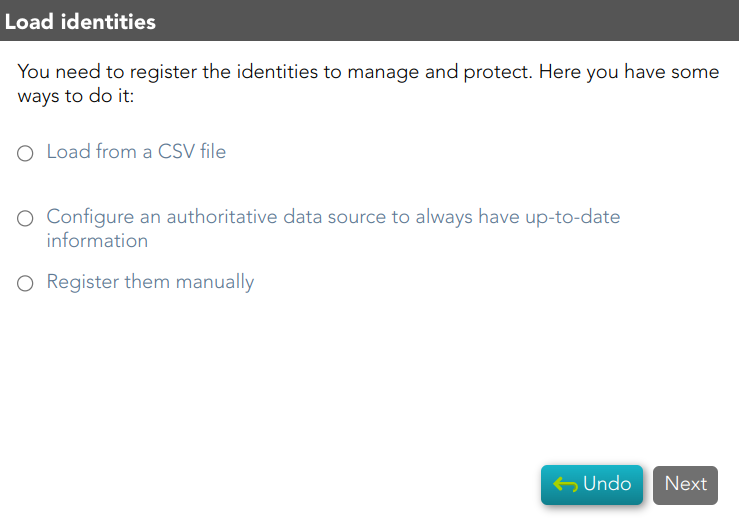
You need to register the identities to manage and protect them. This wizard allows you to choose the easiest way to do it.
Step-by-step
1. First, you must select one option to register the identities. Soffid allows you three options.
2. You must follow the steps, depending on the selected option:
2.1. Load from a CSV file: this option allows you to load identities from a CSV file.
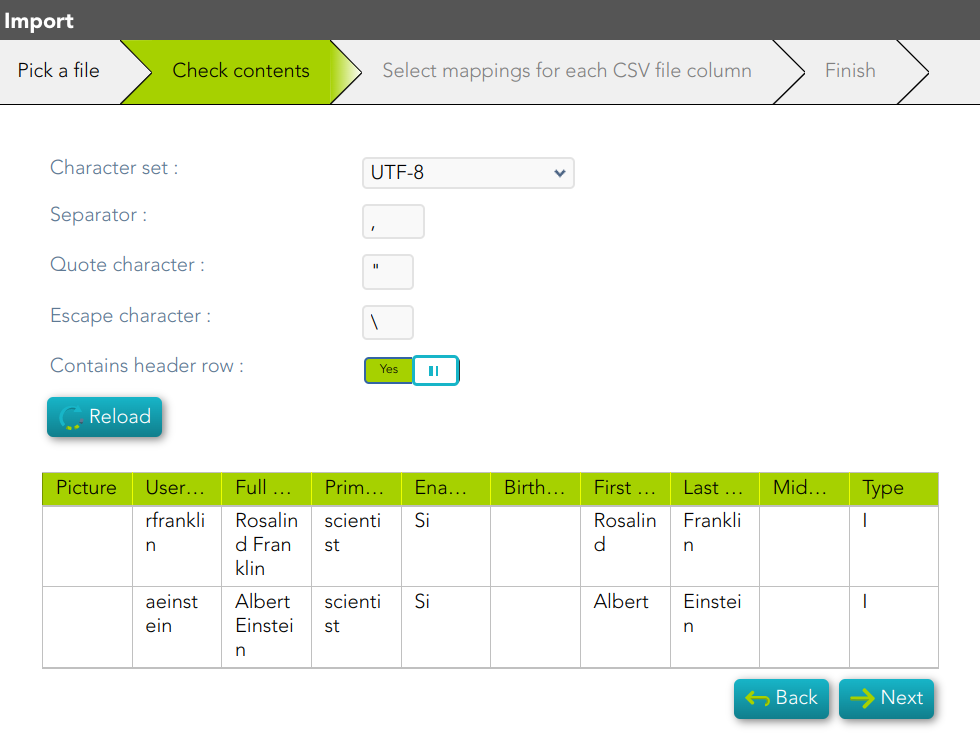
2.1.1. First of all, you need to pick up the CSV file.

2.1.2. Second, Soffid will display the file data to check contents
2.1.3. Then you must select the proper mapping for each CSV file column. And finally, click the Import Button and Soffid will add the identities to the platform.
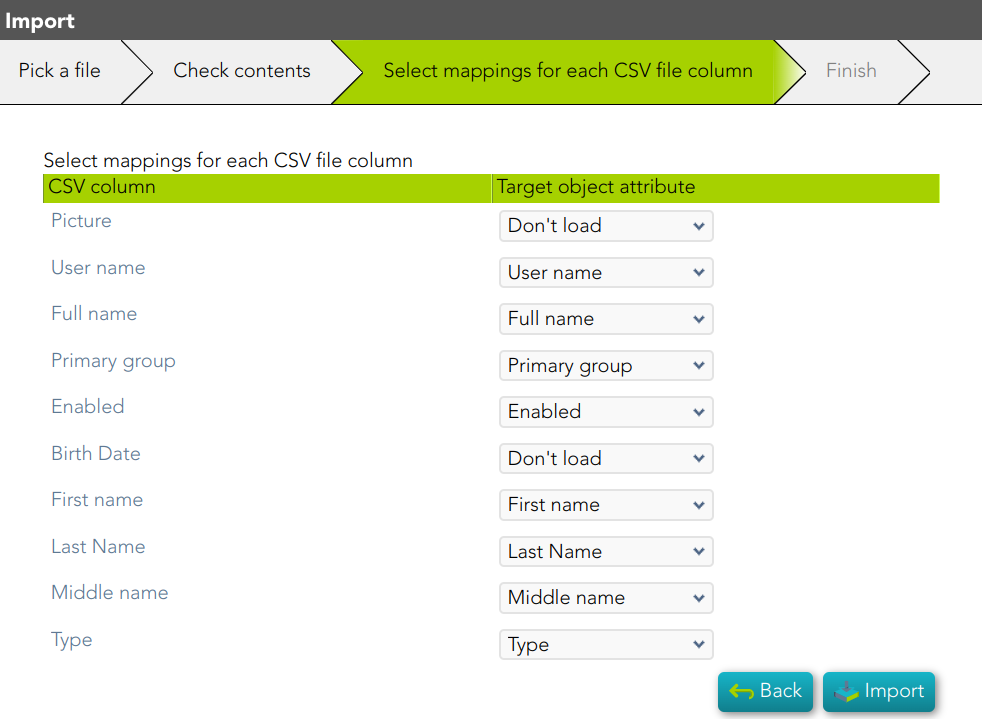
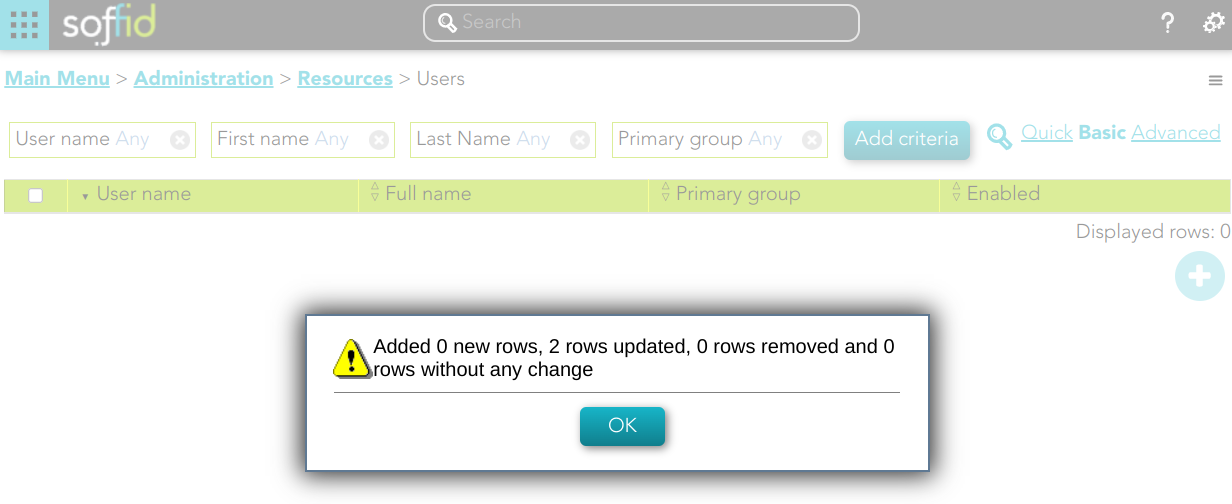
2.1.4. Soffid will display the result of the process.
2.2. Configure an authoritative data source to always have up-to-date information: this option allows you to configure an Active Directory agent, or a Relational database agent to load the identities.
Once the process will finish, you could check the new agent on the agent's page Main Menu > Administration > Configuration > Integration engine > Agents
For more information about the agents, you can visit the Agents page.
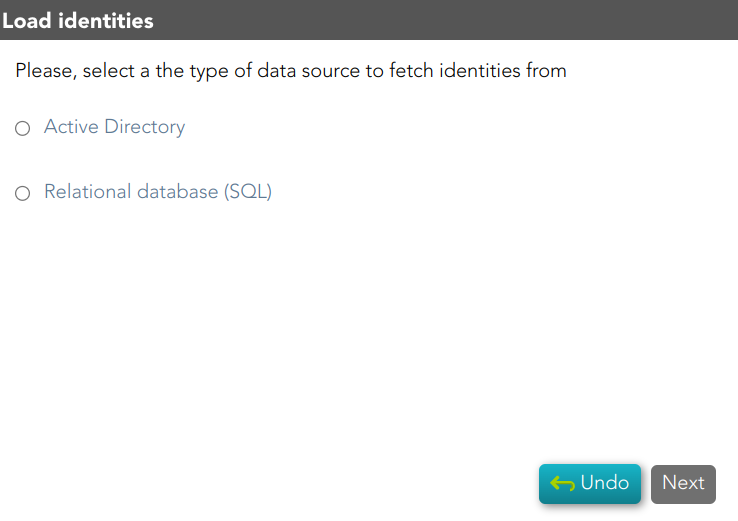
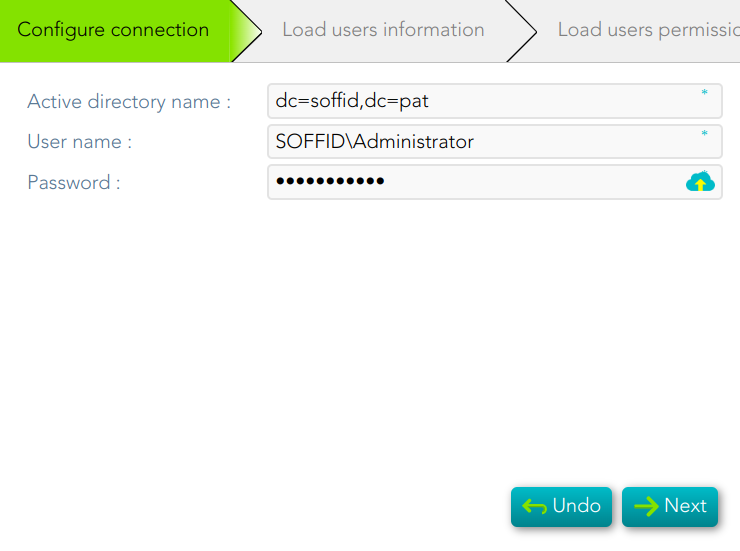
2.2.1. Active Directory
- To configure the AD connection you must fill in the required fields and click the Next button.
- Then Soffid will run the Authoritative load and the Reconcile process
- Finally, you could check the result on the Scheduled tasks page.
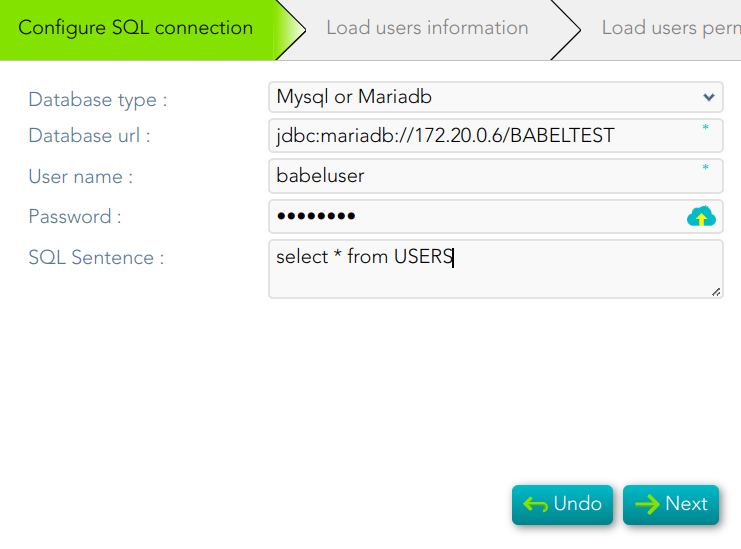
2.2.2. Relational database (SQL)
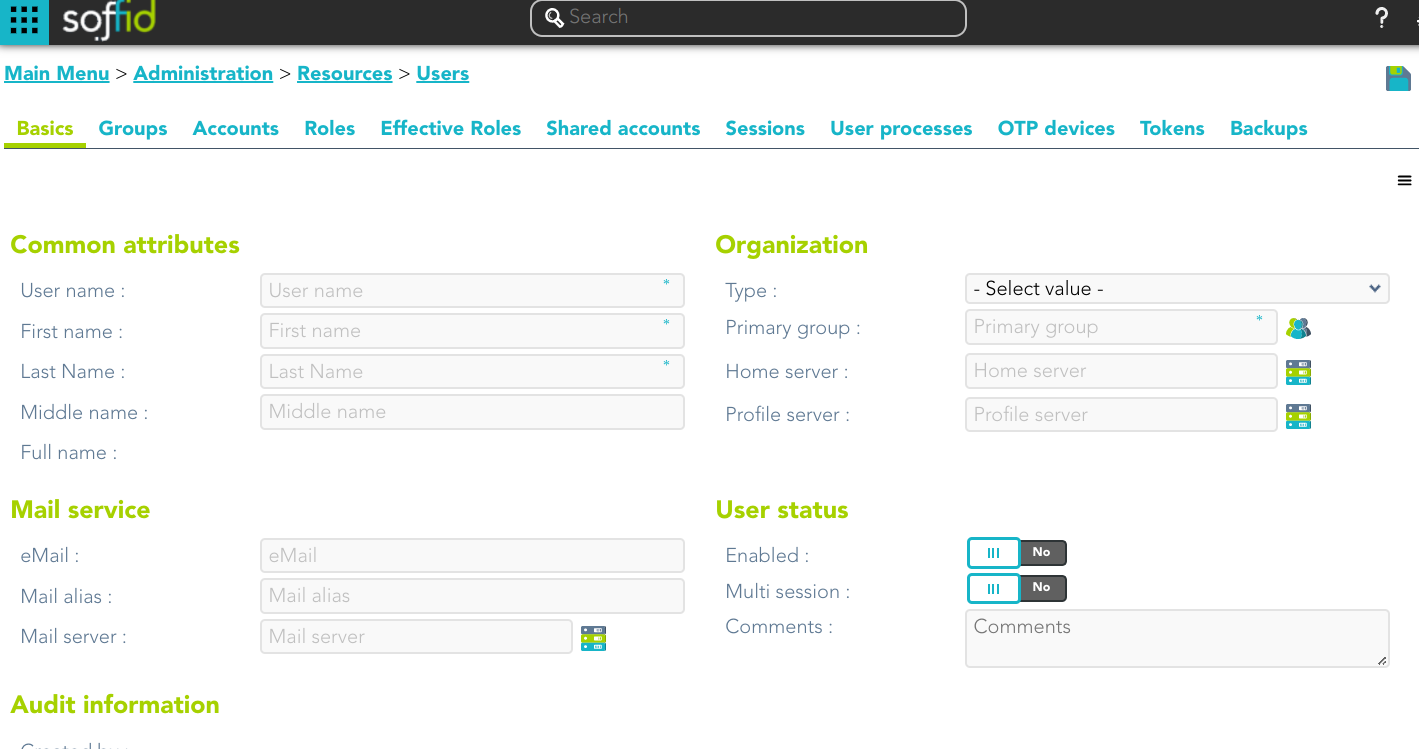
2.3. Register them manually: this option browses to the User page to register the identities manually
Add applications
Description
This wizard allows you to add a new Service Provider, that is, to configure an application that relies on an Identity Provider (IdP) to authenticate users and provide access to its services.
To be able to add new applications (SP), you must install the Federation Addon.
Step-by-step
1. If you have not previously installed the Federation Addon, the first time you select the Add application option, Soffid will require to install the Federation Addon.

When you click the OK button, Soffid will browse to the Soffid Download Area where you can find the Federation Addon. To install Federation Addon you can follow the steps How to install Federation in Soffid?
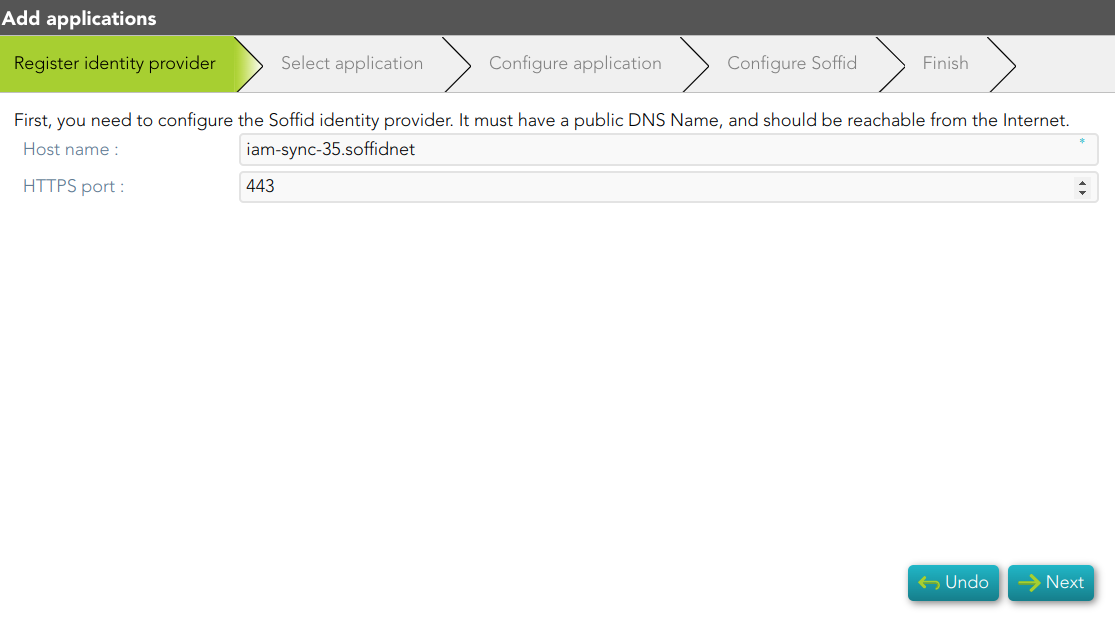
2. Once you select the Add application option, Soffid will display the wizard to register the Identity Provider, if it does not exist previously.
3. You must select the application you want to add.
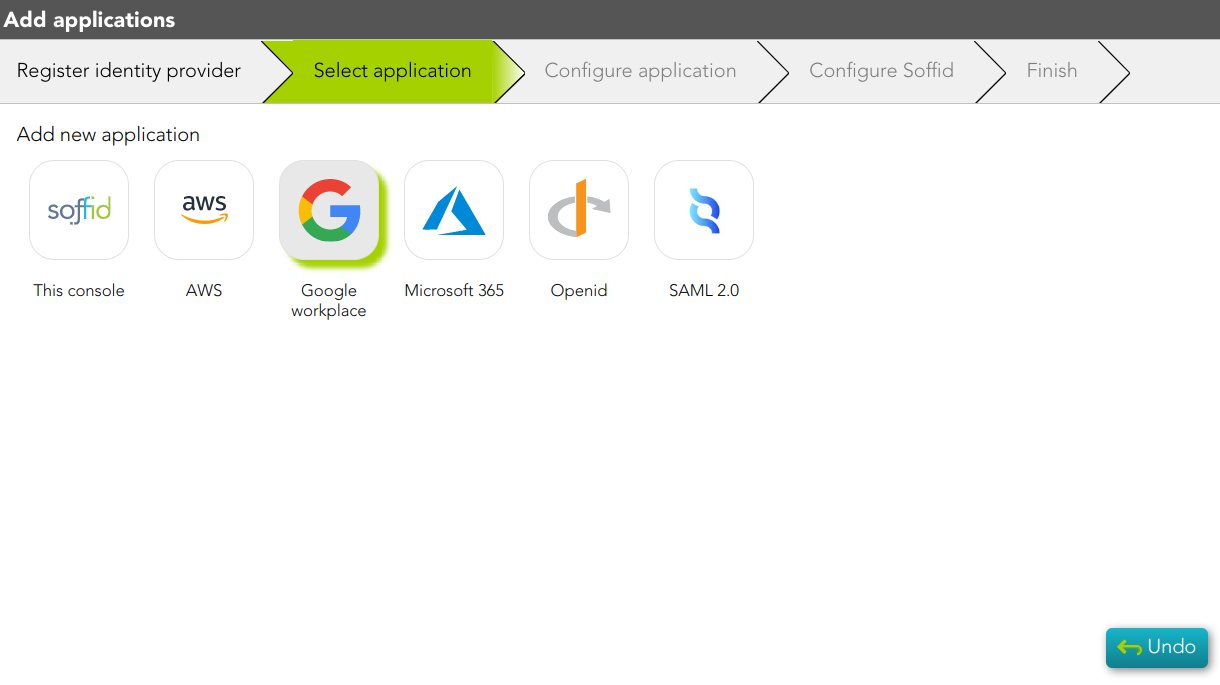
3.1. Soffid app:
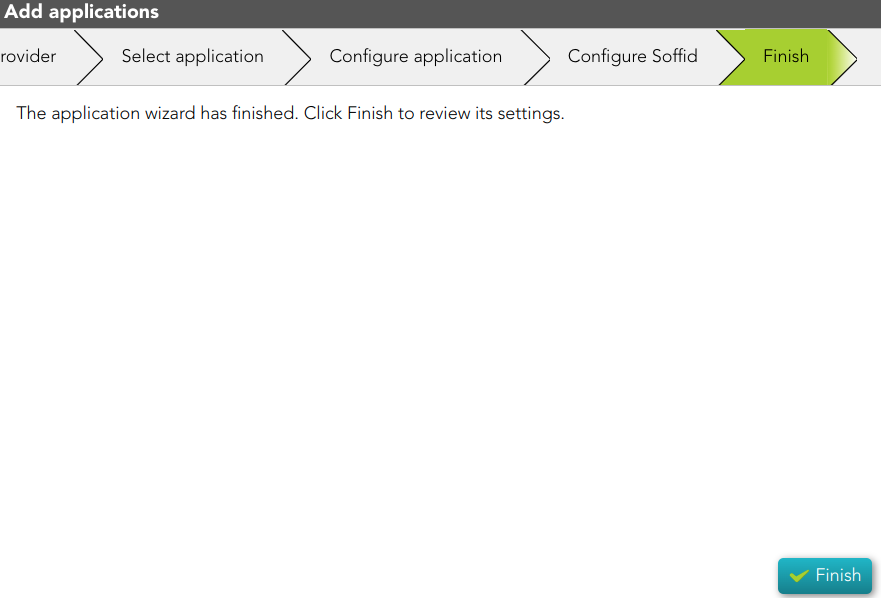
3.1.1. The Finish step will be displayed.

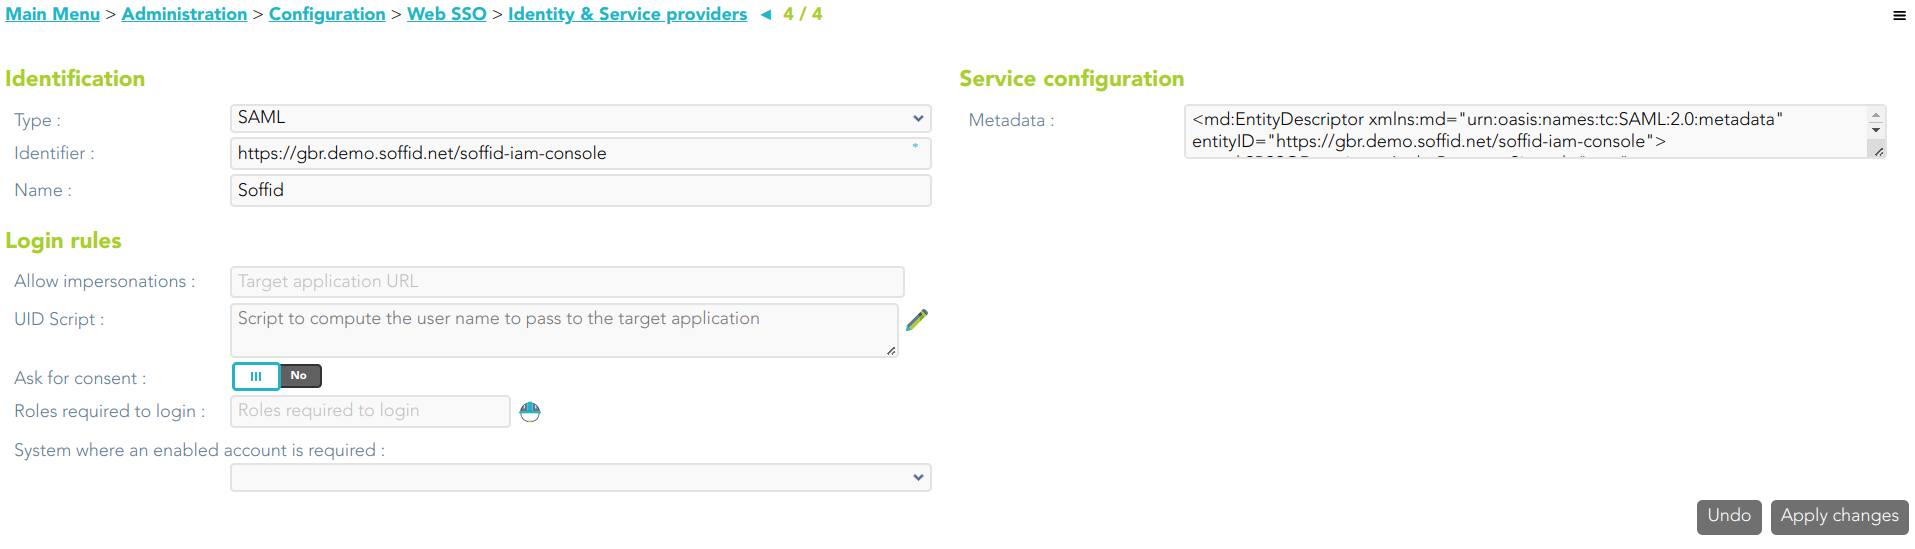
3.1.1. If you click the Finish button, Soffid will display the Service Provider page.
3.2. AWS app:
3.2.1 Soffid will download the proper certificate.
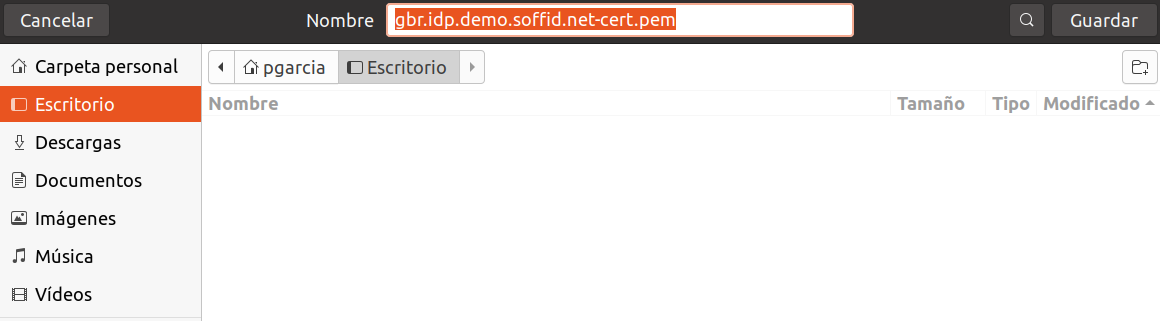
3.2.2 Once, you download the certificate, Soffid will display the Configure application step. You must follow the indicated steps at this point and click the Next button.
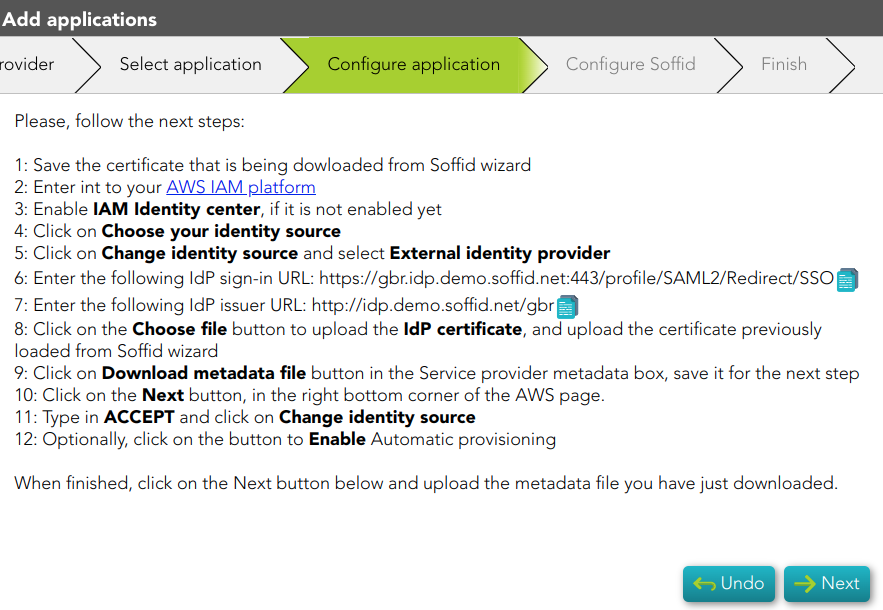
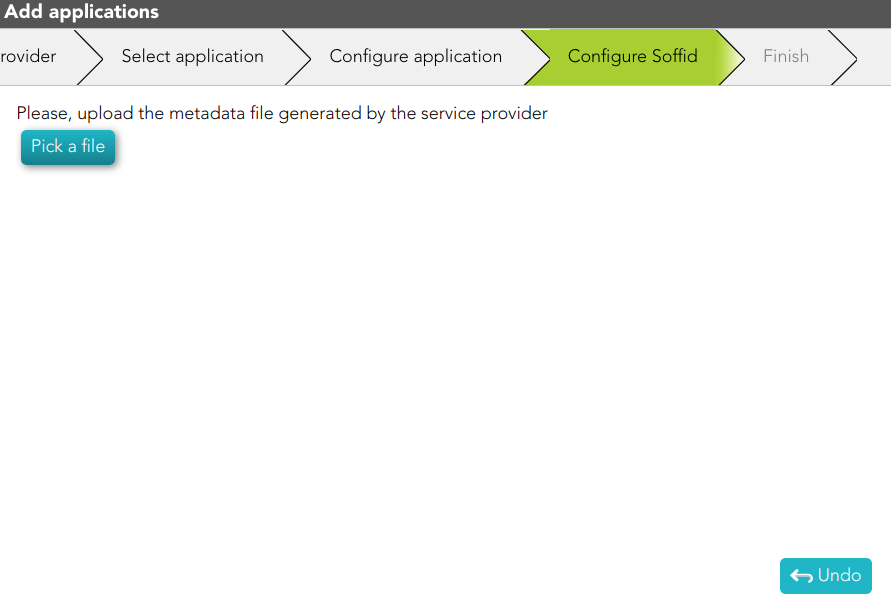
3.2.2 Then, you must upload the metadata of your service provider and click the Finish button.
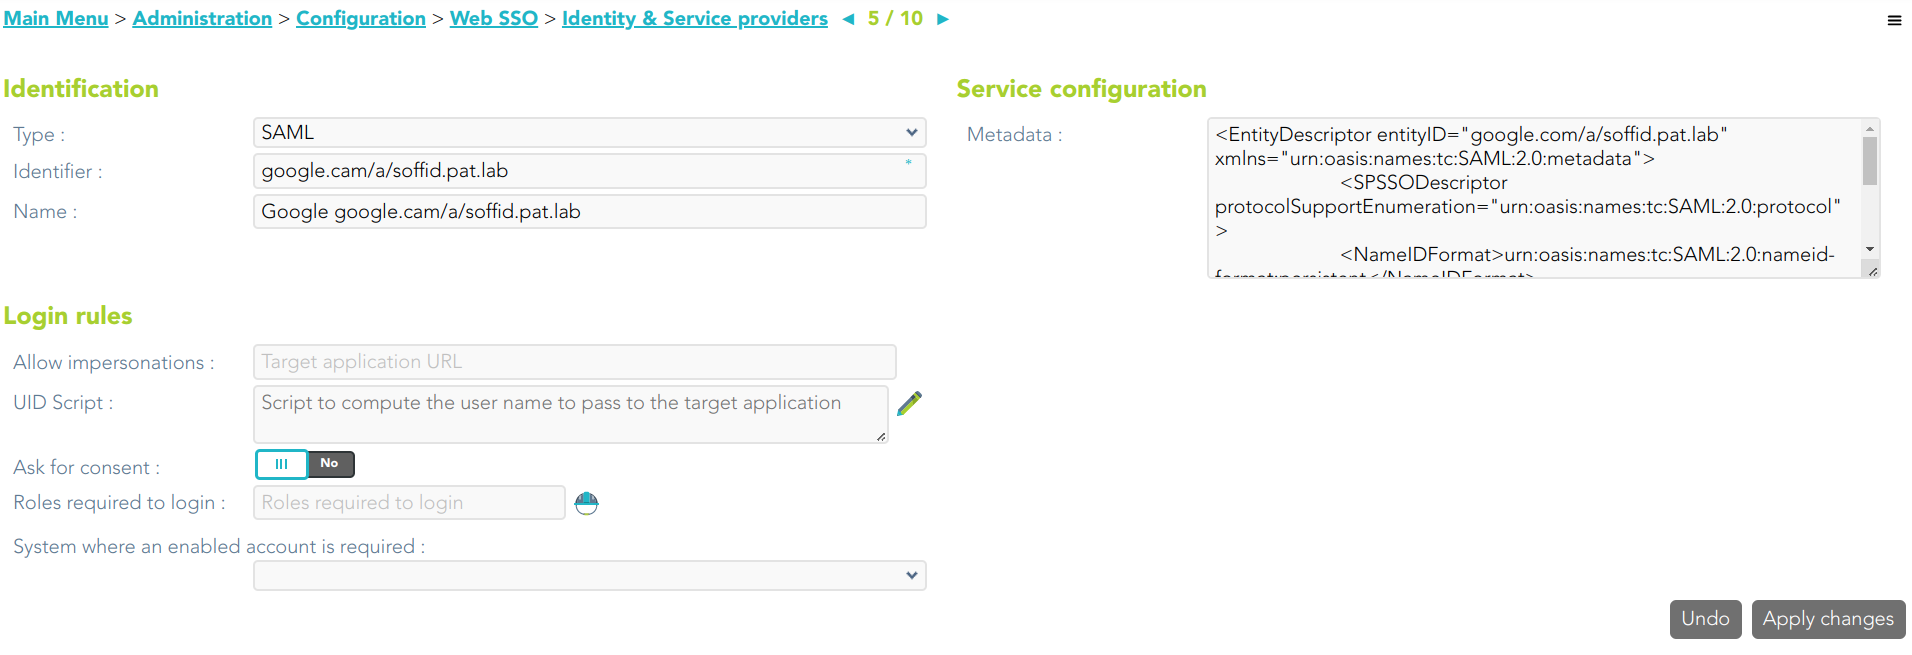
3.3. Google workplace app:
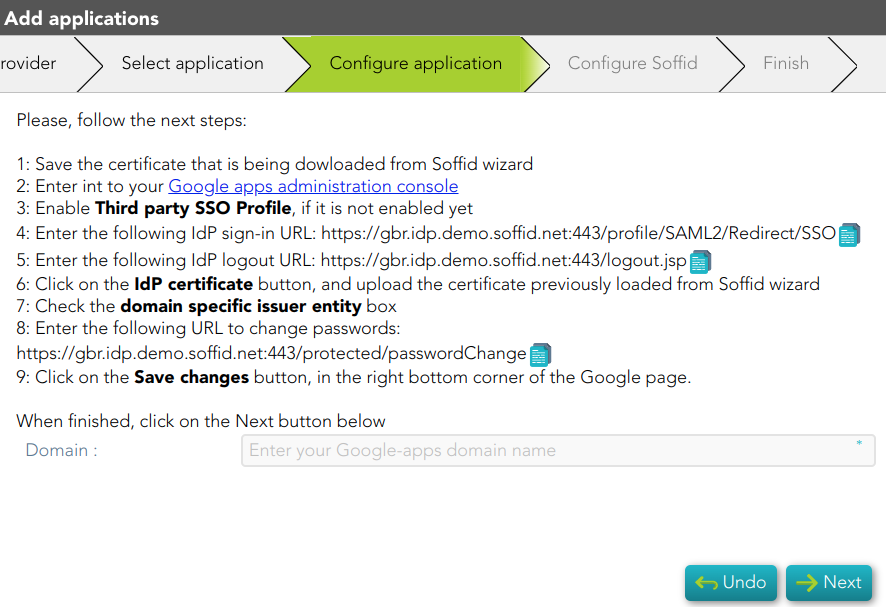
3.3.1 Soffid will download the proper certificate.
3.3.2 Once, you download the certificate, Soffid will display the Configure application step. You must follow the indicated steps at this point, fill in the Domain, and click the Next button.
3.3.3 Then, you must click the Finish button.
3.3.4 Finally, Soffid will browse to the Service Provider page where you can finish the Service provider configuration.
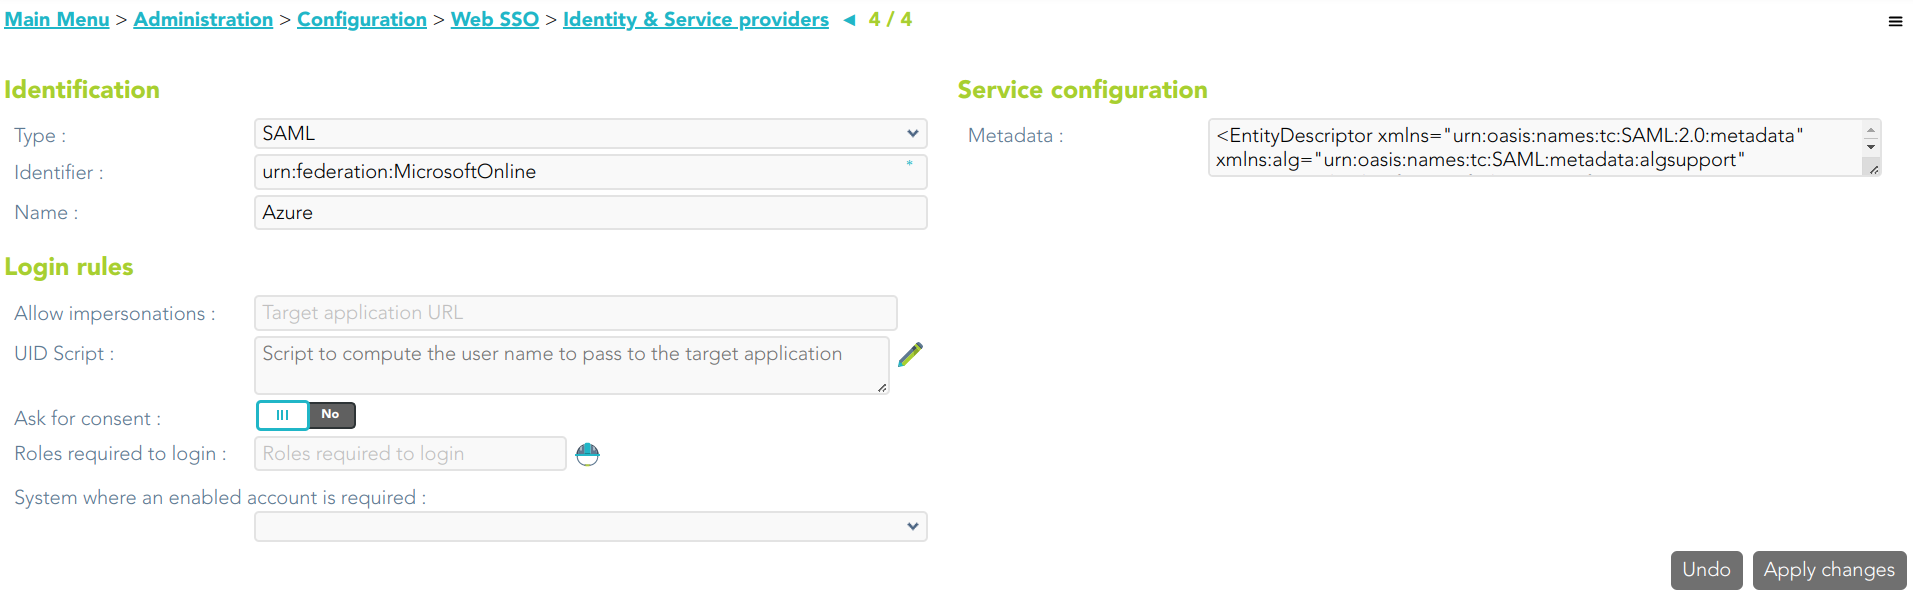
3.4. Microsoft 365 app:
3.4.1. When you select this option, Soffid will display the Configure application step. You must follow the indicated steps at this point, and click the Next button.
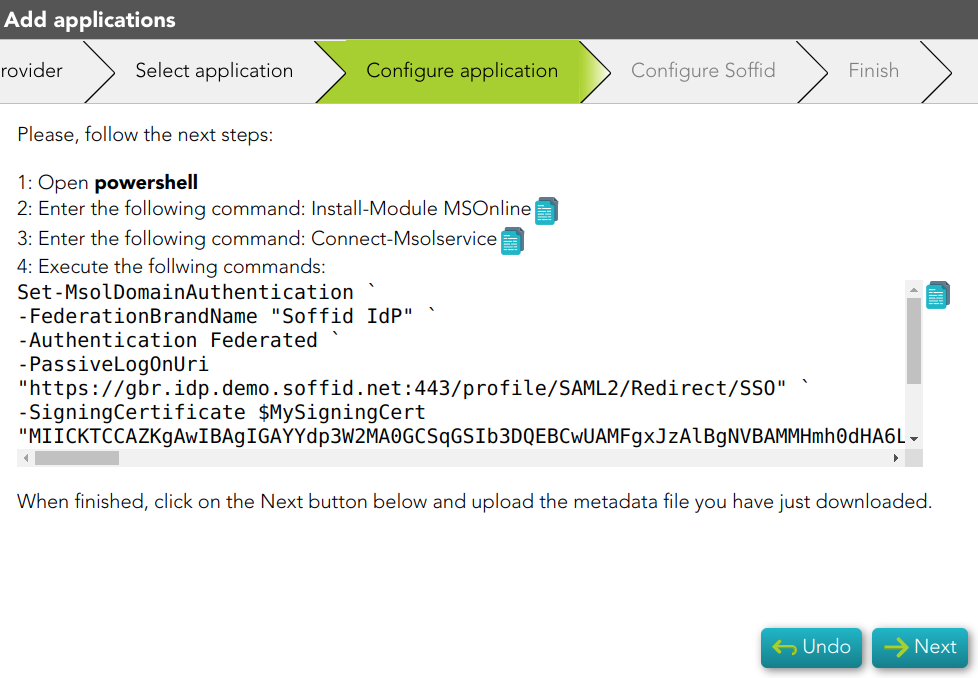
3.4.2 Then, you must click the Finish button.
3.4.3 Finally, Soffid will browse to the Service Provider page where you can finish the Service provider configuration.
3.5. OpenID app:
3.5.1. When you select this option, Soffid will display the Configure application step. You must configure your Service Provider, and click the Next button.

3.5.2. Then Soffid will return you the Client id and Client secret
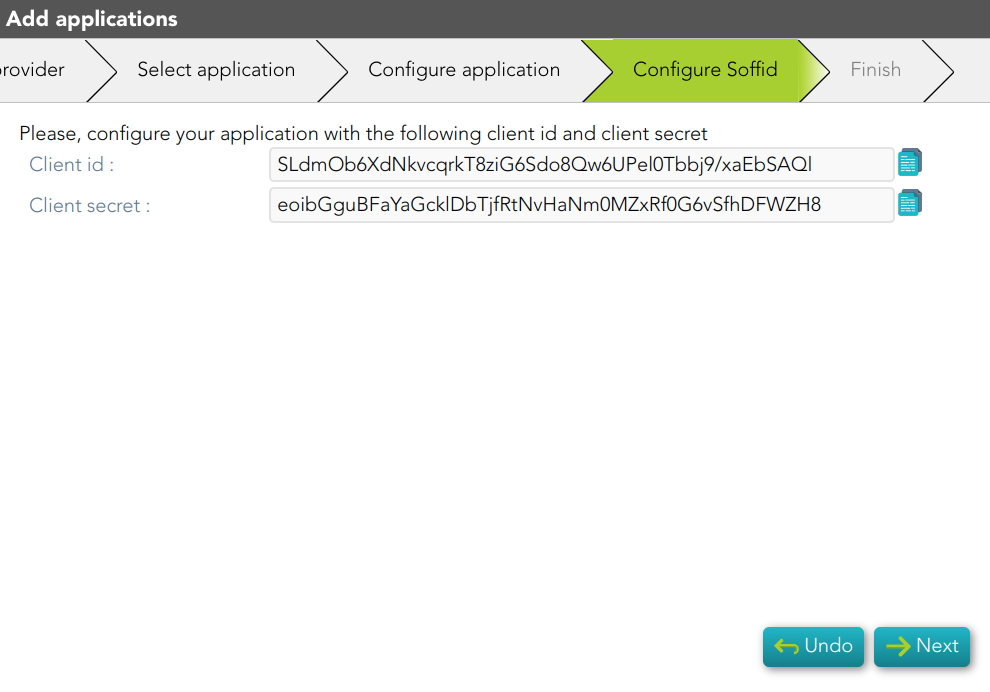
3.5.3 Then, you must click the Finish button.
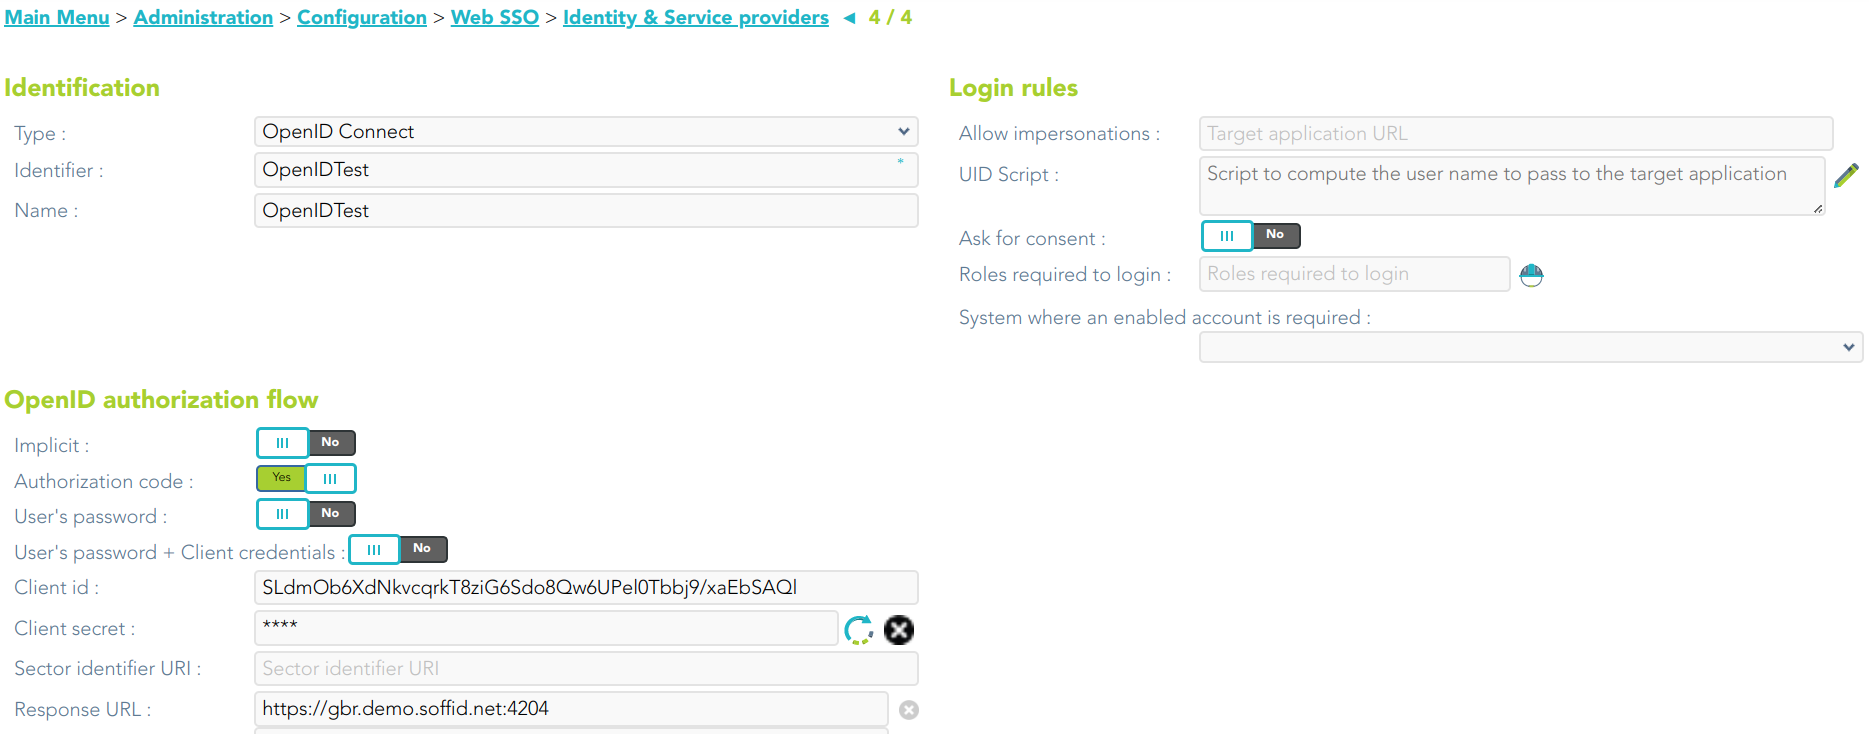
3.5.4 Finally, Soffid will browse to the Service Provider page where you can finish the Service provider configuration.
3.6. SAML 2.0 app:
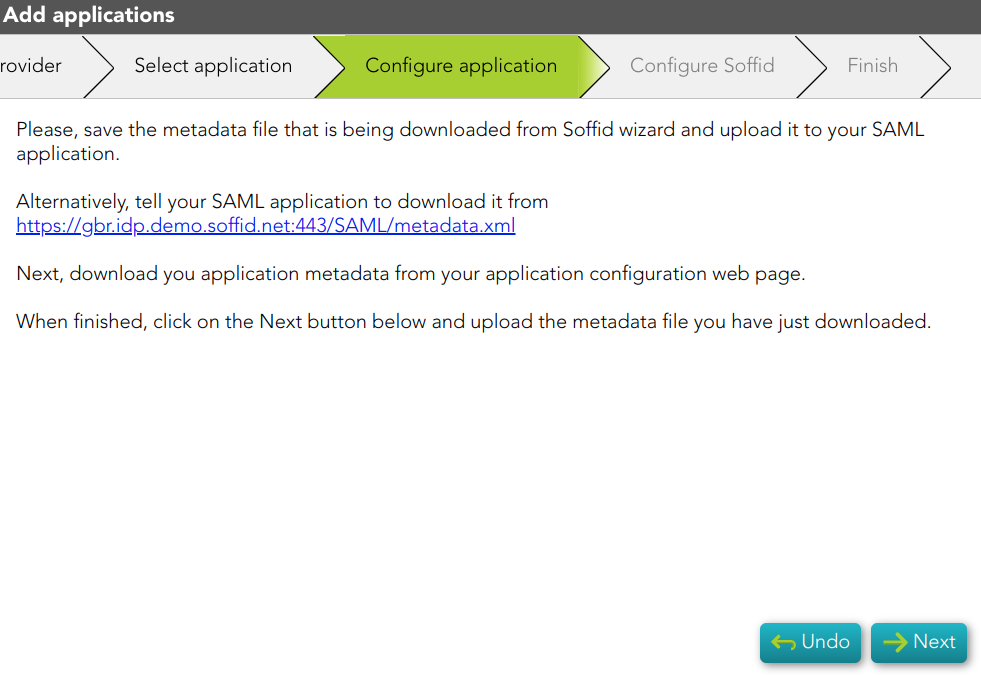
3.6.1 Soffid will download the metadata XML file.

3.5.2 Once, you download the metadata file, Soffid will display the steps to follow.
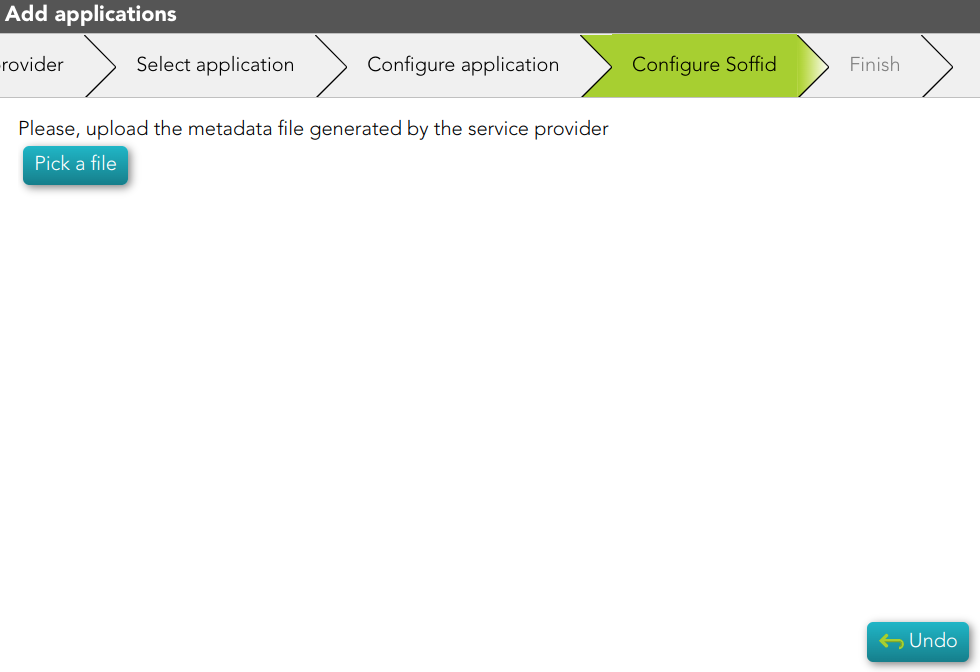
3.5.3 Then, you have to upload the metadata file generated by the Service Provider
Create MFA policies
Description
This wizard will help you to configure multi-factor authentication in order to expand security. This process requires users to provide two or more forms of identification before being granted access to a system or application.
For more information, you can visit the Two-factor authentication (2FA) book.
Step-by-step
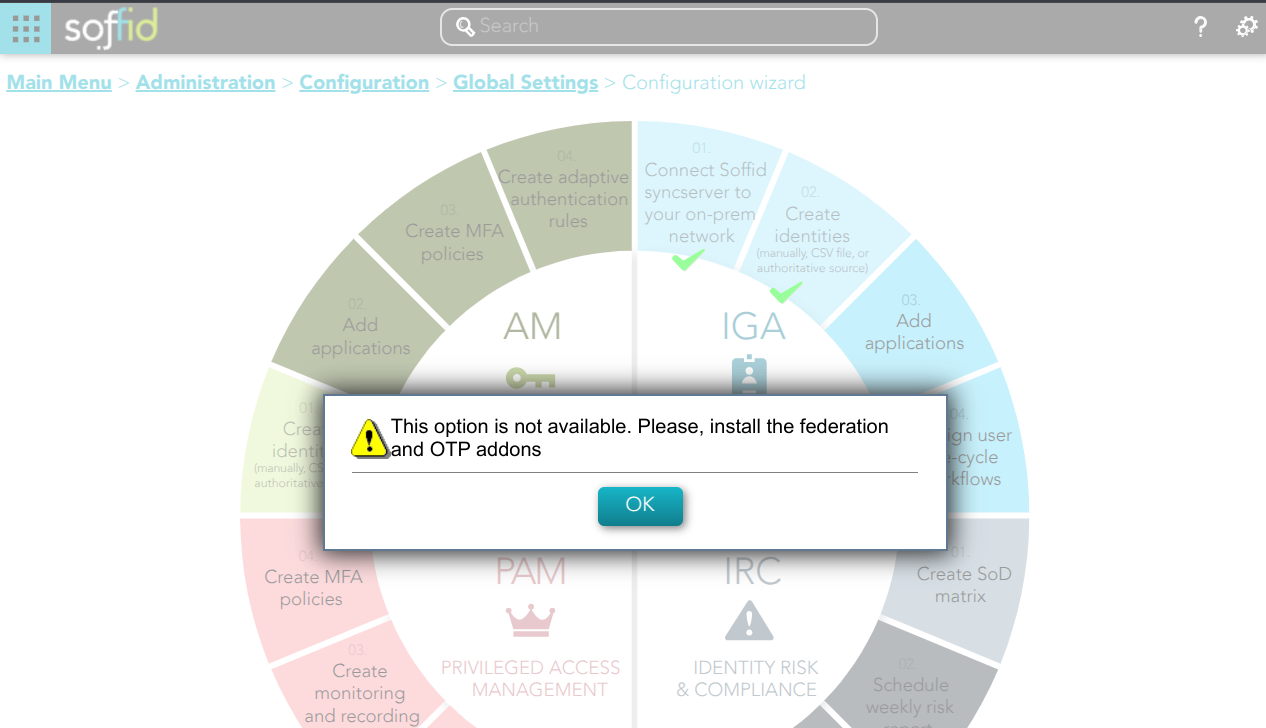
1. If you have not previously installed the Federation Addon, the first time you select the Create MFA policies option, Soffid will require to install the Federation and the OTP Addons.
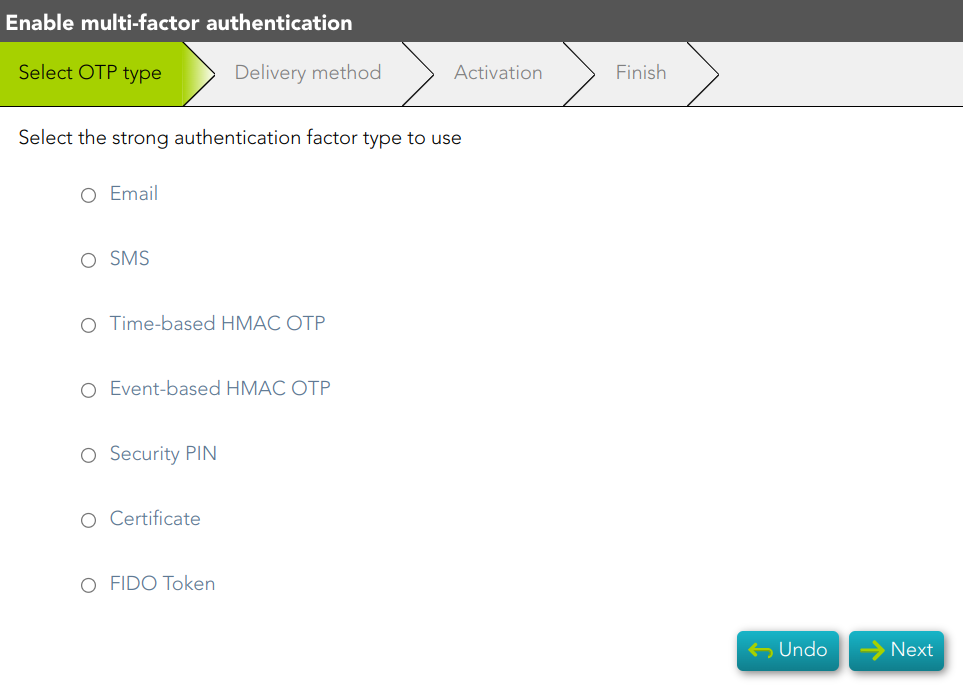
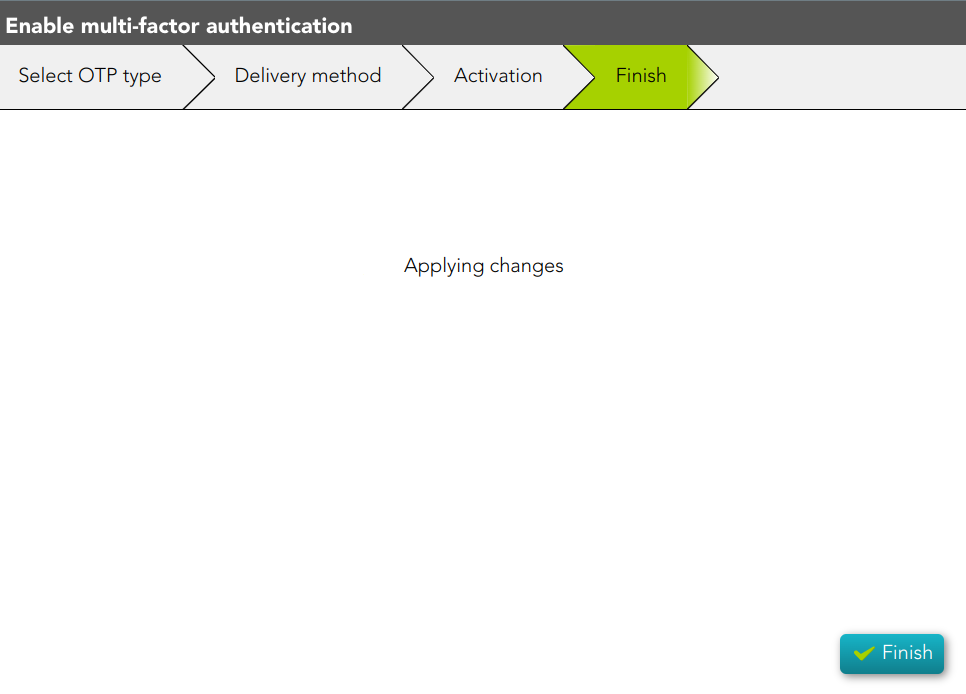
2. Frist, you must select the authentication factor to use
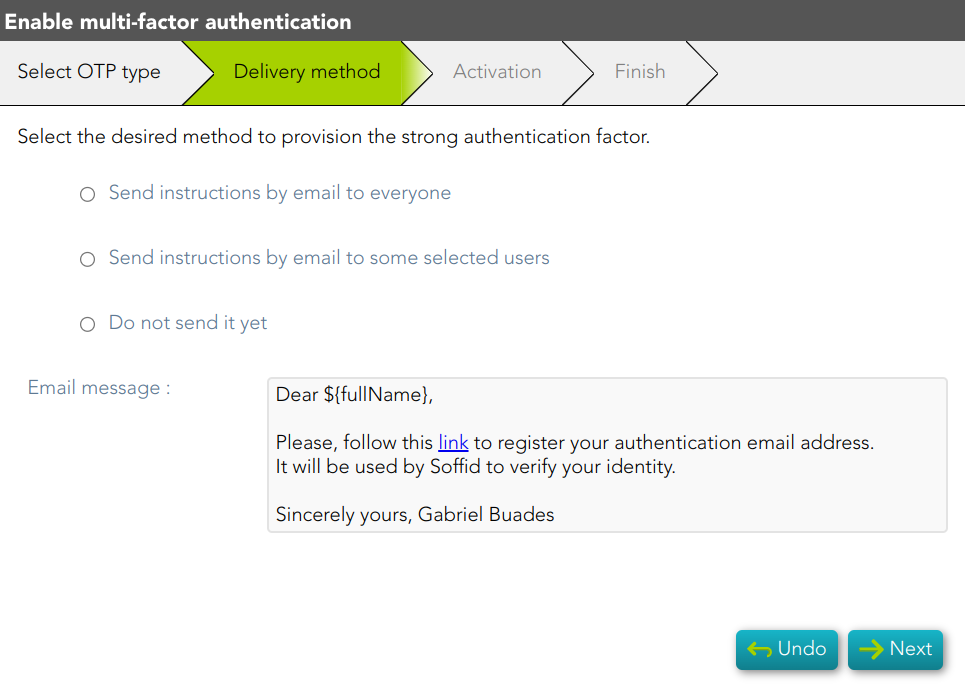
3. Second, you must select the delivery method to use. If you select the second option, you have to select the users to whom the instructions will be sent.
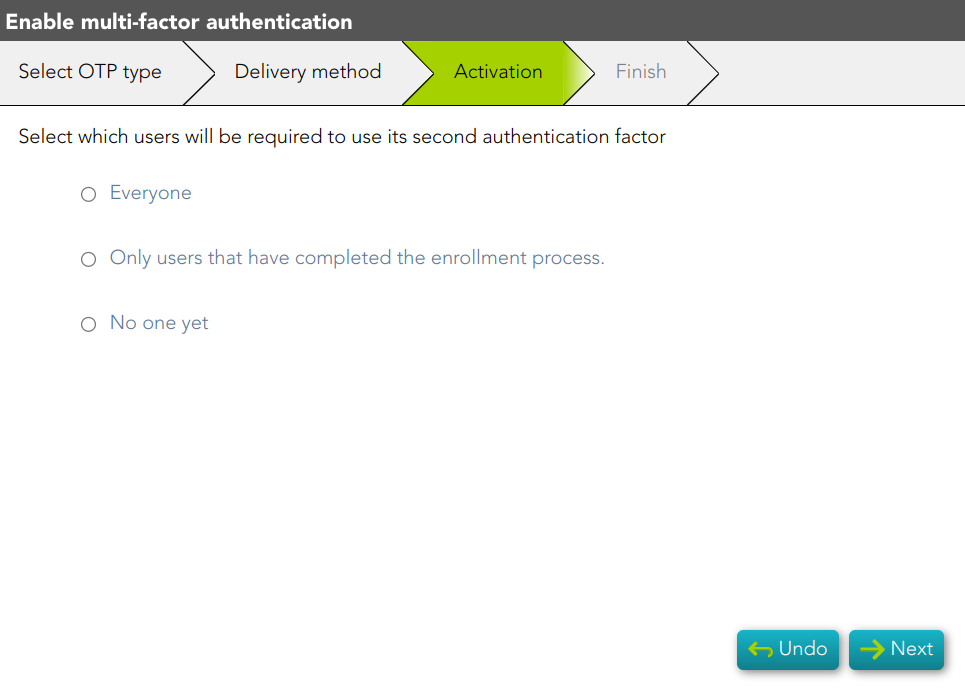
4. Next, you must select which users will have the second authentication factor activated.
5. Finally, the changes will be applied and the process will be finished.
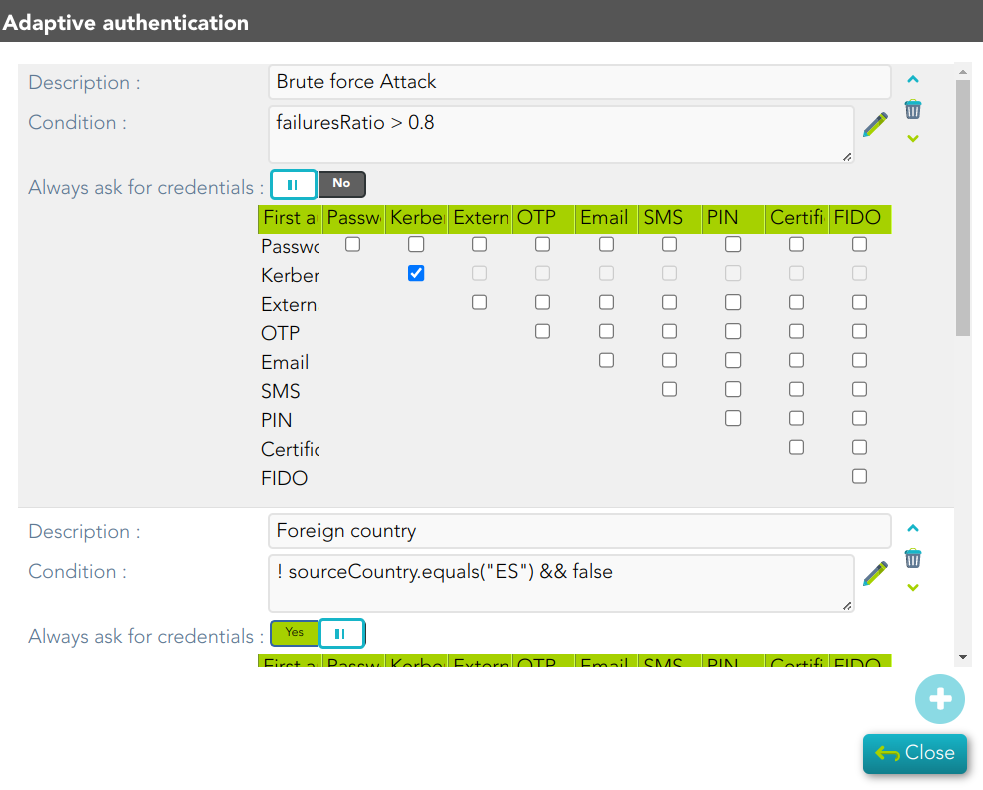
Create adaptive authentication rules
Description
Adaptive authentication rules are a set of security policies and mechanisms that adjust authentication requirements. These rules determine the strength of authentication required for each user, based on factors such as their location, device, past login behavior, and other risk indicators.
For more information, you can visit the Condition for Adaptive authentication page.
Step-by-step
1. If you have not previously installed the Federation Addon, the first time you select the Create MFA policies option, Soffid will require to install the Federation and the OTP Addons.

2. You must select the Create adaptive authentication rules and then click the Ok button.
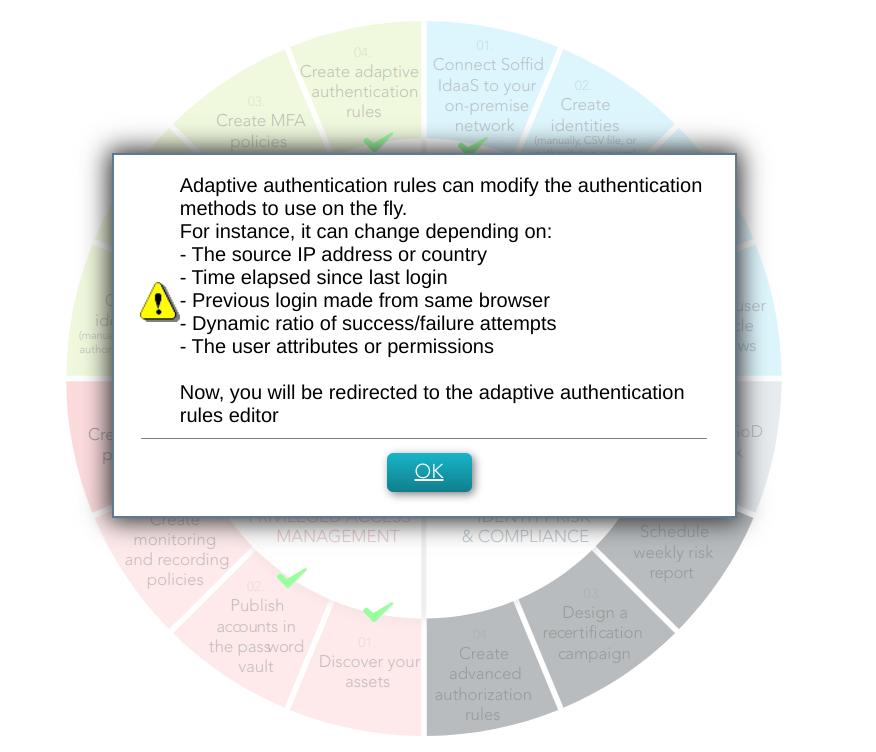
3. Then, Soffid will browse to the Adaptive authentication window, where you could configure it