We will use two concepts to explain that process, identity, and end-user. **Identity** will be the identity or user that will be created, updated, or deleted in Soffid Console. The **end-user** will be the Soffid user who requests processes using the self-service portal.
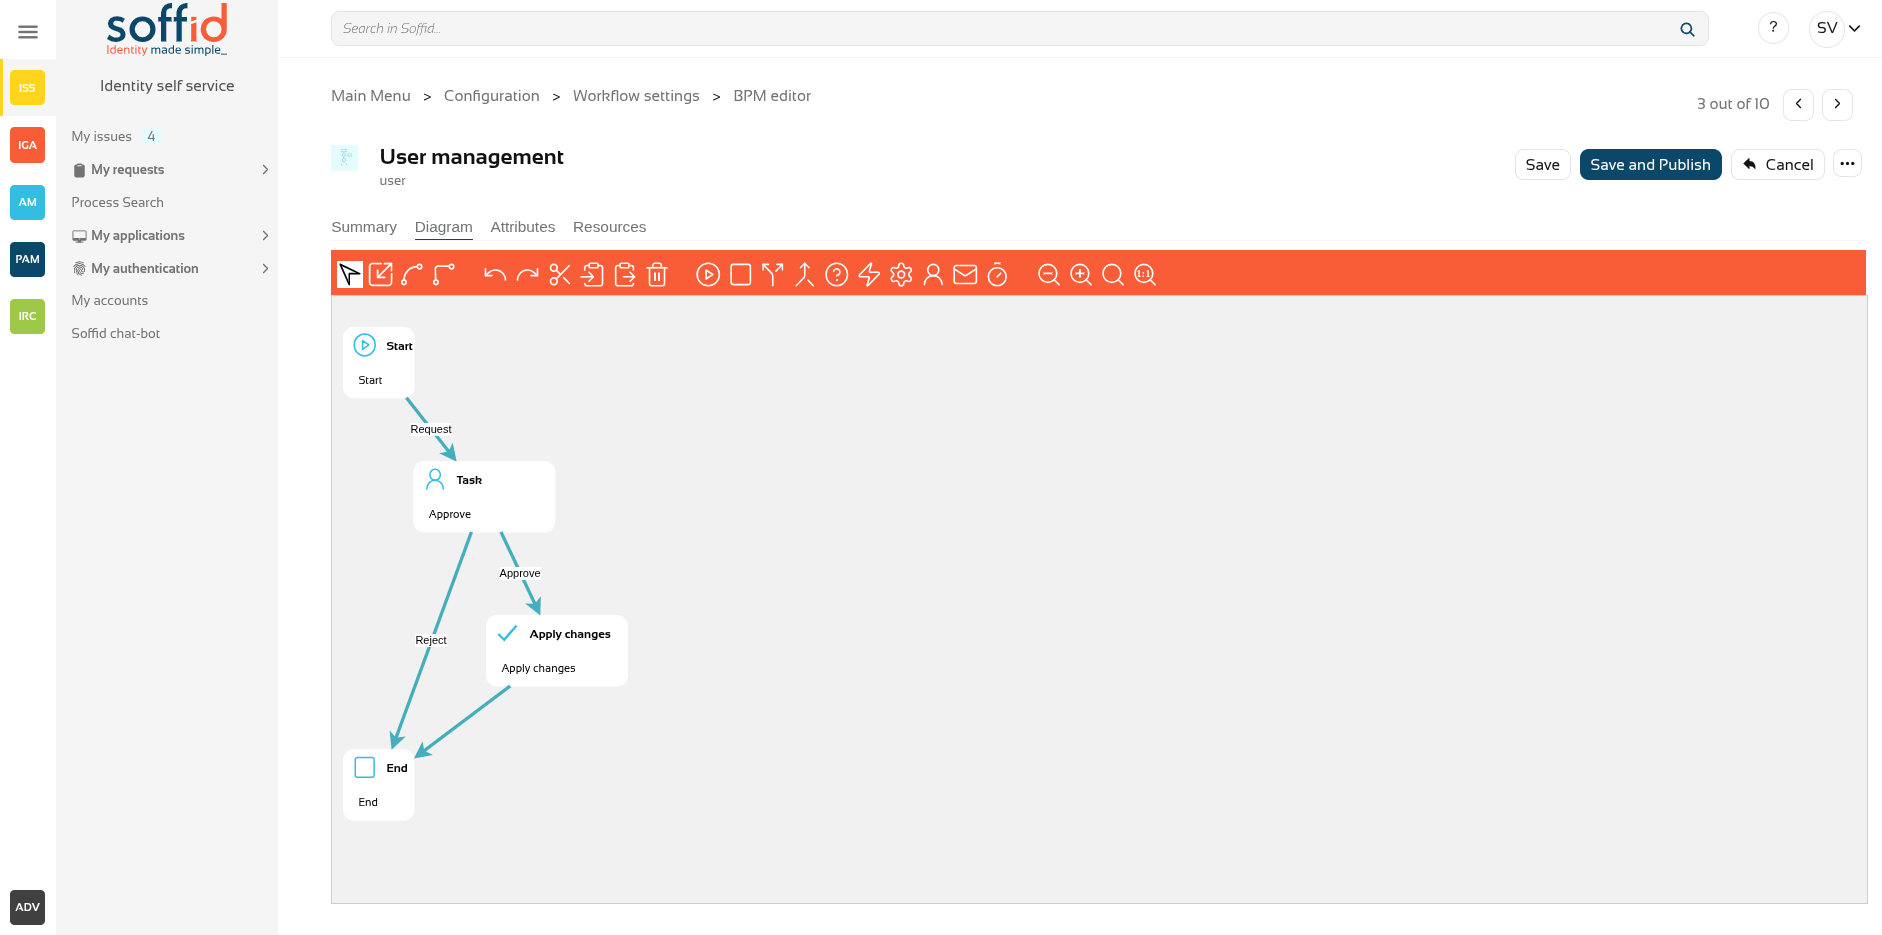
[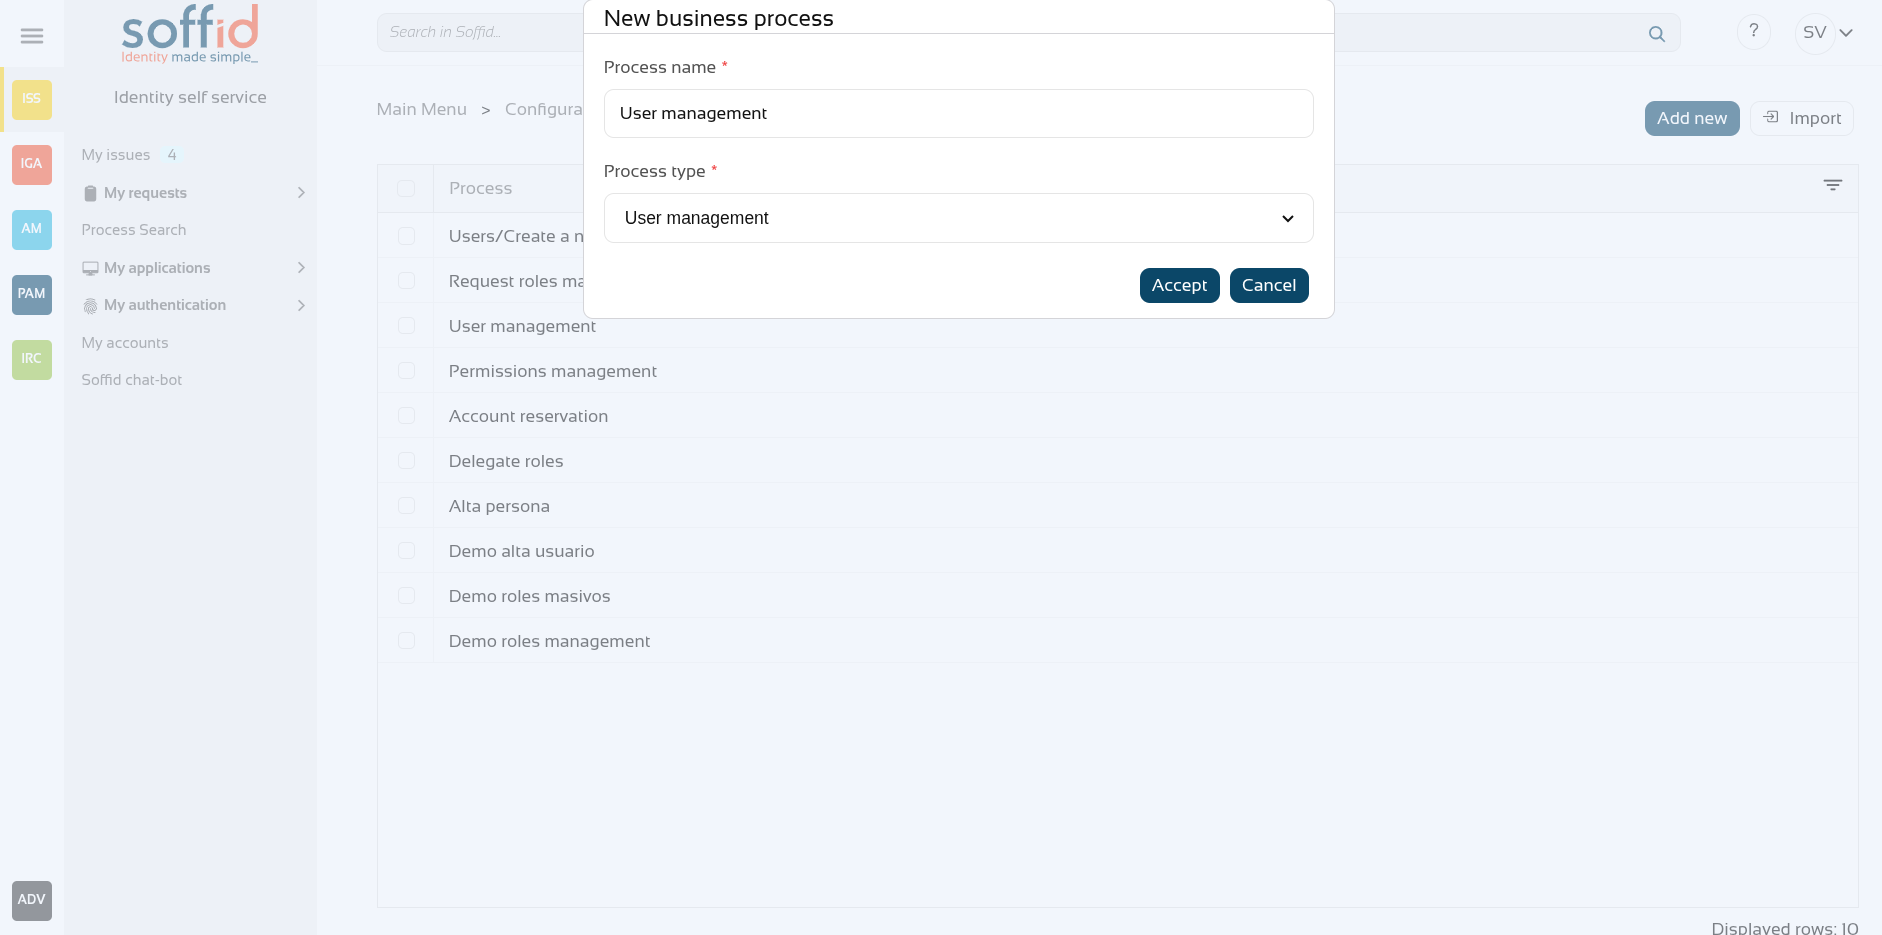](https://bookstack.soffid.com/uploads/images/gallery/2025-12/Xt8KKmzB9NGc5aeN-image.png) ## Process editor - **Process name**: identifier name of the workflow. This name will be used to label the workflow for the end-user. - **Process type**: to use this BPM editor you need to select **User management.** - **Description**: a brief description of the workflow. When an end-user starts a workflow, this text will be displayed in the Actions log tab. - **Initiators**: here you could configure the roles or the identities that could start a new workflow from the Console and Selfservice. E.g. "admin" identity, "SOFFID\_ADMIN" role, both separated by comma ',' as "admin, SOFFID\_ADMIN" or if you want to publish the workflow to everyone, you can use the text "tothom" or the character '\*'. The users who are initiators will be able to see and start this process from their identiry self service portal. - **Managers**: here you could configure the roles or the identities that could perform tasks in the workflow as approve permissions or cancel the workflow. - **Observers**: here you could configure the roles or the identities that could open the workflows in read-only mode. [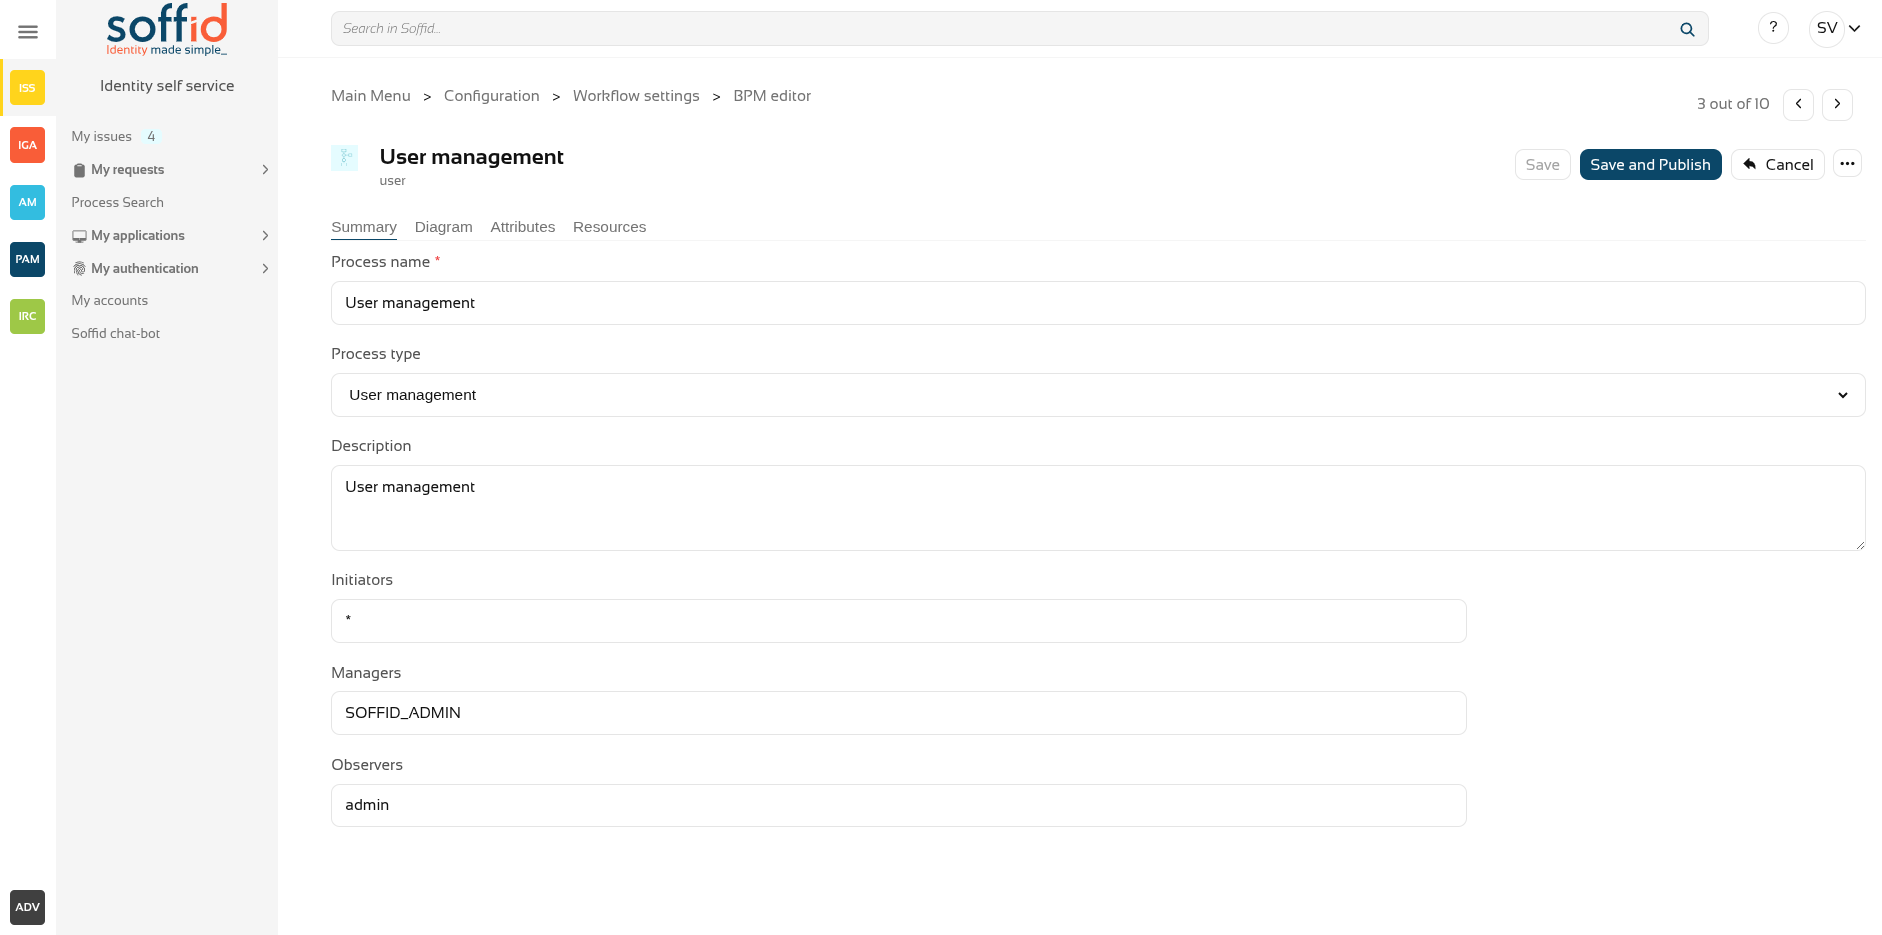](https://bookstack.soffid.com/uploads/images/gallery/2025-12/YQRcL8mCZtpJiSTC-image.png) ## Process stepsTo view the detail of each available step, you can visit the [User management steps chapter](https://bookstack.soffid.com/books/bpm-editor/chapter/user-management-steps "User management steps").
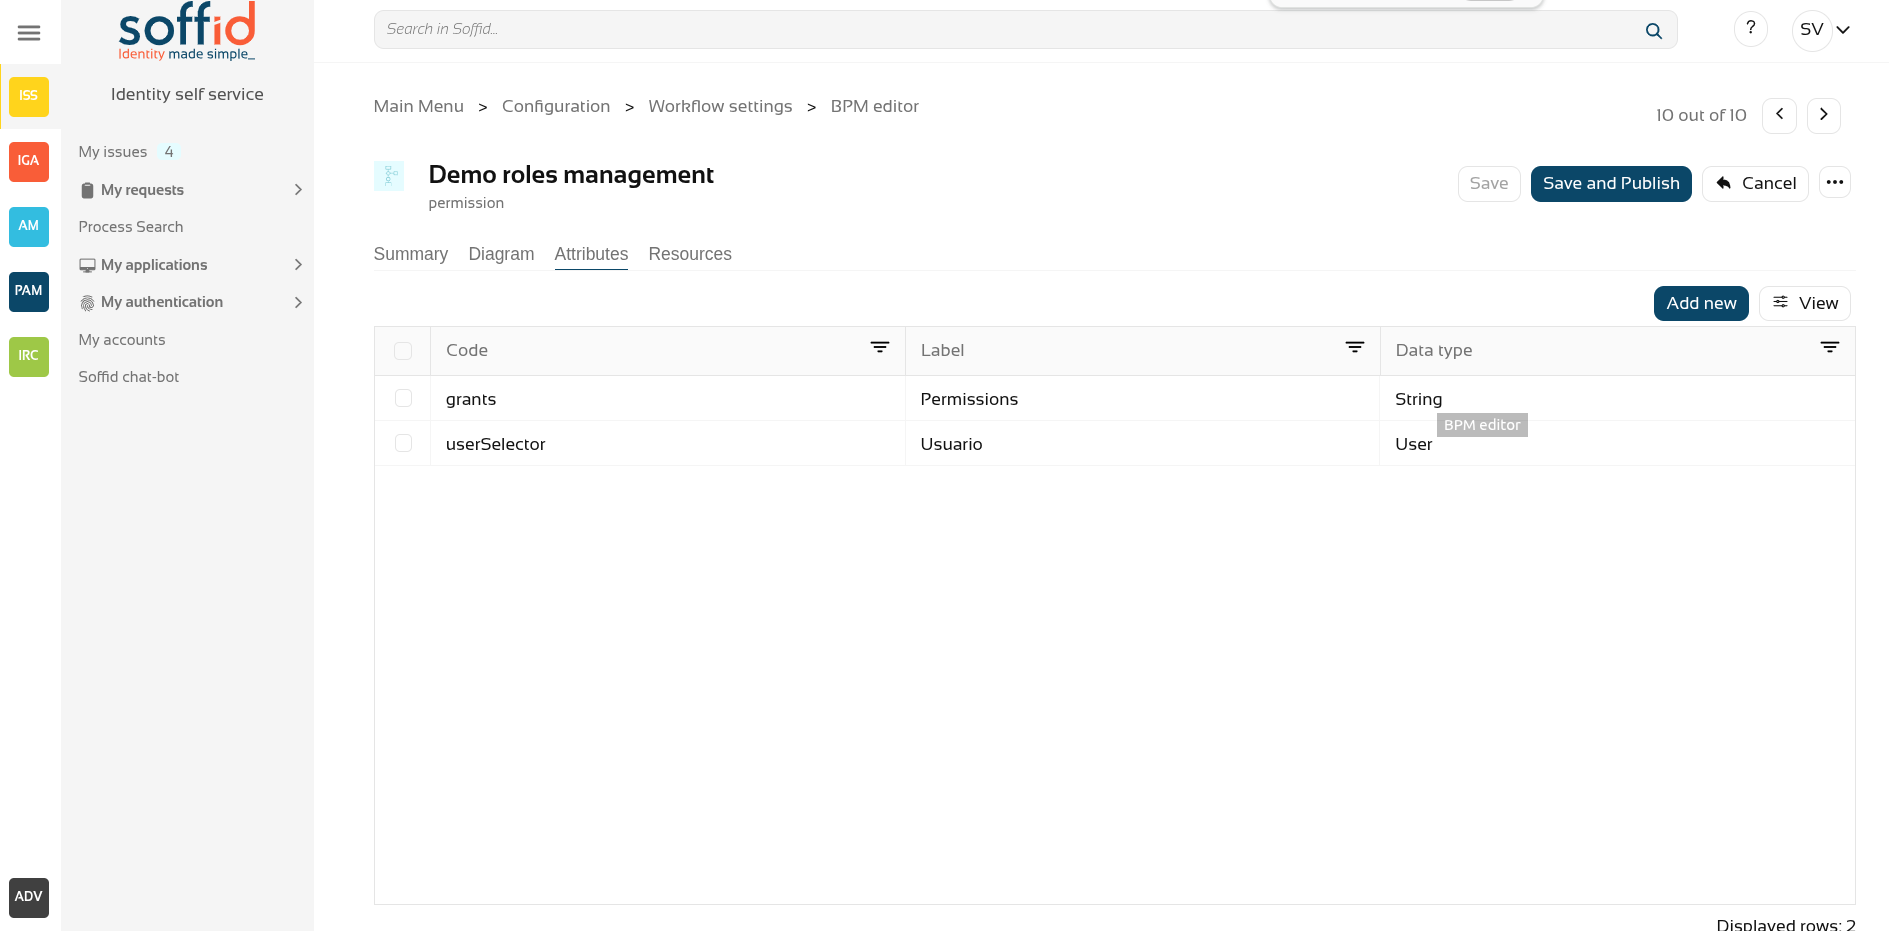
[](https://bookstack.soffid.com/uploads/images/gallery/2025-12/J46AZ9FLXoOSZ4f9-image.png) ## Attributes You could add new custom attributes in the Attributes tab. The defined attributes will be used in the Steps tab to be mapped with the Soffid data. There are customized templates depending on the Process Type selected, for the User management type there are three attributes defined: - **action**: by default, there are 4 operations defined, but you can customize these options, adding, removing and updating these: - Add user: this allows you to add a new identity to the systems. - Enable user: this allows you to enable an identity that is disabled. - Modify user: this allows you to modify the attributes for an existing identity. - Disable user: this allows you to disable an identity that is enabled. - **grants**: allows you to select an information system and assign or revoke permissions. - **userSelector**: allows you to select an existing identity. That component will be available when the action selected will be "Enable user", "Modify user" or "Disable user", in other cases, that component will not be displayed. That component allows to end-user to search identities by writing in an input field o searching with the searching view. You can customize attributes to adapt the workflow to your business process. You can add new attributes, and update or delete the default attributes. For each new attribute, you need to indicate, at least, the code, the label, and the data type. [](https://bookstack.soffid.com/uploads/images/gallery/2025-12/crmuCmAIog7OtbTk-image.png) ## Resources If your workflow requires the use of extra libraries with their own classes and methods, you can upload a jar file so that Soffid can load it and it can be used from the scripts. [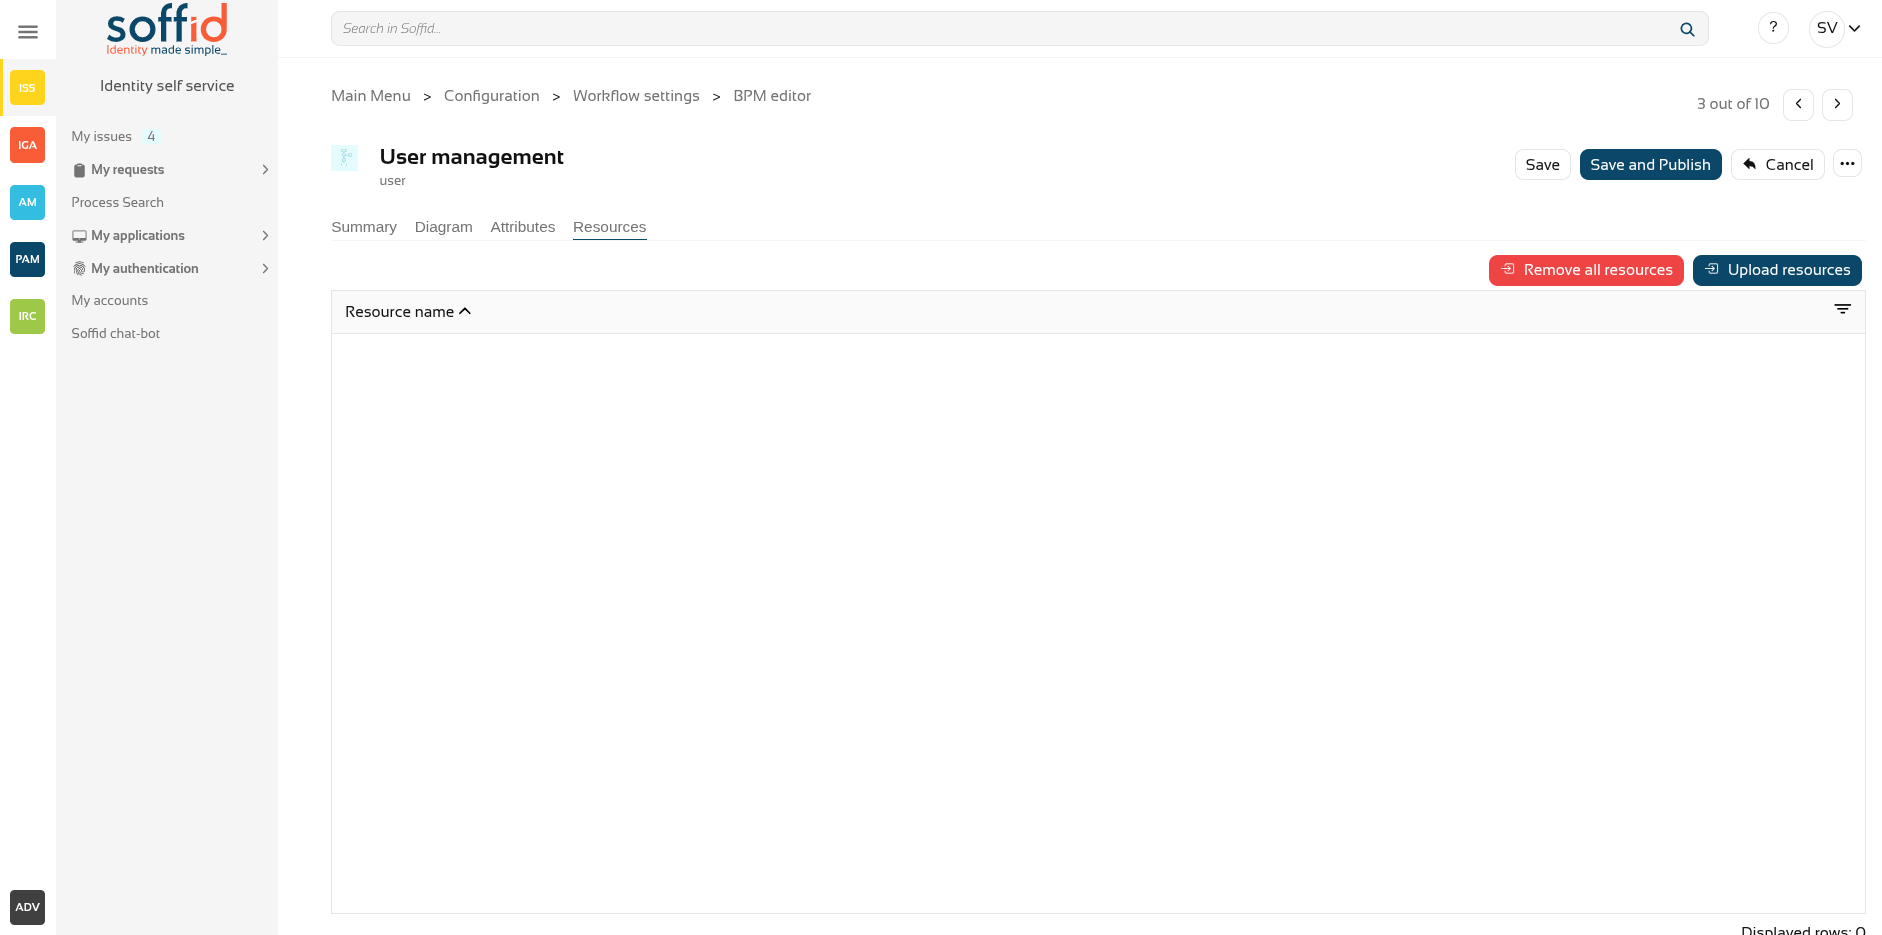](https://bookstack.soffid.com/uploads/images/gallery/2025-12/NAMXh1tlXBL2Uwn7-image.png) ## Actions #### Process actions| **Save** | Allows you to save all changes included in the workflow. That workflow can be a new or an updated workflow. |
| **Save and Publish** | Allows you to save the changes performed in the workflow setup and also publish the workflow to be used in Soffid. After this action, the last version of the workflow will be available for the end-user (with the proper permissions) in the Soffid Console and Self-service portal. |
| **Cancel** | Allows you to quit the process editor without saving changes. Soffid will ask you for confirmation to exit without saving updates |
| **Export process** | Allows you to export this workflow to a file in .partdef format. This file can be useful as a backup or for migration to another environment. |
| **Add new** | Allows you to add a new attribute. When you click the button "Add new" Soffid will show the fields to fill in for the new attribute. It is mandatory to fill in the code and data type to save the process. The attribute updates will save when you click the button "Save" or "Save and Publish". If you cancel, the updates will not save. |
| **Delete** | Allows you to delete a defined attribute. First select one or more attributes and the click the "Delete" button. The attribute updates will save when you click the button "Save" or "Save and Publish". If you cancel, the updates will not save. |
We will use two concepts to explain that process, identity, and end-user. **Identity** will be the identity or user that will be created, updated, or deleted in Soffid Console. The **end-user** will be the Soffid user who requests processes using the self-service portal.
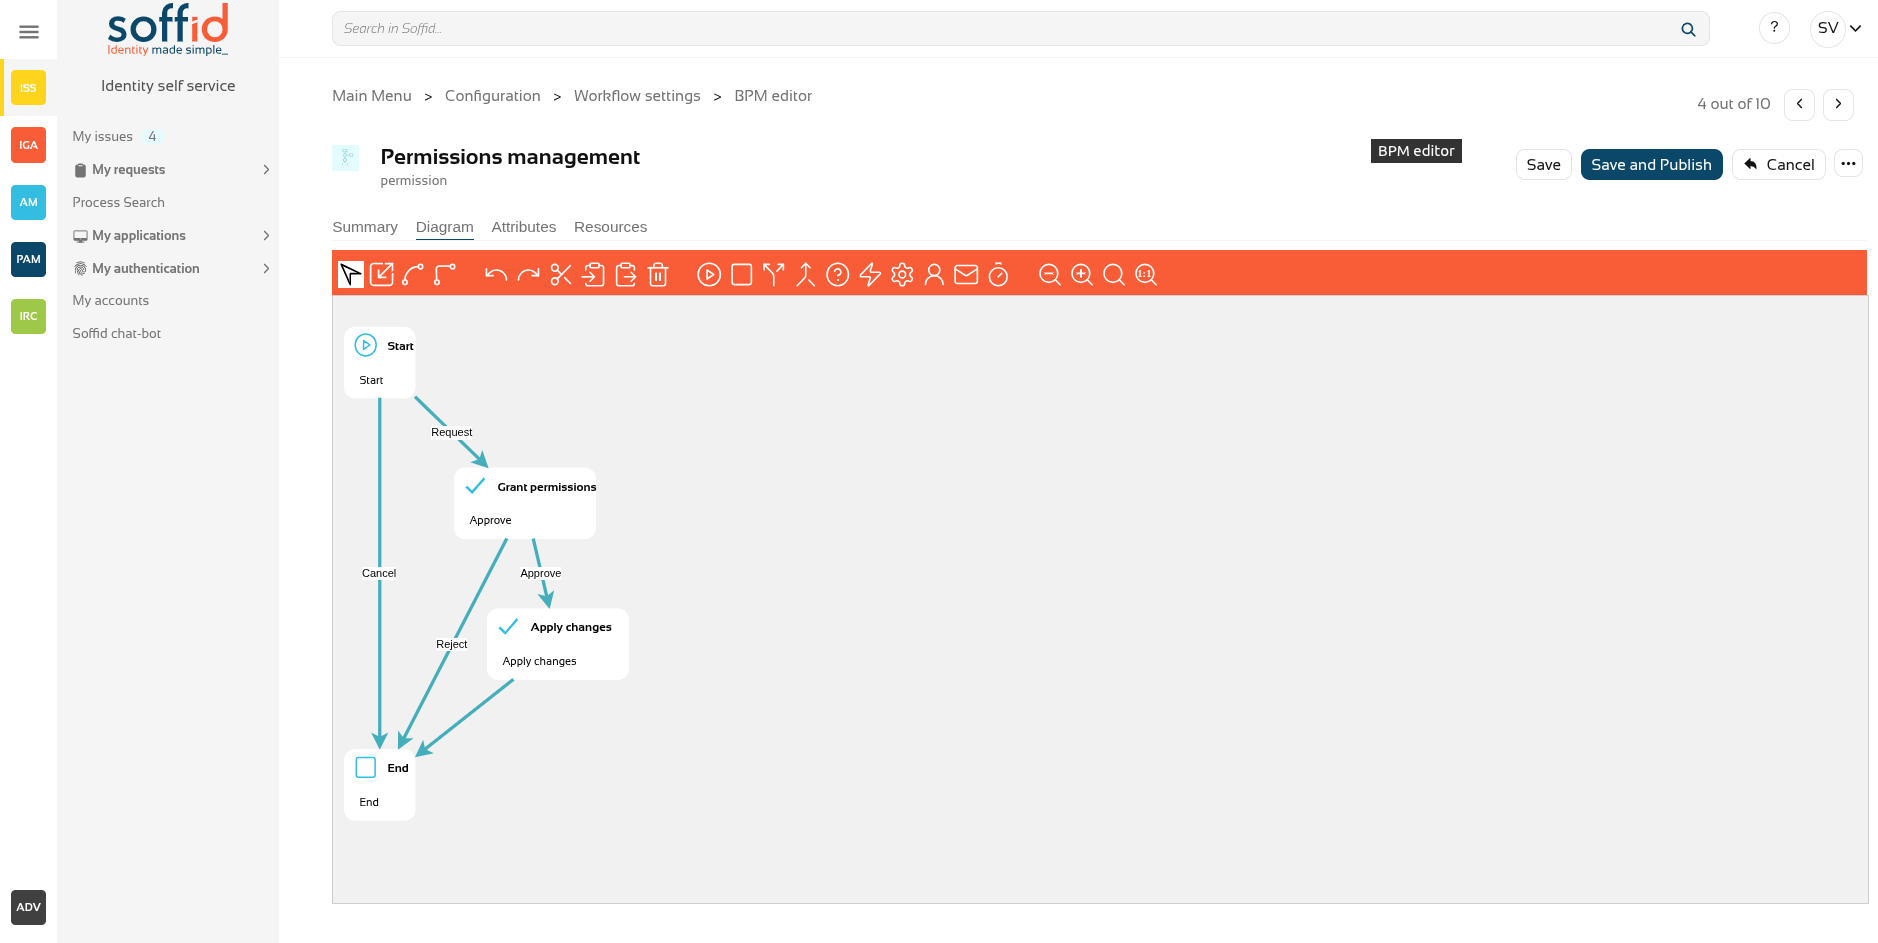
[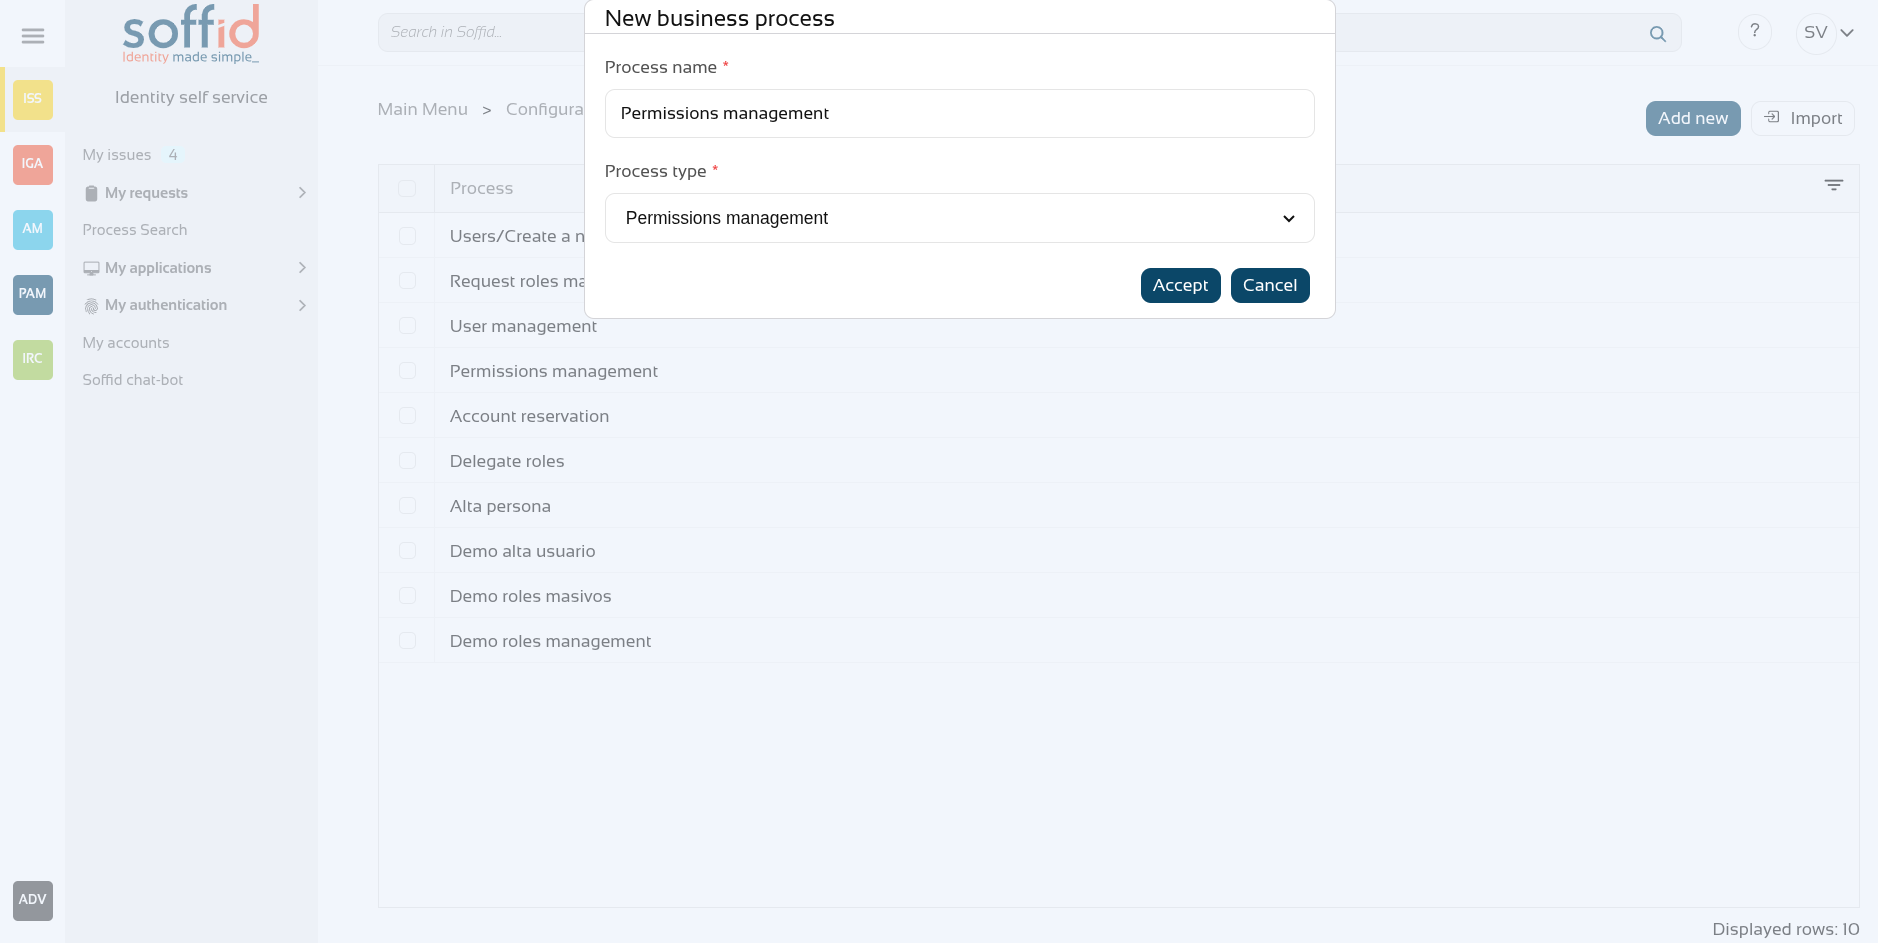](https://bookstack.soffid.com/uploads/images/gallery/2025-12/CeLLzF4jbw6h7v9L-image.png) ## Process editor - **Process name**: identifier name of the workflow. This name will be used to label the workflow for the end-user. - **Process type**: to use this BPM editor you need to select **Use management.** - **Description**: a brief description of the workflow. When an end-user starts a workflow, this text will be displayed in the Actions log tab. - **Initiators**: here you could configure the roles or the identities that could start a new workflow from the Console and Selfservice. E.g. "admin" identity, "SOFFID\_ADMIN" role, both separated by comma ',' as "admin, SOFFID\_ADMIN" or if you want to publish the workflow to everyone, you can use the text "tothom" or the character '\*'. The users who are initiators will be able to request that process from their self-service portal. - **Managers**: here you could configure the roles or the identities that could perform tasks in the workflow as approve permissions or cancel the workflow. - **Observers**: here you could configure the roles or the identities that could open the workflows in read-only mode. [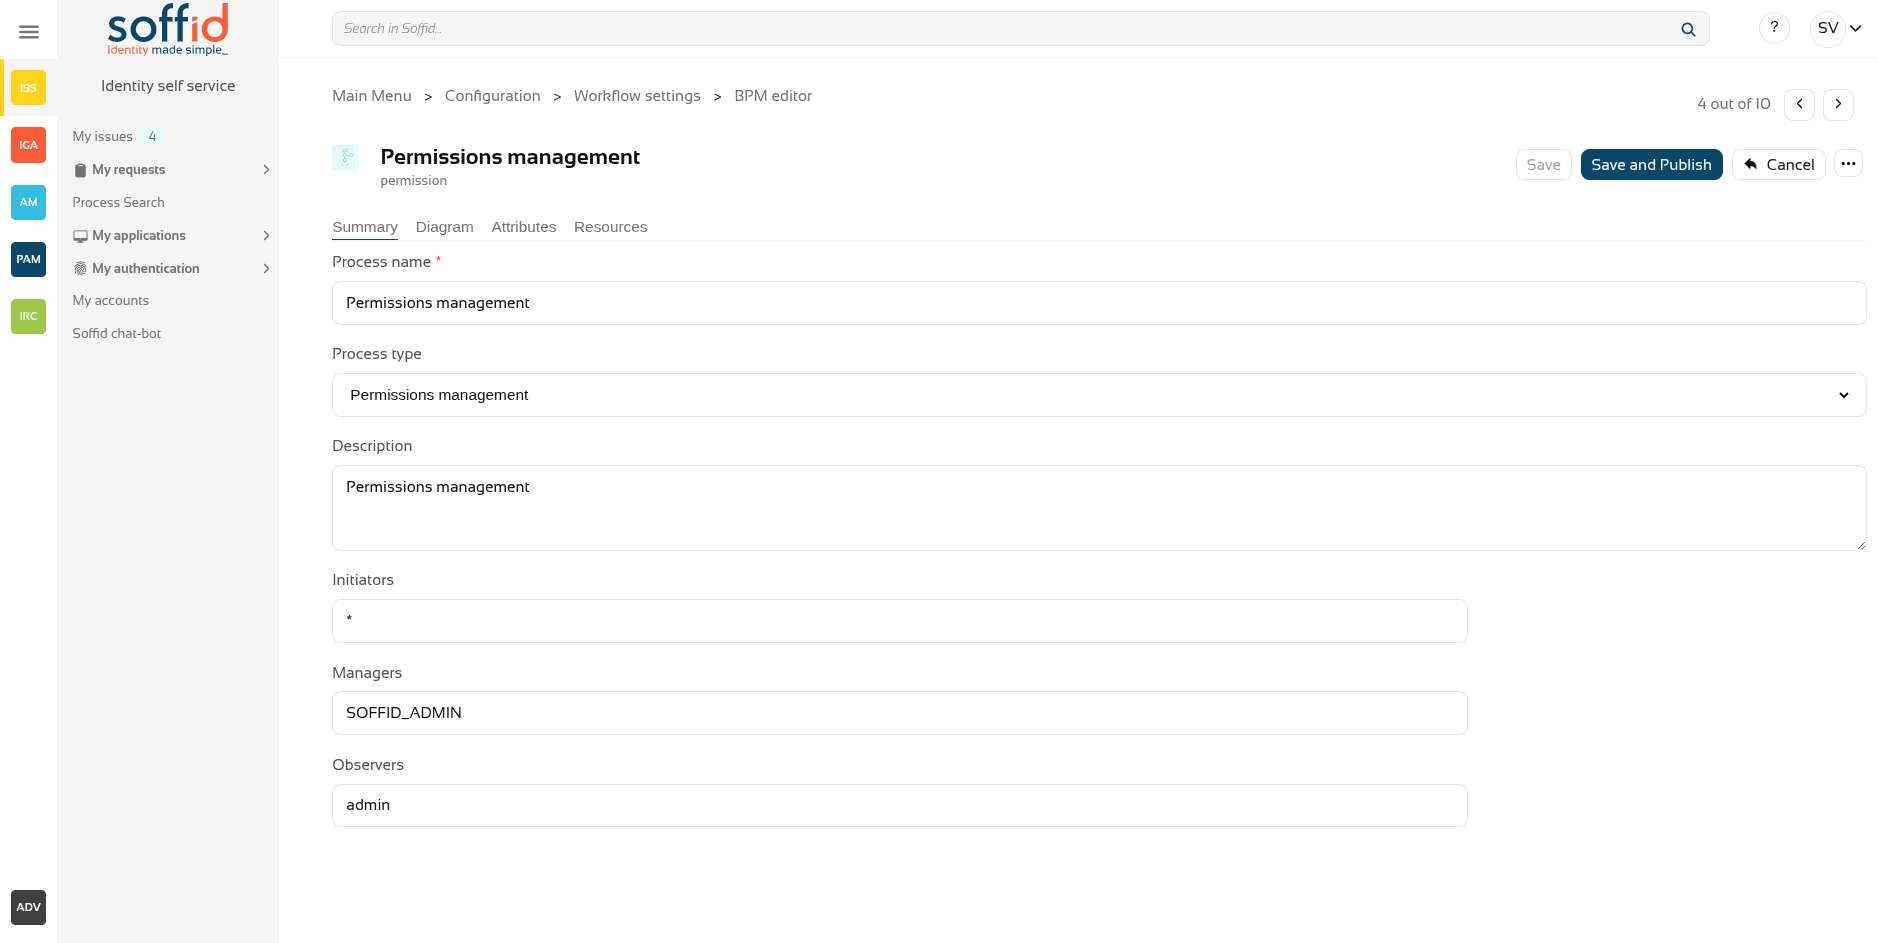](https://bookstack.soffid.com/uploads/images/gallery/2025-12/X1sqLG2aGoyJxAdw-image.png) ## Process stepsTo view the detail of each available step, you can visit the [Permissions management steps chapter.](https://bookstack.soffid.com/books/bpm-editor/chapter/permissions-management-steps "Process management steps")
[](https://bookstack.soffid.com/uploads/images/gallery/2025-12/M2C50gu8idBV7Ejr-image.png) ## Process steps > Start > views This process allows for two different types of views. You can configure the one that best suits your workflow in the Start node, in the ‘Permission request screen type’ attribute. [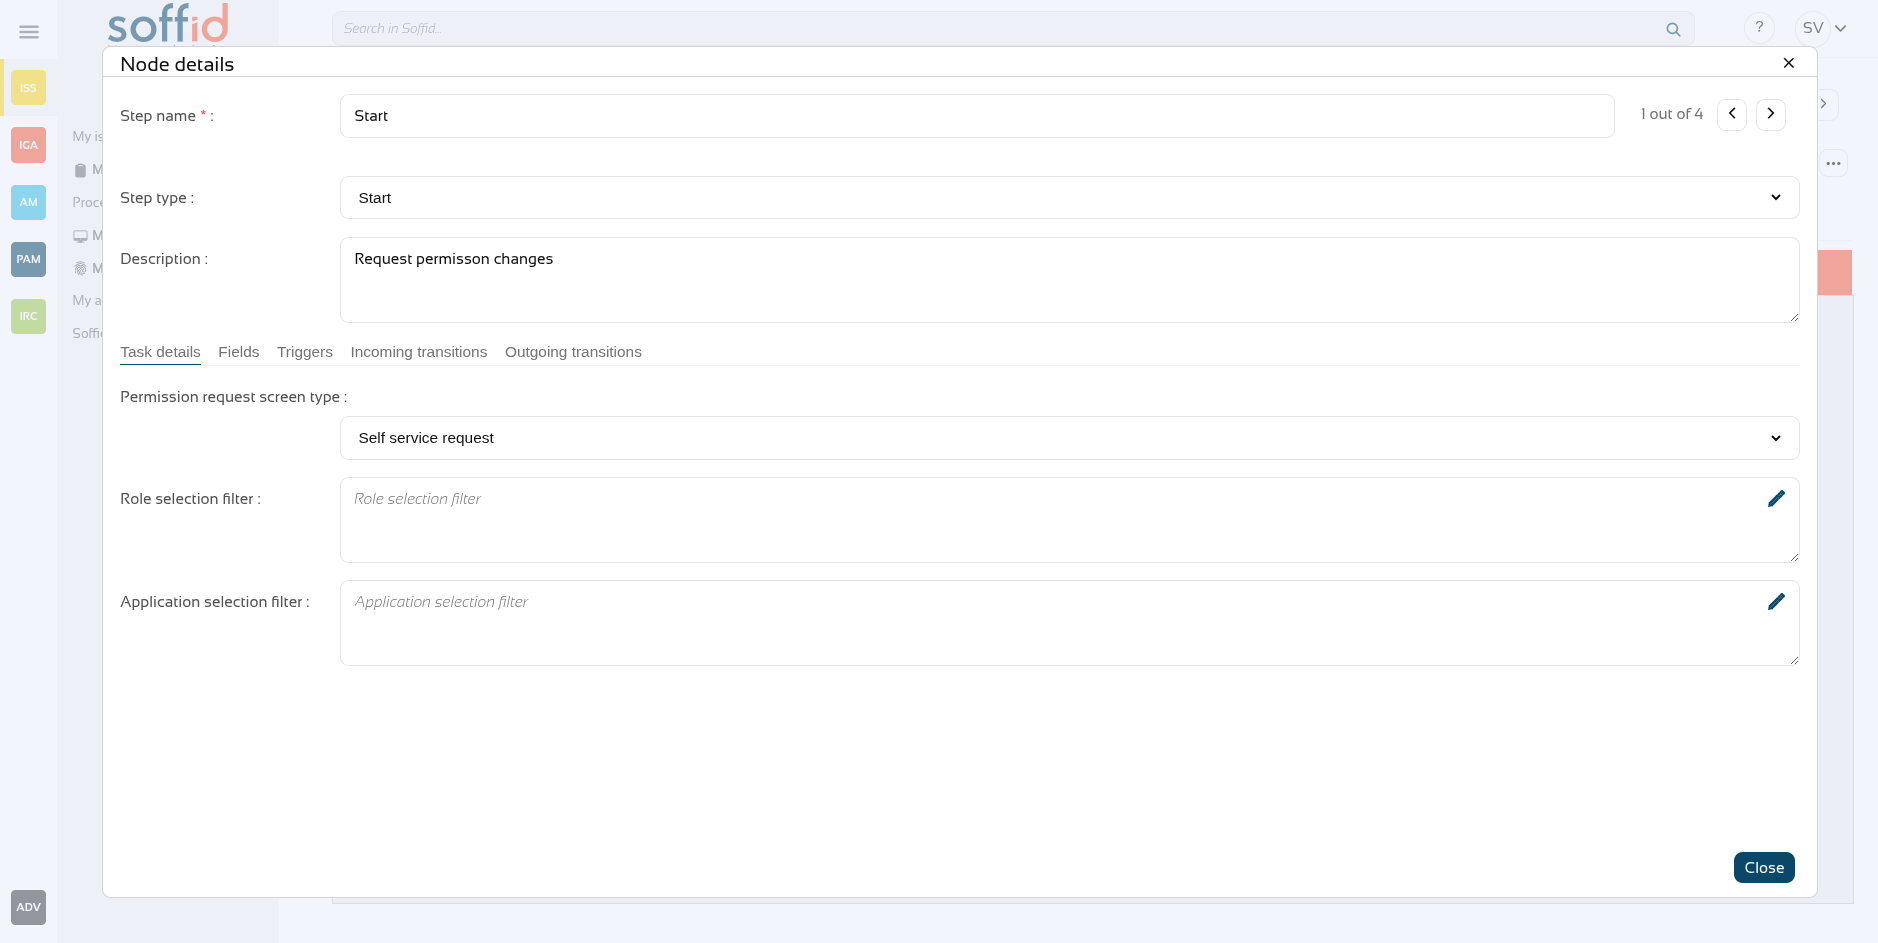](https://bookstack.soffid.com/uploads/images/gallery/2025-12/mtTxSchGXMVmvWxo-image.png) The "**Self-service request**" option allows you to easily select a large number of roles as if you were filling a shopping basket. This view can be more useful when registering a user or changing their profile. [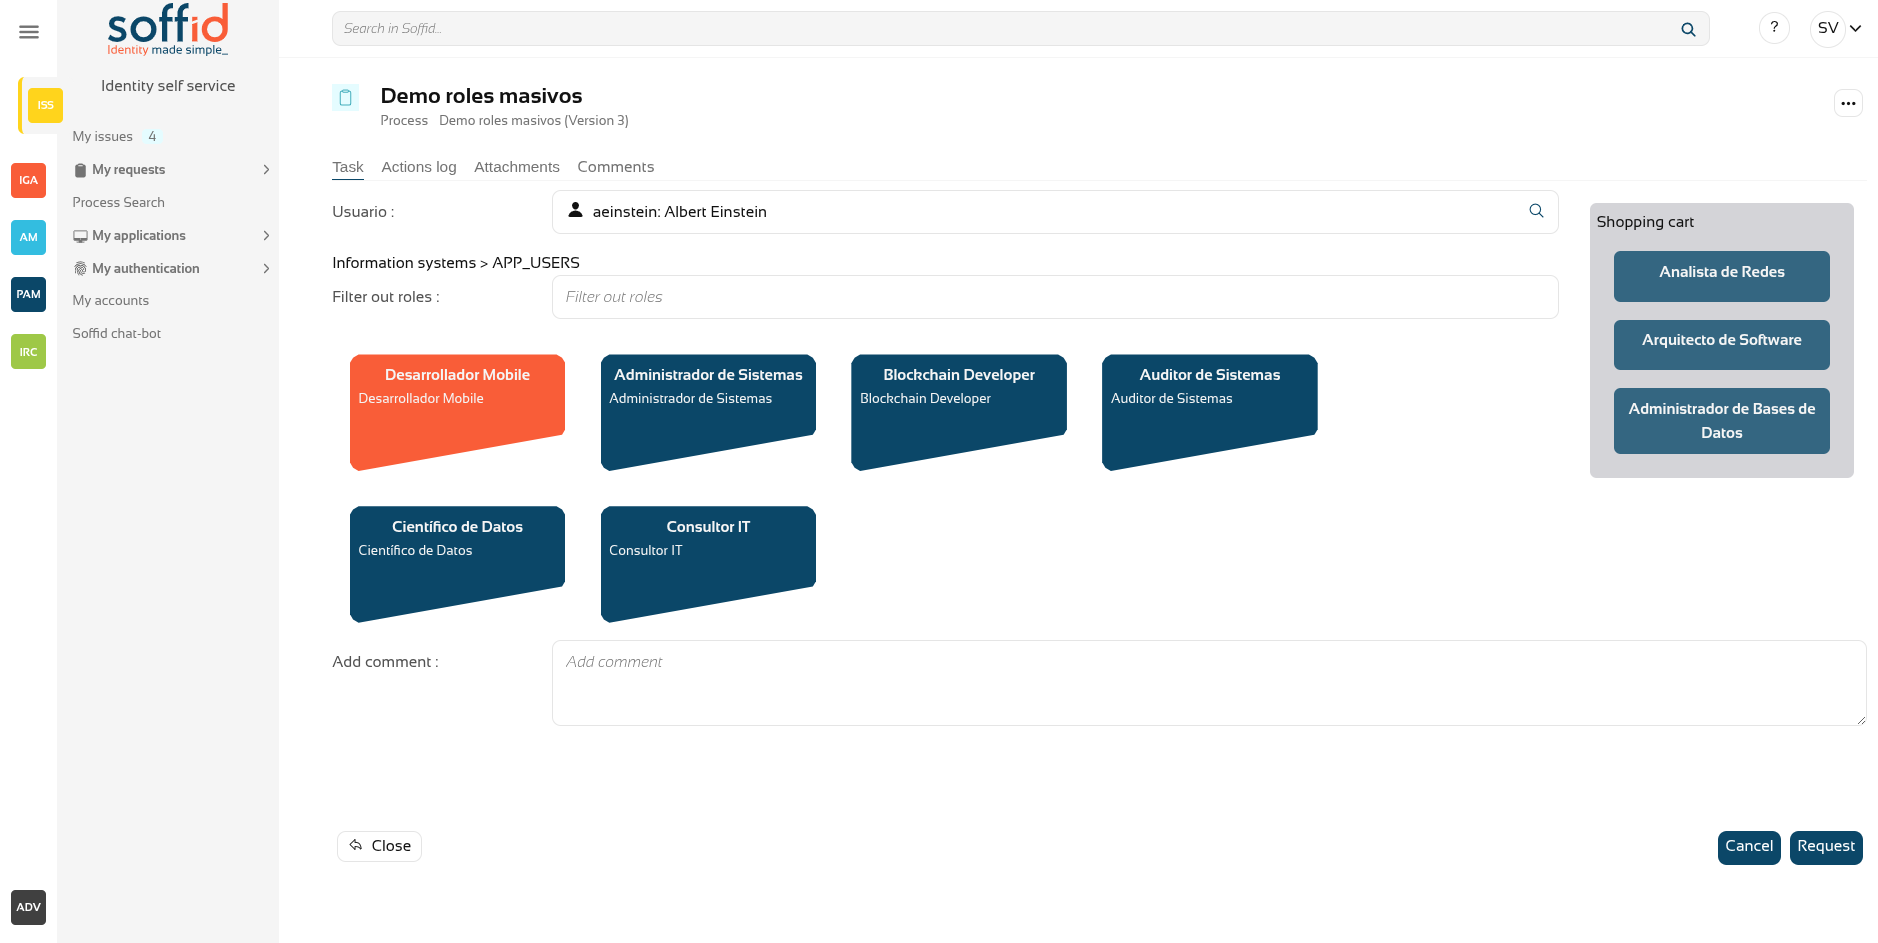](https://bookstack.soffid.com/uploads/images/gallery/2025-12/4N3P7d1GNTSQrlmS-image.png) The "**List of permissions**" option shows you a user's roles and allows you to revoke them one by one, or add new roles one by one. This view may be more useful for maintaining users who only require minor changes. [](https://bookstack.soffid.com/uploads/images/gallery/2025-12/5qMH3wFL0hgsgTvV-image.png) ## Attributes You could add new custom attributes in the Attributes tab. The defined attributes will be used in the Steps tab to be mapped with the Soffid data. There are customized templates depending on the Process Type selected, for the Process management type there is one attribute defined: - **grants**: allows you to select an information system and assign or revoke permissions. You can customize attributes to adapt the workflow to your business process. You can add new attributes, and update or delete the default attributes. For each new attribute, you need to indicate, at least, the code, the label, and the data type.The default template selects the user themselves. If you want to be able to select other users, you must add the userSelector attribute and then add it in Start > Fields.
[](https://bookstack.soffid.com/uploads/images/gallery/2025-12/OHtf4UtVJRq9fBJs-image.png) ## Resources If your workflow requires the use of extra libraries with their own classes and methods, you can upload a jar file so that Soffid can load it and it can be used from the scripts. [](https://bookstack.soffid.com/uploads/images/gallery/2025-12/NAMXh1tlXBL2Uwn7-image.png) ## Actions #### Process actions| **Save** | Allows you to save all changes included in the workflow. That workflow can be a new or an updated workflow. |
| **Save and Publish** | Allows you to save the changes performed in the workflow setup and also publish the workflow to be used in Soffid. After this action, the last version of the workflow will be available for the end-user (with the proper permissions) in the Soffid Console and Self-service portal. |
| **Cancel** | Allows you to quit the process editor without saving changes. Soffid will ask you for confirmation to exit without saving updates |
| **Export process** | Allows you to export this workflow to a file in .partdef format. This file can be useful as a backup or for migration to another environment. |
| **Add attribute** | Allows you to add a new attribute. When you click the button "Add attribute" Soffid will show the fields to fill in for the new attribute. It is mandatory to fill in the code to save the process. The attribute updates will save when you click the button "Save" or "Save and Publish". If you cancel, the updates will not save. |
| **Delete attribute** | Allows you to delete a defined attribute. To delete an attribute you need to click the button with the subtraction symbol (-) located next to the label field. The attribute updates will save when you click the button "Save" or "Save and Publish". If you cancel, the updates will not save. |
For more information about XACML you can visit the [XACML Book](https://bookstack.soffid.com/books/xacml "XACML").
You can use the default template included on Soffid BPM Editor and customize it with your business needs. Also, you can import a .pardef file with the process definition. That process is defined by default with 4 steps, but you can add new, delete and update steps to customize your business process. - Start - Screen - Apply changes - EndWe will use two concepts to explain that process, identity, and end-user. Identity will be the identity or user that will be created, updated, or deleted in Soffid Console. The end-user will be the Soffid user who requests processes using the self-service portal.
## Process editor - **Process name**: identifier name of the workflow. This name will be used to label the workflow for the end-user. - **Process type**: to use this BPM editor you need to select **Account reservation.** - **Description**: a brief description of the workflow. When an end-user starts a workflow, this text will be displayed in the Actions log tab. - **Initiators**: here you could configure the roles or the identities that could start a new workflow from the Console. E.g. "admin" identity, "SOFFID\_ADMIN" role, both separated by comma ',' as "admin, SOFFID\_ADMIN" or if you want to publish the workflow to everyone, you can use the text "tothom" or the character '\*'. The users who are initiators will be able to request that process from their self-service portal. - **Managers**: here you could configure the roles or the identities that could perform tasks in the workflow as approve permissions or cancel the workflow. - **Observers**: here you could configure the roles or the identities that could open the workflows in read-only mode. ## Process stepsTo view the detail of each available step, you can visit the [Account reservation steps chapter.](https://bookstack.soffid.com/books/bpm-editor/chapter/account-reservation-steps "Account reservation steps")
## Attributes You could add new custom attributes in the Attributes tab. The defined attributes will be used in the Steps tab to be mapped with the Soffid data. There are customized templates depending on the Process Type selected, for the Process management type there are one attribute defined: - **account**: user account name. - **systemName**: target system to which the account will be connected. - **loginName**: login name to connect to the target system. - **server**: - **owners**: users authorized to use this account. - **until**: date until the users are authorized to use the account, You can customize attributes to adapt the workflow to your business process. ## Actions #### Process actions| **Save** | Allows you to save all changes included in the workflow. That workflow can be a new or an updated workflow. |
| **Save and Publish** | Allows you to save the changes performed in the workflow setup and also publish the workflow to be used in Soffid. After this action, the last version of the workflow will be available for the end-user (with the proper permissions) in the Soffid Console and Self-service portal. |
| **Cancel** | Allows you to quit the process editor without saving changes. Soffid will ask you for confirmation to exit without saving updates |
| **Add attribute** | Allows you to add a new attribute. When you click the button "Add attribute" Soffid will show the fields to fill in for the new attribute. It is mandatory to fill in the code to save the process. The attribute updates will save when you click the button "Save" or "Save and Publish". If you cancel, the updates will not save. |
| **Delete attribute** | Allows you to delete a defined attribute. To delete an attribute you need to click the button with the subtraction symbol (-) located next to the label field. The attribute updates will save when you click the button "Save" or "Save and Publish". If you cancel, the updates will not save. |
| **Add value** | Allows you to add a new value to the attribute. To add a new value you need to click the button with the add symbol (+) located at the end of the "Values" label. The values updates will save when you click the button "Save" or "Save and Publish". If you cancel, the updates will not save. |
| **Delete value** | Allows you to delete a value to the attribute. To delete an attribute you need to click the subtraction symbol (-) located close to the value you want to delete. The values updates will save when you click the button "Save" or "Save and Publish". If you cancel, the updates will not save. |
We will use two concepts to explain that process, identity, and end-user. **Identity** will be the identity or user that will be created, updated, or deleted in Soffid Console. The **end-user** will be the Soffid user who requests processes using the self-service portal.
## Process editor - **Process name**: identifier name of the workflow. This name will be used to label the workflow for the end-user. - **Process type**: to use this BPM editor you need to select **Use management.** - **Description**: a brief description of the workflow. When an end-user starts a workflow, this text will be displayed in the Actions log tab. - **Initiators**: here you could configure the roles or the identities that could start a new workflow from the Console and Selfservice. E.g. "admin" identity, "SOFFID\_ADMIN" role, both separated by comma ',' as "admin, SOFFID\_ADMIN" or if you want to publish the workflow to everyone, you can use the text "tothom" or the character '\*'. The users who are initiators will be able to request that process from their self-service portal. - **Managers**: here you could configure the roles or the identities that could perform tasks in the workflow as approve permissions or cancel the workflow. - **Observers**: here you could configure the roles or the identities that could open the workflows in read-only mode. ## Process stepsTo view the detail of each available step, you can visit the [Permissions request steps chapter](https://bookstack.soffid.com/books/bpm-editor/chapter/permissons-request-steps "User management steps").
## Attributes There are no attributes ## Actions #### Process actions| **Save** | Allows you to save all changes included in the workflow. That workflow can be a new or an updated workflow. |
| **Save and Publish** | Allows you to save the changes performed in the workflow setup and also publish the workflow to be used in Soffid. After this action, the last version of the workflow will be available for the end-user (with the proper permissions) in the Soffid Console and Self-service portal. |
| **Cancel** | Allows you to quit the process editor without saving changes. Soffid will ask you for confirmation to exit without saving updates |
| **Add attribute** | Allows you to add a new attribute. When you click the button "Add attribute" Soffid will show the fields to fill in for the new attribute. It is mandatory to fill in the code to save the process. The attribute updates will save when you click the button "Save" or "Save and Publish". If you cancel, the updates will not save. |
| **Delete attribute** | Allows you to delete a defined attribute. To delete an attribute you need to click the button with the subtraction symbol (-) located next to the label field. The attribute updates will save when you click the button "Save" or "Save and Publish". If you cancel, the updates will not save. |
| **Add value** | Allows you to add a new value to the attribute. To add a new value you need to click the button with the add symbol (+) located at the end of the "Values" label. The values updates will save when you click the button "Save" or "Save and Publish". If you cancel, the updates will not save. |
| **Delete value** | Allows you to delete a value to the attribute. To delete an attribute you need to click the subtraction symbol (-) located close to the value you want to delete. The values updates will save when you click the button "Save" or "Save and Publish". If you cancel, the updates will not save. |
We will use two concepts to explain that process, identity, and end-user. **Identity** will be the identity or user that will be created, updated, or deleted in Soffid Console. The **end-user** will be the Soffid user who requests processes using the self-service portal.
## Process editor - **Process name**: identifier name of the workflow. This name will be used to label the workflow for the end-user. - **Process type**: to use this BPM editor you need to select **Use management.** - **Description**: a brief description of the workflow. When an end-user starts a workflow, this text will be displayed in the Actions log tab. - **Initiators**: here you could configure the roles or the identities that could start a new workflow from the Console and Selfservice. E.g. "admin" identity, "SOFFID\_ADMIN" role, both separated by comma ',' as "admin, SOFFID\_ADMIN" or if you want to publish the workflow to everyone, you can use the text "tothom" or the character '\*'. The users who are initiators will be able to request that process from their self-service portal. - **Managers**: here you could configure the roles or the identities that could perform tasks in the workflow as approve permissions or cancel the workflow. - **Observers**: here you could configure the roles or the identities that could open the workflows in read-only mode. ## Process stepsTo view the detail of each available step, you can visit the [Delegation roles steps chapter](https://bookstack.soffid.com/books/bpm-editor/chapter/delegation-roles-steps).
## Attributes You could add new custom attributes in the Attributes tab. The defined attributes will be used in the Steps tab to be mapped with the Soffid data. There are customized templates depending on the Process Type selected, for the Process management type there is one attribute defined: - **grants**: allows you to select an information system and assign or revoke permissions. - **userSelector**: allows you to select an existing identity. That component will be available when the action selected will be "Enable user", "Modify user" or "Disable user", in other cases, that component will not be displayed. That component allows to end-user to search identities by writing in an input field o searching with the searching view. You can customize attributes to adapt the workflow to your business process. ## Actions #### Process actions| **Save** | Allows you to save all changes included in the workflow. That workflow can be a new or an updated workflow. |
| **Save and Publish** | Allows you to save the changes performed in the workflow setup and also publish the workflow to be used in Soffid. After this action, the last version of the workflow will be available for the end-user (with the proper permissions) in the Soffid Console and Self-service portal. |
| **Cancel** | Allows you to quit the process editor without saving changes. Soffid will ask you for confirmation to exit without saving updates |
| **Add attribute** | Allows you to add a new attribute. When you click the button "Add attribute" Soffid will show the fields to fill in for the new attribute. It is mandatory to fill in the code to save the process. The attribute updates will save when you click the button "Save" or "Save and Publish". If you cancel, the updates will not save. |
| **Delete attribute** | Allows you to delete a defined attribute. To delete an attribute you need to click the button with the subtraction symbol (-) located next to the label field. The attribute updates will save when you click the button "Save" or "Save and Publish". If you cancel, the updates will not save. |
| **Add value** | Allows you to add a new value to the attribute. To add a new value you need to click the button with the add symbol (+) located at the end of the "Values" label. The values updates will save when you click the button "Save" or "Save and Publish". If you cancel, the updates will not save. |
| **Delete value** | Allows you to delete a value to the attribute. To delete an attribute you need to click the subtraction symbol (-) located close to the value you want to delete. The values updates will save when you click the button "Save" or "Save and Publish". If you cancel, the updates will not save. |